Flexible stone veneer is repaired by replacing the damaged sheet, not by filling and painting it. The material is a 2–8 mm sheet with a printed stone face bonded to a fiberglass mesh backing. A filler can match the colour for a week, but it cannot reproduce the pattern or the relief, and it will show under raking light. A repair succeeds or fails before the damage happens: you need spare sheets from the same production batch, the batch number, and the adhesive specified for the substrate. This guide covers how to plan spares, remove a damaged panel without disturbing its neighbours, install the replacement, and blend the pattern so the repair disappears.
Why can’t a damaged flexible stone panel be filled and painted?
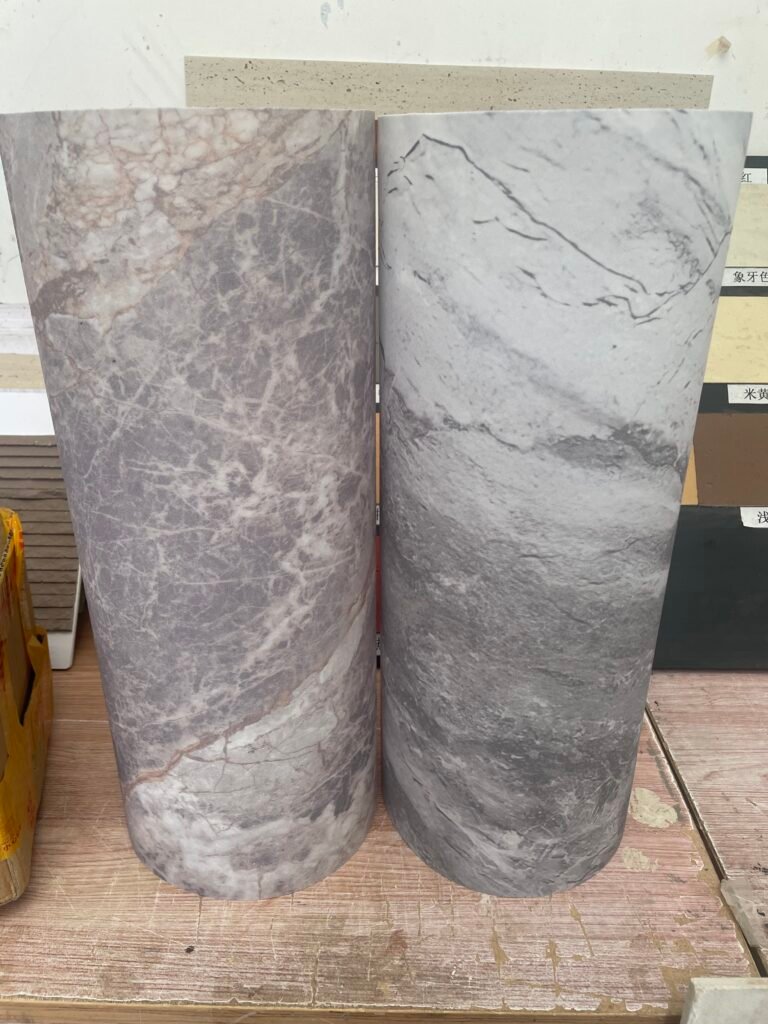
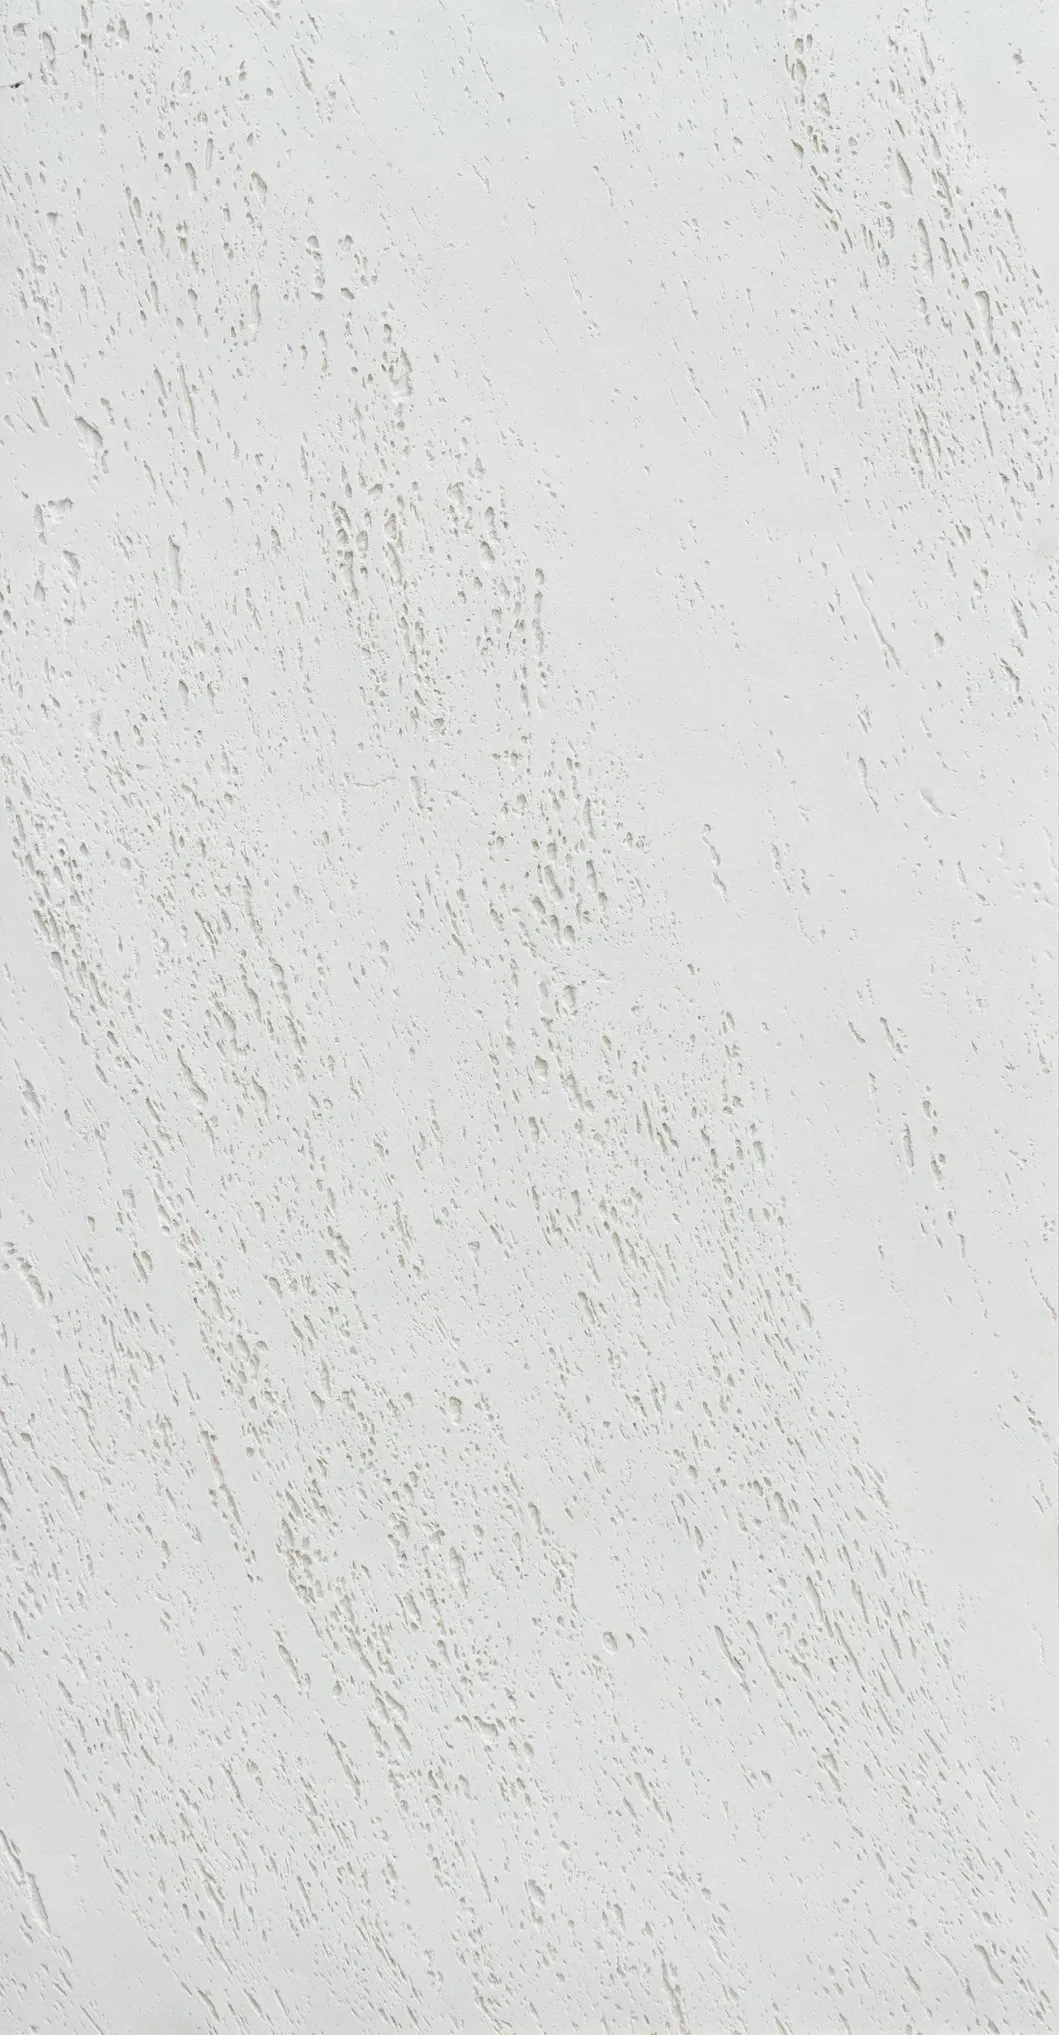
Because the visible surface is not a uniform coat of paint over a solid stone block. It is a printed and embossed stone effect over a thin composite sheet. The pattern has variation across its width, the relief has depth, and the colour is produced by a pigment recipe that changes slightly from one production run to the next. A filler sits on top of that surface as a patch with its own texture and its own sheen. Under direct light it reads as a repair even when the colour looks right in a photograph.
The mechanical problem is worse than the cosmetic one. Flexible veneer moves with the substrate and with temperature. A rigid filler patch on a flexible sheet develops a hairline crack at the boundary, and once water reaches that crack the repair fails from the inside. On a facade, a patched corner also loses the edge profile that the original sheet had.
There is one narrow exception. A shallow surface mark that has not broken through the face or the backing may be touched up using the supplier’s recommended method, tested first in an inconspicuous area. A chipped corner, a crack across the sheet, or a delaminated edge is a replacement, not a cosmetic repair.
What should I keep from the original order for future repairs?
The most important item is a small reserve of sheets from the same production batch. Not a generic “spare panel” from a later order — the same batch, with the same batch number on the label. Store the reserve flat, dry, and sealed, away from direct sunlight, and write the batch number and the installation date on the pack. A spare that cannot be identified is almost useless two years later.
Keep the paperwork with the spares: the COA for that batch, the approved first-article sample, the packing list, and a set of photographs of the installed wall. The photographs should show the wall in daylight and at a distance, because that is the condition a future repair will be judged against.
Keep the installation specification too: the adhesive type, the substrate preparation, the joint detail, and the supplier’s installation manual. The adhesive matters because a replacement panel has to bond to the same substrate without reacting with the old adhesive residue.
Finally, ask the supplier to retain the colour formula and the mold for your pattern. At JMS Decor, molds and colour formulas are held free of charge for five years, and reorders on them carry no new tooling cost. That retention is what makes a batch-matched reorder possible years after the original installation.
How do I remove one damaged panel without damaging its neighbours?
Start by protecting the surrounding wall. Tape a board or a heavy plastic sheet over the panels on each side of the repair, leaving only the damaged sheet exposed. The removal tool will slip; the protection is what keeps a small repair from becoming a three-panel replacement.
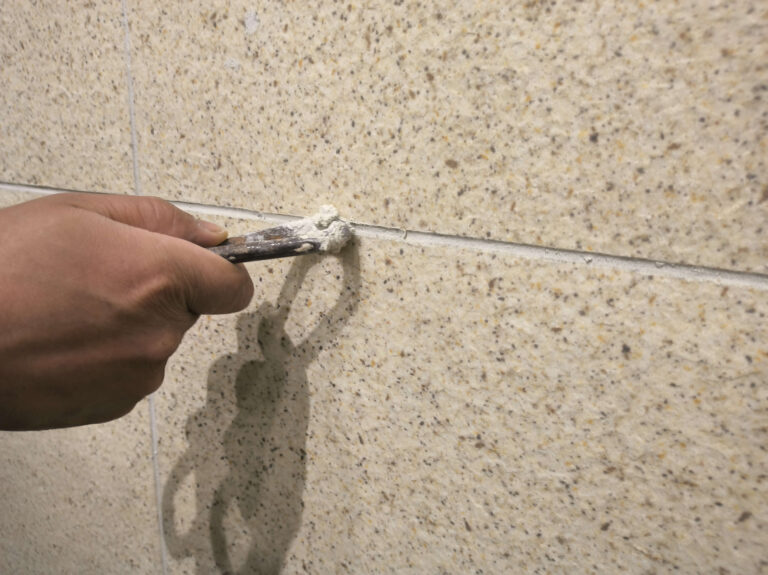
Identify how the panel is fixed before applying force. Flexible veneer is adhesive-applied, often with a sealant at the joints. Score the sealant or the joint line first with a sharp blade, working along the perimeter of the damaged sheet rather than prying at the centre. Then release the panel from a corner, using a thin blade to separate the adhesive gradually. Do not lever against the neighbouring panel; the adjacent sheet is thin and its edge is the most fragile part of the assembly.
If the adhesive is holding hard, use the removal method recommended in the supplier’s installation manual rather than forcing the panel. A torn sheet is acceptable because it is being replaced; a cracked neighbour is not.
Once the panel is off, remove the old adhesive from the substrate with a scraper. Check the substrate for moisture, loose material, or damage before going further. If the substrate is wet or crumbling, stop and fix that first — a new panel over a failing base will fail again. Keep the removed panel as a template for cutting the replacement.
How do I install the replacement panel?
Cut the new sheet to the opening using the blade and technique recommended in the installation manual, and dry-fit it before any adhesive is opened. The dry fit checks three things: the panel size against the opening, the pattern alignment against the neighbouring sheets, and the edge profile at the joints. It is much easier to adjust a dry panel than a glued one.
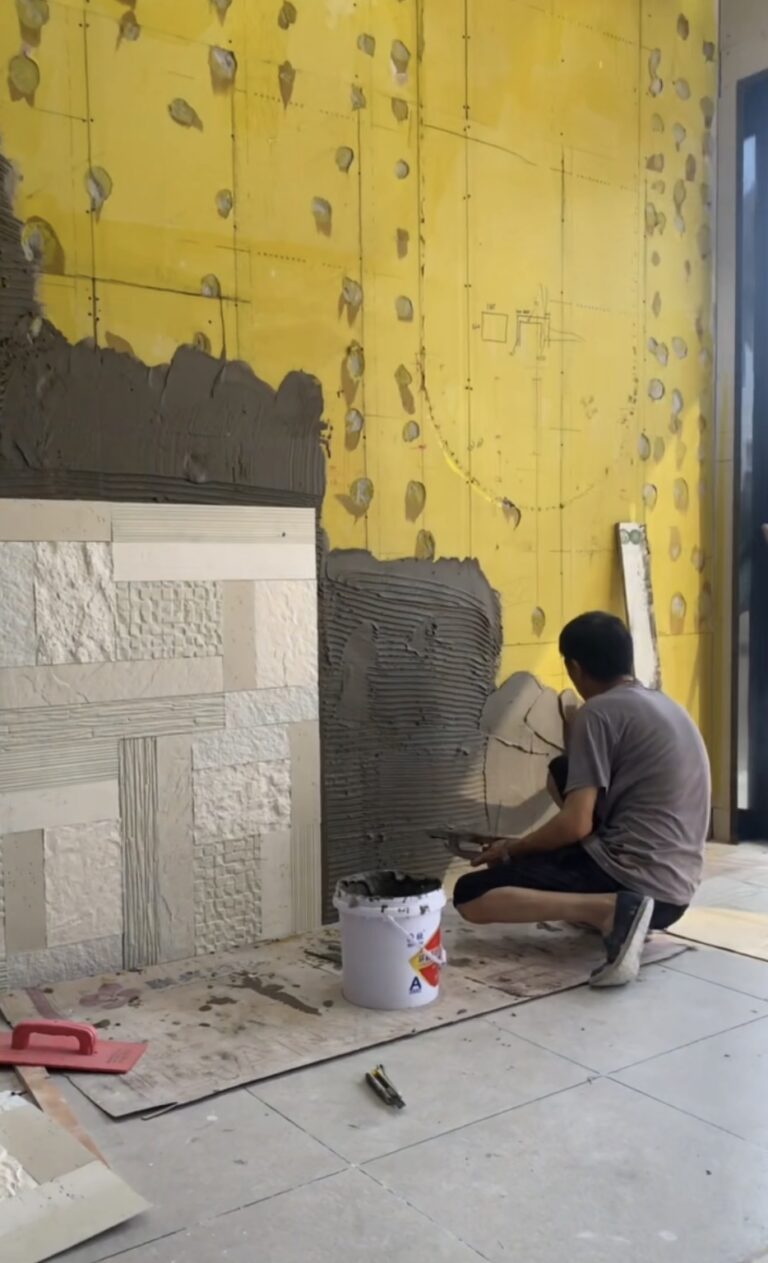
Apply the specified adhesive to the substrate using the coverage and notched trowel in the manual. Do not invent a coverage rate; the adhesive manufacturer’s figure depends on the substrate and the panel. Press the panel into place from one edge, working across the sheet to avoid trapping air. Clean excess adhesive from the face and the joints before it cures.
Follow the manual’s working time and temperature limits. If the panel needs temporary support while the adhesive sets, use blocks or tape that will not mark the face, and remove them at the time the manual specifies. Finish the joints with the specified sealant, and check that the new panel sits flush with its neighbours.
The flexible stone installation-mistakes guide covers the failures that show up after a panel is already on the wall, including poor substrate preparation and skipped joint details. A repair is a small installation, and the same rules apply. If the original installation had a fault, the replacement will inherit it unless the substrate and the joint are corrected.
How do I blend the new panel into the existing wall?
A replacement from the same batch usually blends without effort. A replacement from a different batch may not, even when the pattern code is identical, because pigment lots and mold wear shift the surface slightly. Compare the new panel with the installed wall under daylight, not under a phone flash or a warehouse lamp.
Use a daylight-correlated source such as D65, the reference illuminant used in colour measurement; the International Commission on Illumination (CIE) publishes the standards behind that comparison. Look at the wall from the distance it will normally be seen, then close up, then in raking light. A match that holds at two metres can still show a seam when sunlight grazes the wall.
If the difference is visible, do not place a single new panel in the middle of a field. Spread the new sheets across the wall so the eye reads a natural variation rather than a rectangle. On a feature wall, it may be better to replace a complete visual section than to introduce one panel that draws attention.
When the difference holds at normal viewing distance, stop and reassess. A larger replacement section is more work, but it is usually cheaper than a wall that looks patched.
What if I don’t have spare panels from the same batch?
Ask the supplier for the batch record first. If the mold and the colour formula are still held, a reorder can be produced to the same recipe, but it is still a new batch and should be checked against a retained sample before it is installed. Order a sample from the new run and compare it with the wall in daylight before committing to a full panel.
If the original batch is gone and the wall is in a prominent position, plan a larger replacement rather than a single panel. Replacing one sheet from a visibly different batch trades a small repair for a permanent visual patch. On a secondary wall or a service area, a single panel may be acceptable if the difference is minor.
This is also where the batch consistency process pays off. The guide to verifying a reorder before it ships explains how to compare a new batch with a retained sample, measure thickness and weight, and check the backing before the container leaves. A repair that starts with a verified reorder is a controlled replacement, not a gamble.
What should the repair record contain?
Write a short record for every repair and keep it with the building’s operations file. It should include the date, the location on the wall, the panel size and pattern code, the batch number of the replacement, the adhesive and sealant used, the substrate condition, and who carried out the work. Add photographs before, during, and after the repair, including one at normal viewing distance.
The record matters for two reasons. It gives the next maintenance team the batch number and the method, so a second repair can match the first. And if the damage was caused by a building defect rather than an impact, the pattern of repairs will show it. A repair log with three entries on the same wall is evidence that the substrate or the detailing needs attention, not another panel.
If the damage was caused by an impact, note the cause and the date. If it was caused by moisture, trace the source before closing the wall; replacing the panel without fixing the leak simply restarts the clock.
FAQ
Can I repair a small chip without replacing the whole panel?
Only if the damage is a shallow surface mark that has not broken the face or the backing. A chipped corner, a crack, or a delaminated edge needs a replacement panel. Test any touch-up method in an inconspicuous area first.
Do I need the same production batch for a repair?
For a visible wall, yes. A different batch can be a close match and still show under daylight. If the same batch is unavailable, compare a new sample with the wall before deciding between a single panel and a larger section.
Can I install the new panel over the old adhesive?
No. Remove the old adhesive and check the substrate first. A new panel over a contaminated or uneven base will not sit flush, and the bond will be weaker than the original installation.
How long does a repair take?
It depends on the adhesive and sealant cure times specified in the installation manual, and on the substrate condition. The panel can be cut and dry-fitted quickly; the waiting time is in the adhesive and the joint finish.
Is a repair covered by the warranty?
That depends on the contract and the cause of the damage. Document the repair with the batch number, materials, and photographs so the question can be answered from evidence rather than memory.
If you are planning a repair and need a batch-matched panel, start with the flexible stone veneer range and the installation and maintenance guides, and keep the batch number from the original delivery.