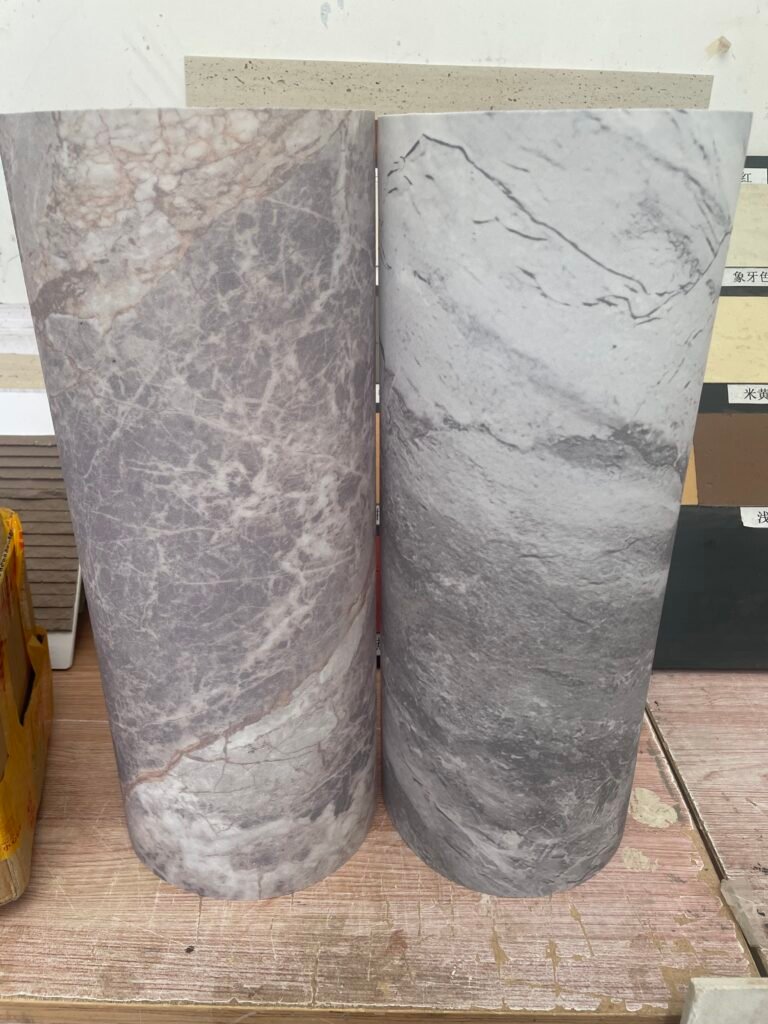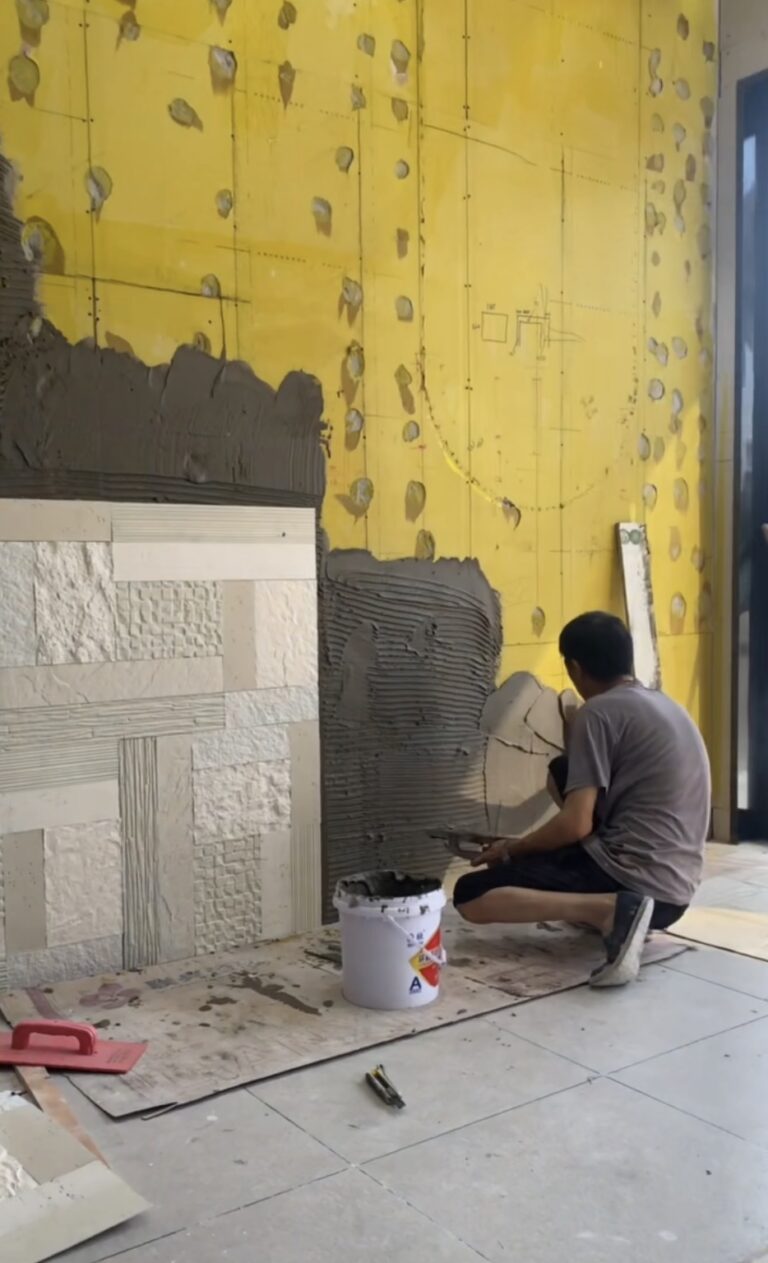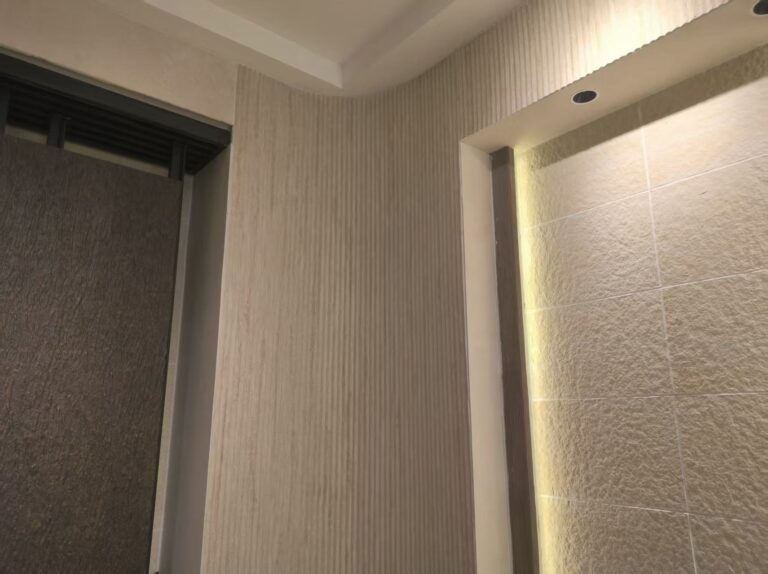
A flexible stone veneer installation is a job of thin sheets, a clean substrate and a controlled adhesive line. The panels arrive cut to size, so most of the work sits in preparation and alignment. A crew that plans the sequence spends its time setting sheets instead of fixing earlier mistakes.
The sheets are light, bendable and fixed with a dedicated adhesive. That changes the tools, the pace and the number of people on the wall. This guide walks through the flexible stone veneer installation method the factory recommends, from the first check of the wall to the finished edge.
A good installation is decided before the first sheet goes up. The wall, the line and the adhesive do the work.
What Flexible Stone Veneer Installation Involves
The sheet is a mineral panel built from natural stone powder, an inorganic gel and a fibreglass mesh. It bends, it travels flat and it weighs a fraction of quarried stone. Those three traits shape the way it is fitted.
A flexible stone veneer installation is not a masonry job. There is no mortar bed and no heavy substrate. The sheet is bonded to the wall with a dedicated adhesive, and the joint is closed with a matching sealant.
The work moves fast once the wall is ready. Two people can carry a full day of panels by hand, and a single fitter can shape a sheet around a column with a knife. The saving shows up in labour as well as in material.
The core of the sheet is a mineral mix. Natural stone powder gives the face its colour, an inorganic gel binds the mix and a fibreglass mesh holds it together. The panel is pressed and finished at the factory, so a thin sheet carries the grain of real stone.
The weight is the quiet advantage. At 1.5 to 6 kg per square metre the sheet is roughly one fifth of quarried stone. A wall carries less load, and a crew moves the panels by hand.
The method works on internal walls, columns, ceilings and shopfronts. It turns a corner, wraps a column and covers a curved desk, which is where a flat tile cannot follow the drawing.
The method suits new walls and old ones. On a refurbishment the light sheet can sit over an existing finish, which removes the dust and the demolition that a strip-out brings. The full product family behind the method is set out on the flexible stone veneer page.
Tools and Materials for the Fixing
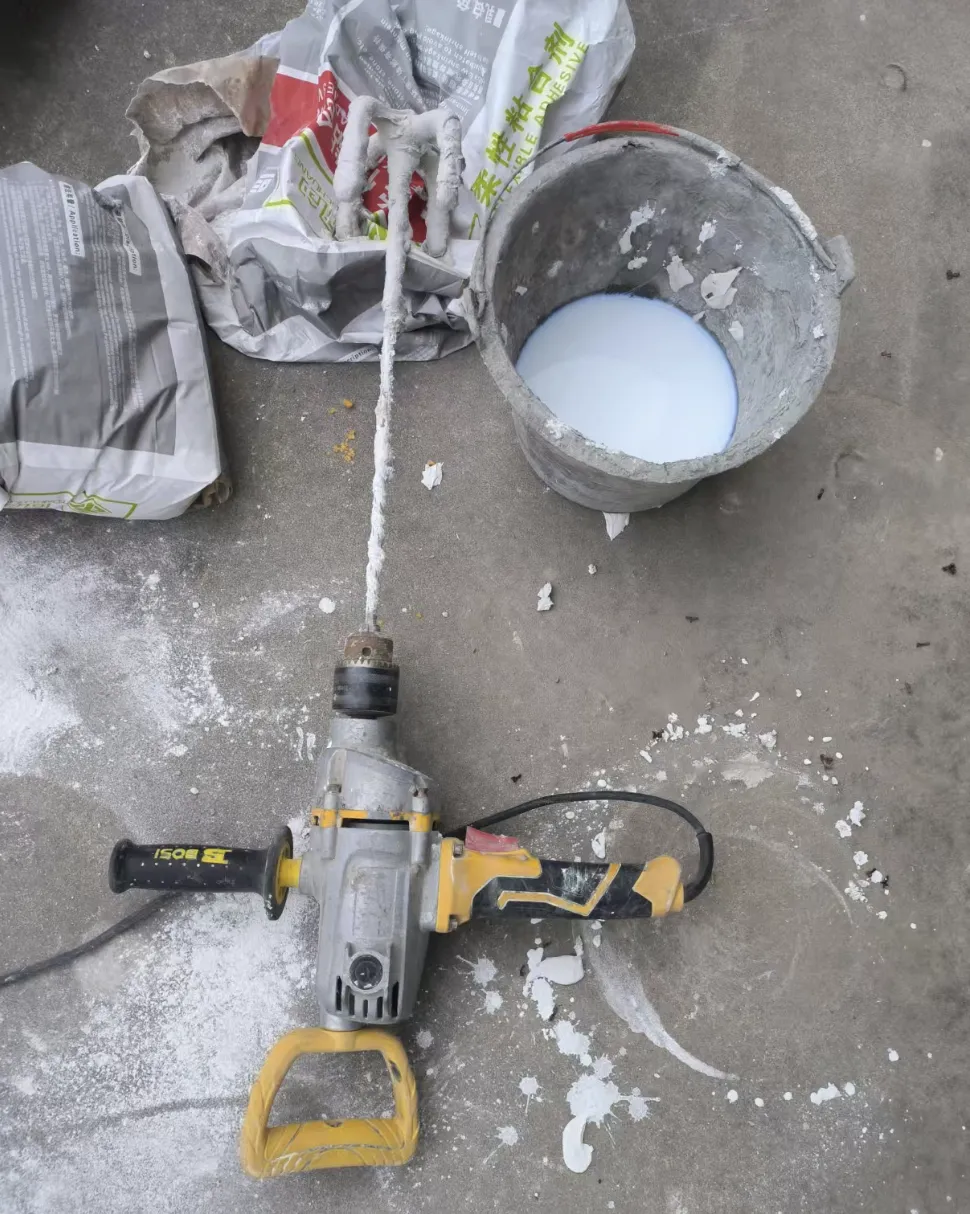
The kit is small. A notched trowel or a spreader lays the adhesive, a knife or a small saw cuts the sheet, and a roller presses the panel flat. A spirit level and a chalk line hold the setting out.
Adhesive, sealant and the installation accessories come from the same factory as the panels. That matters, because the adhesive is matched to the back of the sheet and to the way it moves.
A cutting tool for the sheet and a small gap tool for the joints round out the kit. Both are light, and both fit in one bag. A fitter can move a whole wall of panels and tools without a lift.
The adhesive does the structural work, so it has to match the panel. A general construction glue may bond the surface and still fail as the sheet moves with the wall. The factory adhesive is built for the mineral back and the flex of the sheet.
Hand tools keep the site tidy. There is no mixer for a mortar bed, no water and no dust from a stone saw. The fixing suits an occupied building and a night shift.
| Item | Purpose on site |
|---|---|
| Dedicated adhesive | Bonds the sheet to the wall |
| Notched trowel | Spreads an even adhesive line |
| Knife or small saw | Cuts and shapes the panel |
| Sealant and gap tool | Closes and levels the joint |
| Roller and level | Presses the sheet flat and true |
Preparing the Substrate Before You Fix
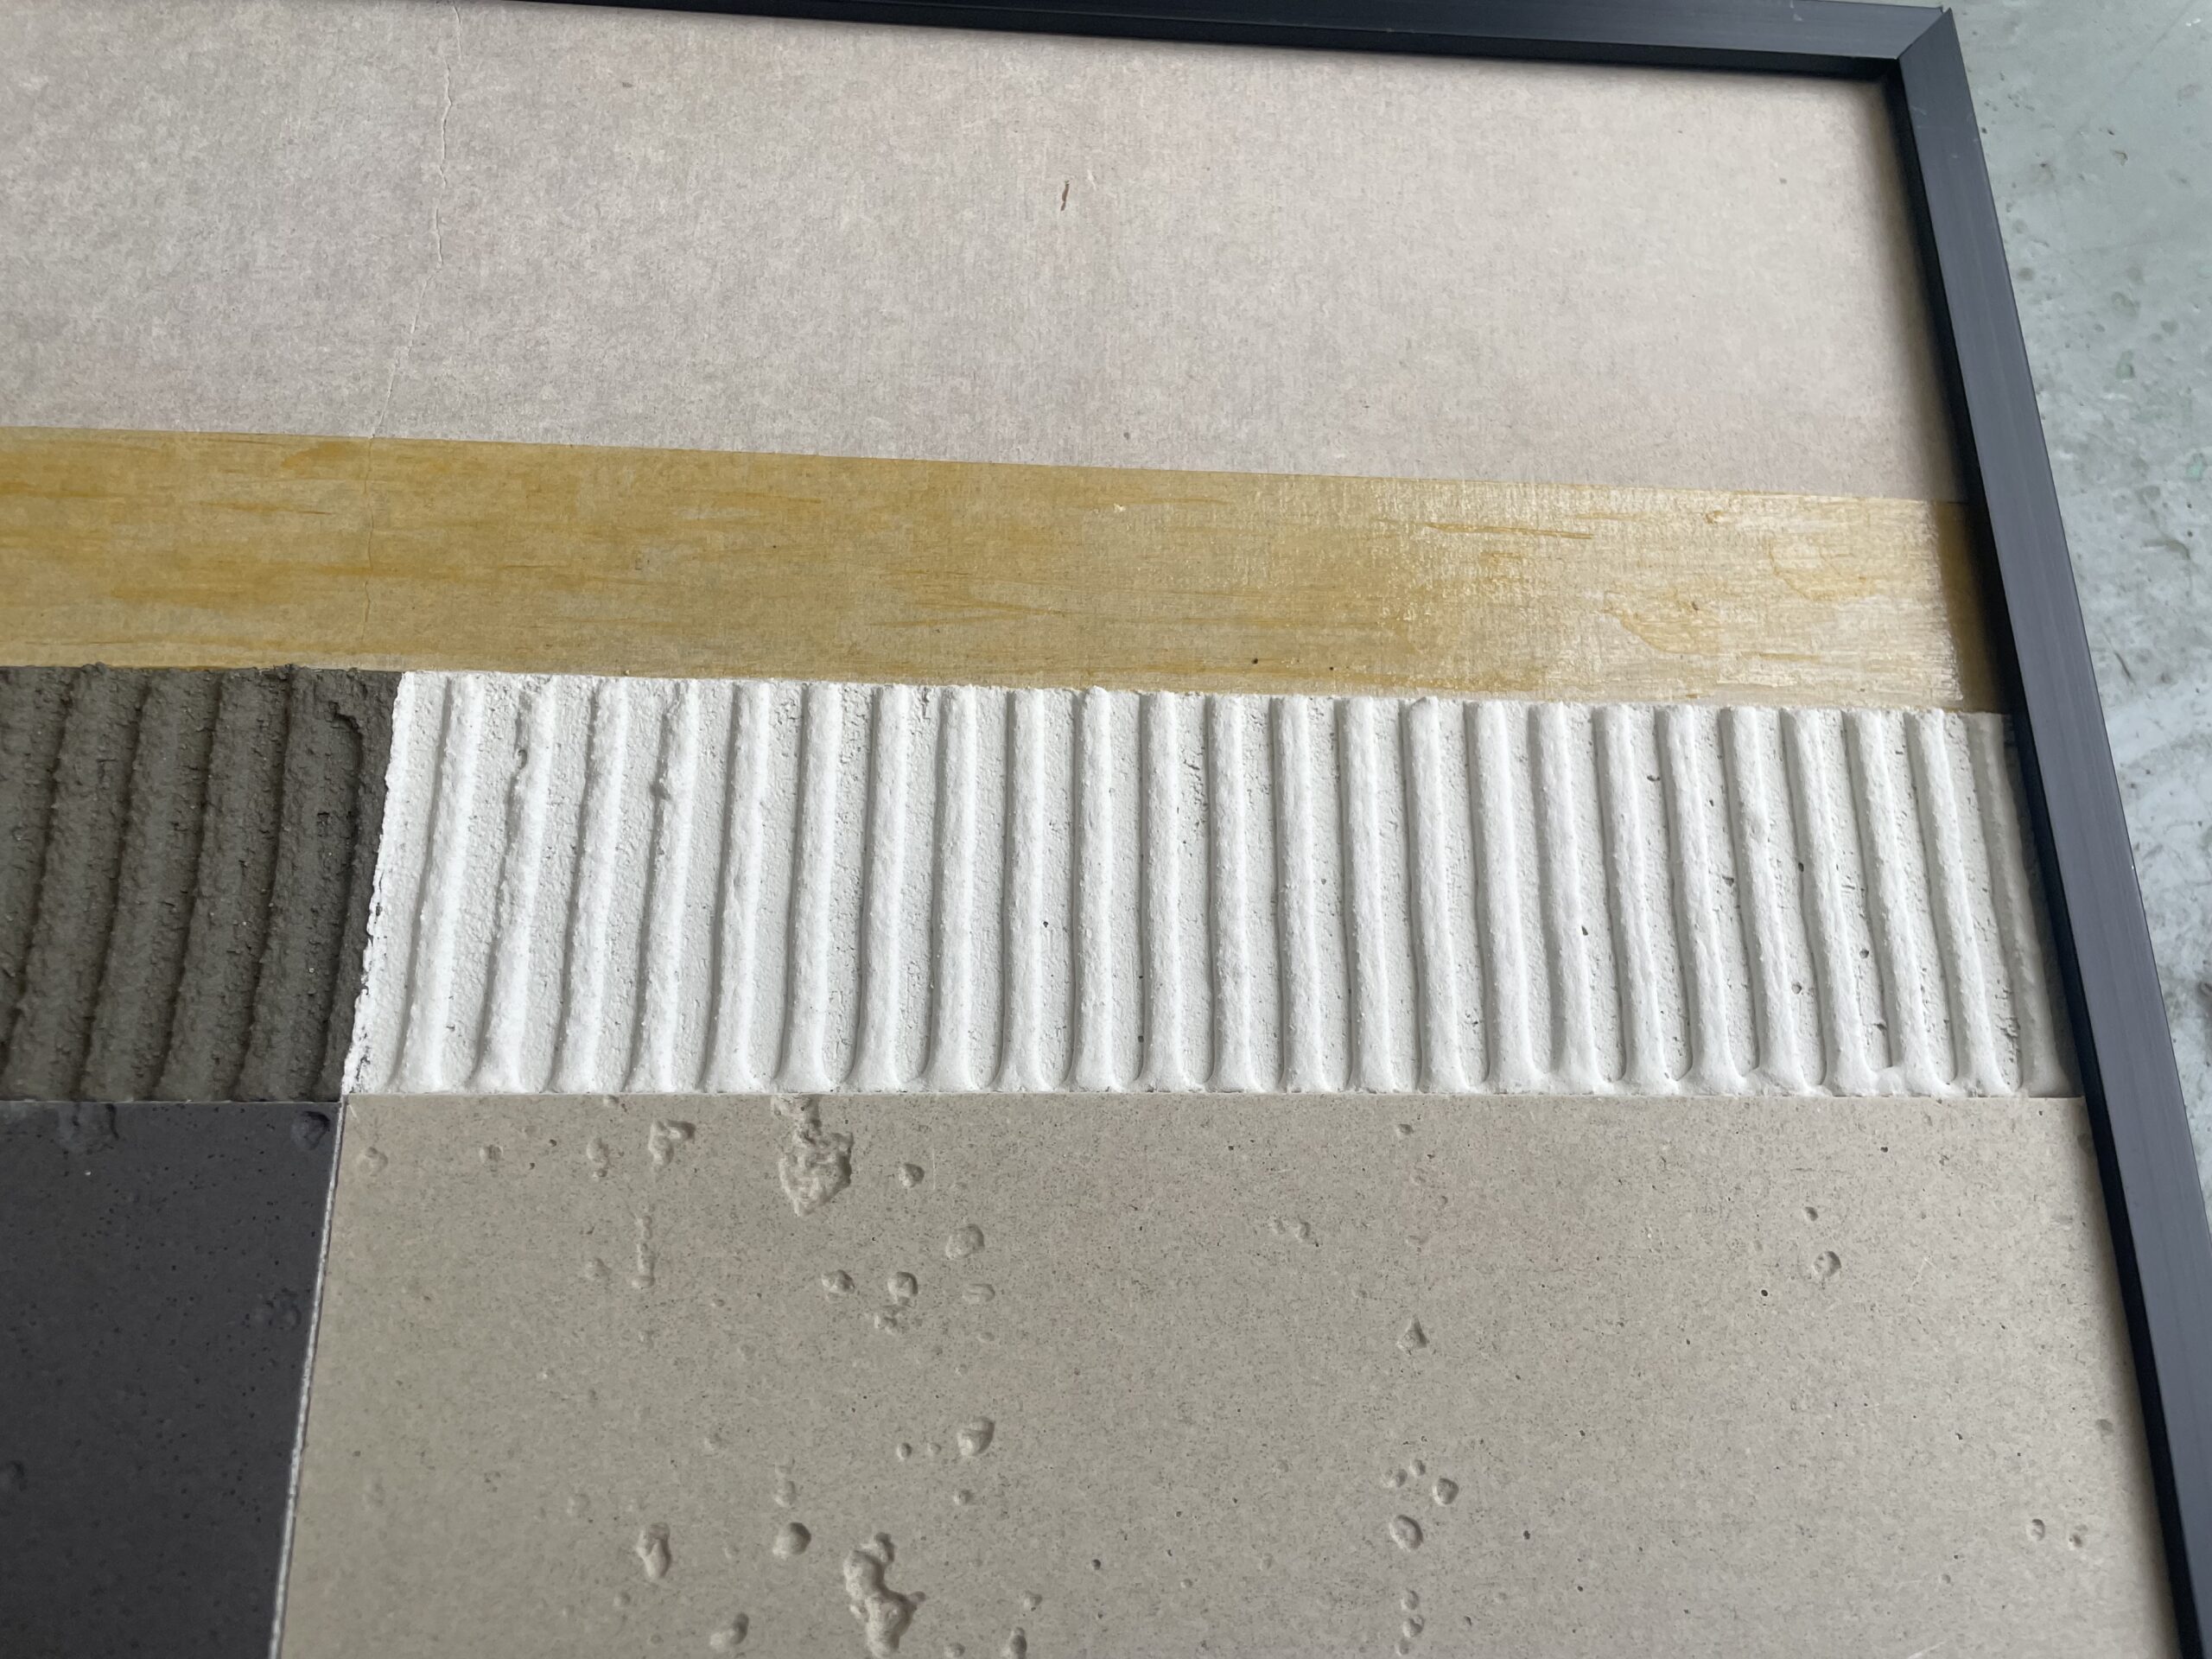
The wall decides how the job goes. A sound, dry and reasonably flat substrate takes a thin panel with a dedicated adhesive.
The surface should be clean, dry and free of loose material, grease and dust. Small hollows can be filled before the first sheet, so the panel does not bridge a soft spot.
On an existing finish the panels can often bond straight over the wall. That is the point of a light sheet, and it is why a refurbishment can move room by room. Where a wall is uneven, a slightly thicker panel levels small variation.
Moisture and temperature matter as much as flatness. A damp wall holds adhesive poorly, and a cold room slows the set. The substrate should be dry and within the working range on the day of the fix.
On a large refurbishment the wall is checked room by room. That keeps the pace steady and the quality even across the whole floor.
Depth affects how the sheet sits and bends, so it is worth matching the panel to the wall before the order. The range behind that choice is explained in the guide to flexible stone thickness.

Setting the First Panel and the Line
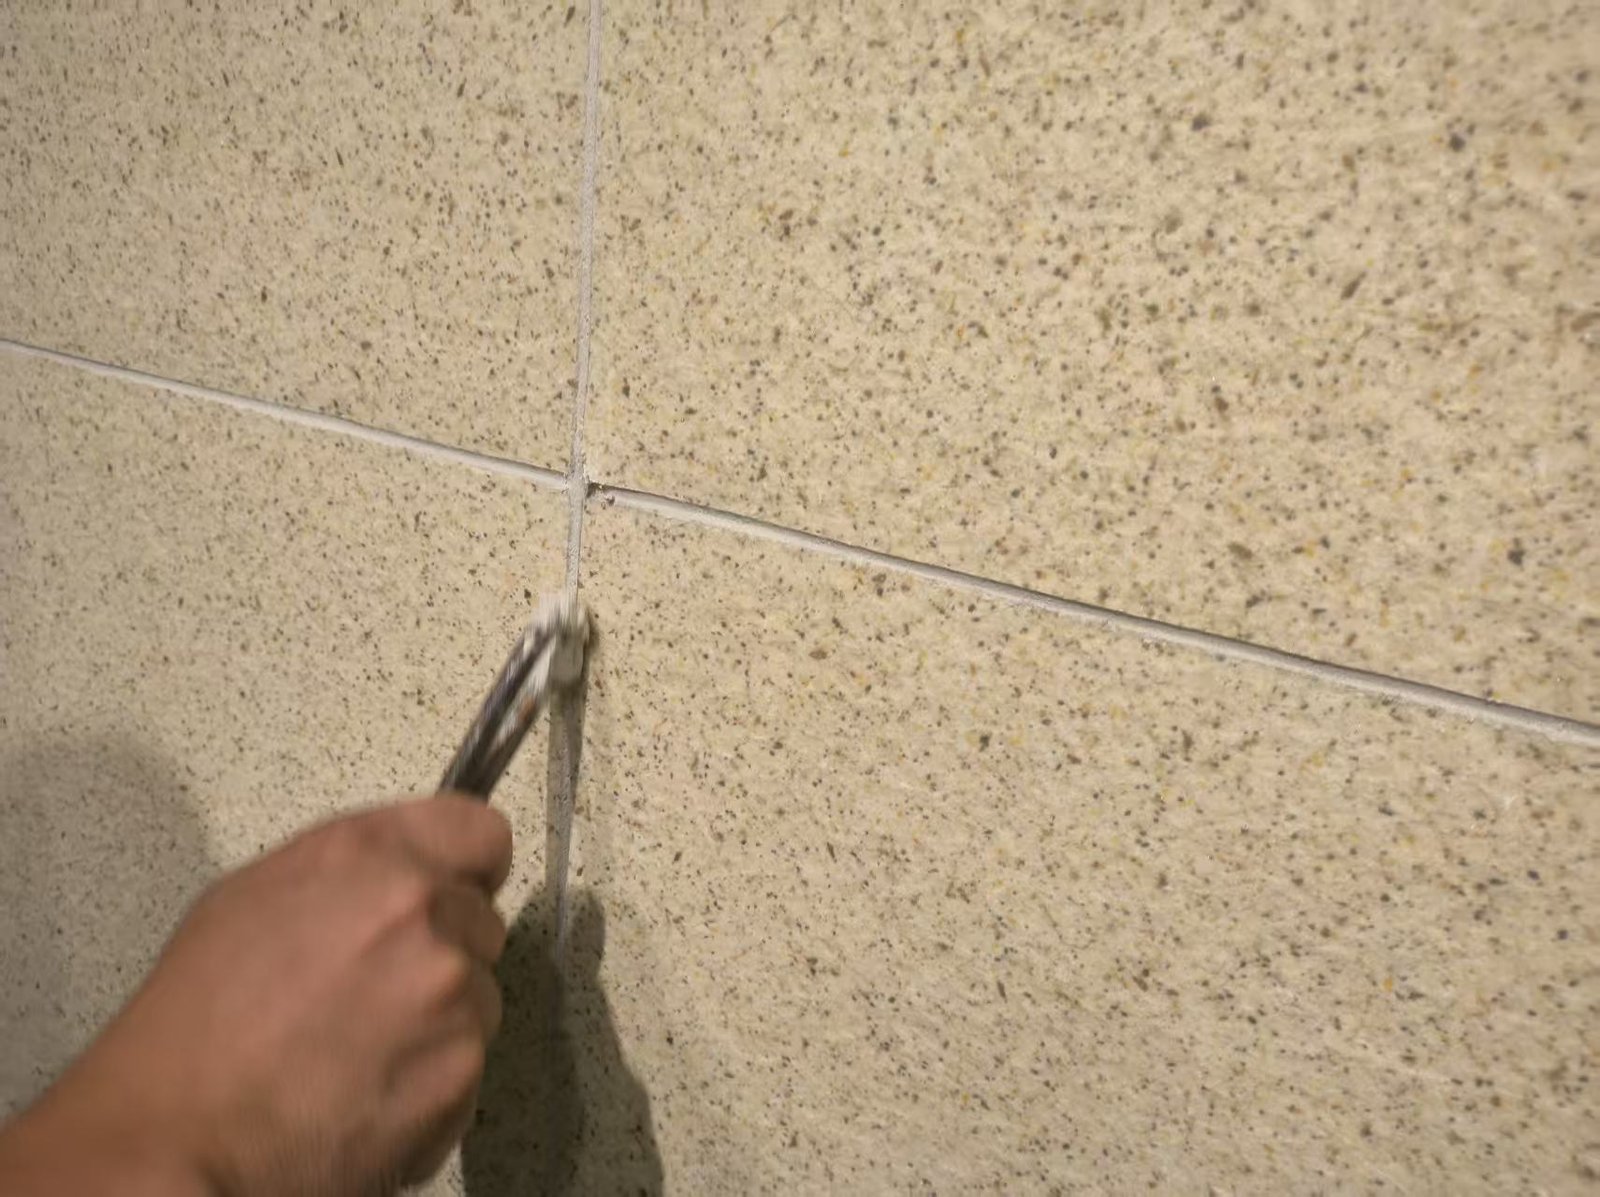
The first sheet sets the wall. A chalk line or a laser gives a true edge, and the first panel follows it. Every panel after that reads from the one before.
Adhesive is spread over the back or the wall in an even, notched line. The sheet is pressed on and rolled flat, working from the middle out so trapped air leaves at the edges.
Panels butt against each other with a tight joint. The pattern runs across the joints, so the eye reads one stone surface instead of a grid of sheets. A fitter checks level and plumb after every run.
Because the sheet is light, two people can set a tall run without scaffolding. On a large wall the panels are worked in bands, so the line stays true across the whole face.
Adhesive coverage sets the bond. A notched trowel leaves ribs that spread under the roller and fill the whole back, so the sheet is supported across its face rather than at a few points. Open time is short, so the adhesive is spread in working areas.
A two-person team finds a rhythm on a long run. One spreads the adhesive, the other sets and rolls the sheet, and the line advances in bands. That division of labour makes a fast wall possible without extra scaffold.
Cutting and Fitting Around Corners
A sharp knife or a small saw cuts the sheet to size. The mineral build cuts cleanly and leaves a fine edge, and a fitter can trim a panel on the wall for a tight opening.
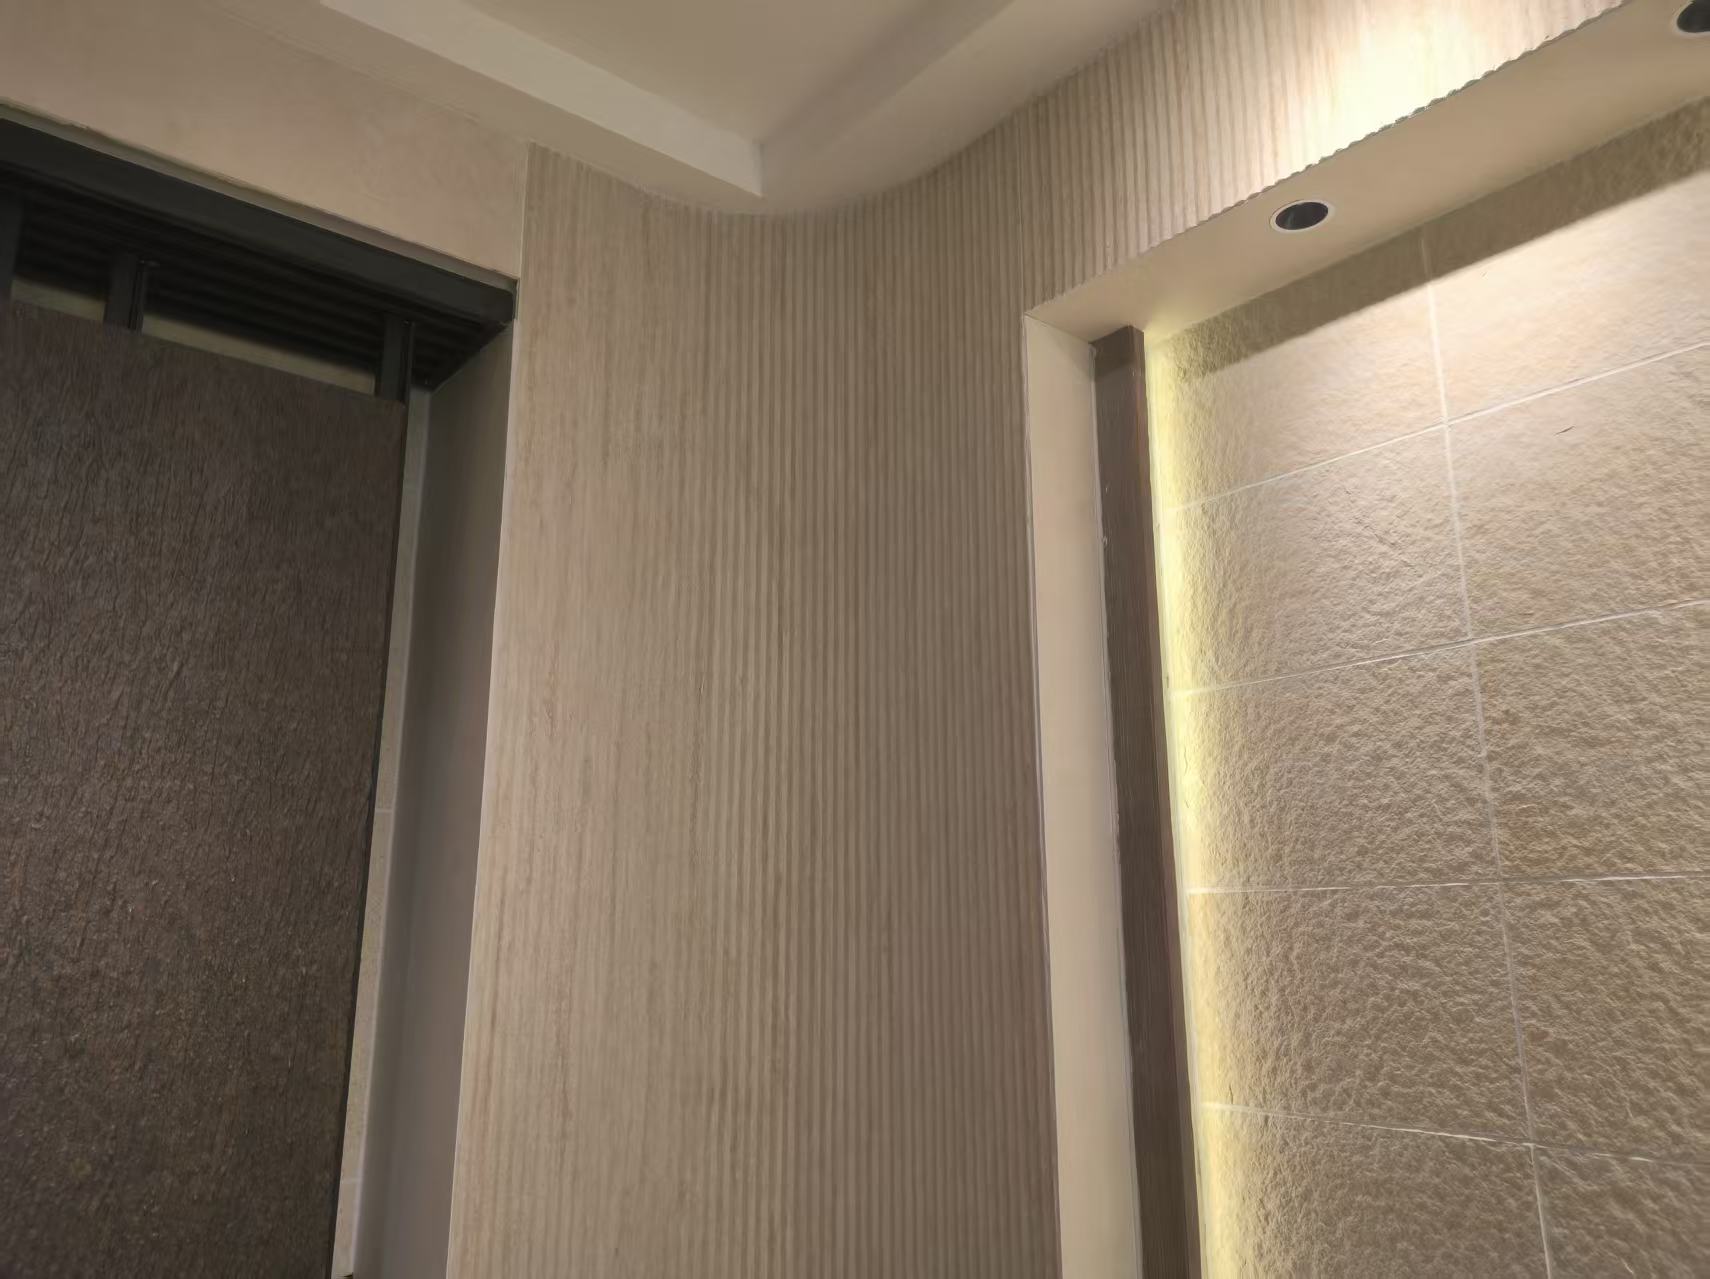
Corners are the place the material earns its name. A thin sheet bends around a rounded corner in one piece, so the stone turns the edge without a visible join.
Where a sharp corner suits the design, two sheets meet in a butt joint and the corner is closed with sealant. The choice between a bend and a butt joint comes down to the drawing and the radius.
The tighter bends are covered in our guide to flexible stone corner installation. For a glowing corner the same method sits behind a light panel, as shown in the notes on backlit panel installation.
Radius is the practical limit of a bend. A general minimum of about 200mm covers most rounded corners. The tighter figures depend on the pattern and the depth of the sheet.
A fresh blade keeps the edge clean where a cut is needed. The offcut can be reused on a small return or a trim, which keeps waste low on a fitted wall.
Sealing Joints and Finishing the Edges
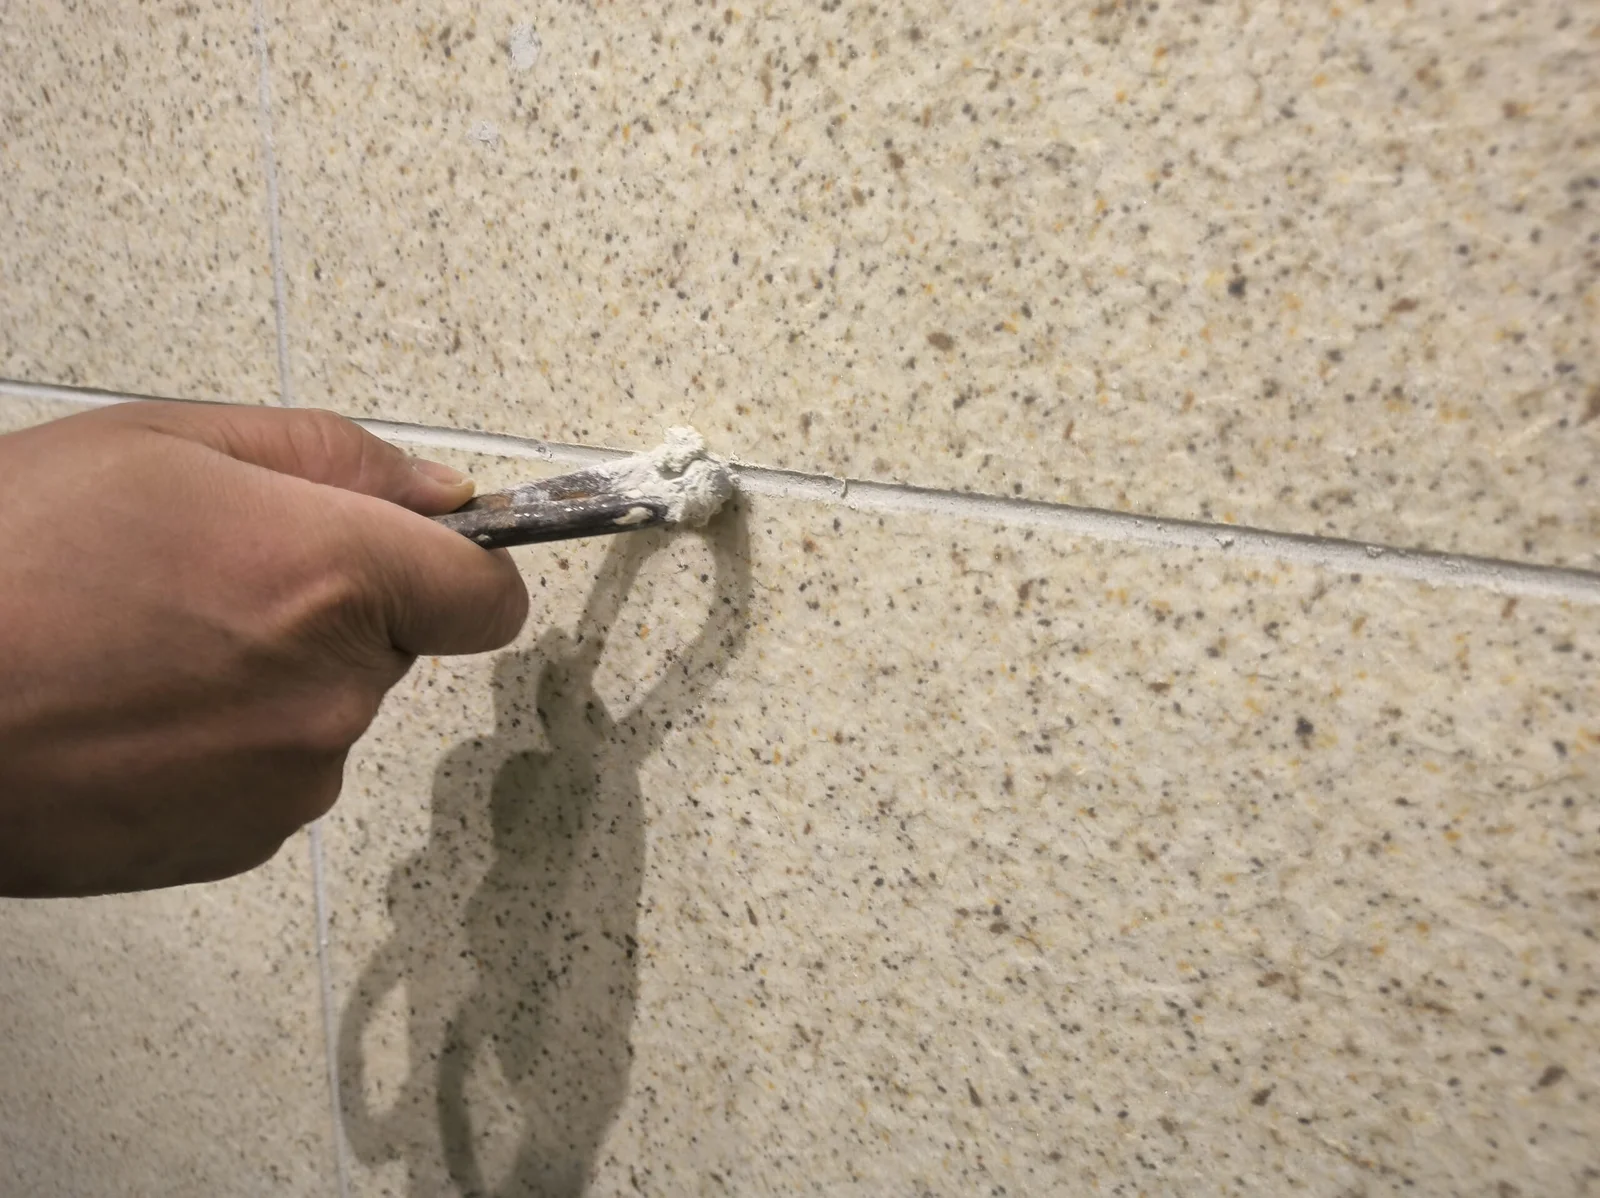
The joint is closed with a matching sealant once the adhesive has set. The sealant follows the colour of the stone, so the joint reads as a shadow line rather than a gap.
A gap tool keeps the joints even across the wall. A consistent joint does more for the finish than a tight one, because the eye reads the pattern and not the grid.
Fire class holds across the range. JMS Decor flexible stone is tested to ASTM E84 Class A, with a flame spread index of 25 or below, and to EN 13501-1 Class A2 for European projects. The factory runs a quality system to ISO 9001 and ISO 14000, and production keeps a defect rate below 1 percent.
Because the panels are light, they fix over an existing finish in a refurbishment. That removes the demolition and the dust of a tile strip-out, and it lets a crew work at night and hand the room back in the morning.
A clean finish comes down to the joint and the edge. The sealant is worked into the joint and wiped while it is fresh, so the line stays crisp. At an opening or a floor line, an edge trim closes the sheet and protects the cut.
Frequently Asked Questions on Installation

Fixing questions come up before an order is placed, because they touch the wall, the labour and the timeline. The answers below cover the ones crews raise most often, and each points back to the method behind it.
Is flexible stone veneer installation hard to learn?
The method is simple and light. A crew spreads a dedicated adhesive, presses the sheet flat and closes the joints. There is no mortar bed, so a fitter with basic hand-tool skills picks it up quickly.
What tools do I need for the fixing?
A notched trowel, a knife or small saw, a roller, a level and a chalk line cover most walls. Adhesive, sealant and installation accessories come from the same factory as the panels, so the kit matches the sheet.
Can panels fix over an existing wall?
Often yes. The light sheet can bond over a sound existing finish, which removes demolition and dust. The wall should be clean, dry and reasonably flat, and a slightly thicker panel can level small variation.
How are corners and curves handled?
A thin sheet bends around a rounded corner in one piece, so the stone turns the edge without a join. A sharp corner uses a butt joint closed with sealant. Bends depend on the pattern and the depth.
How do I confirm the method before ordering?
Standard patterns are sampled in 2 to 3 days and a private colour takes about 7 days. The panel, the adhesive and the accessories can be confirmed together before the order, and the standard minimum is 300 square metres.

The method sits inside the wider set of build articles under installation and maintenance. The sheets themselves are made by the flexible stone wall panel manufacturer behind this range.