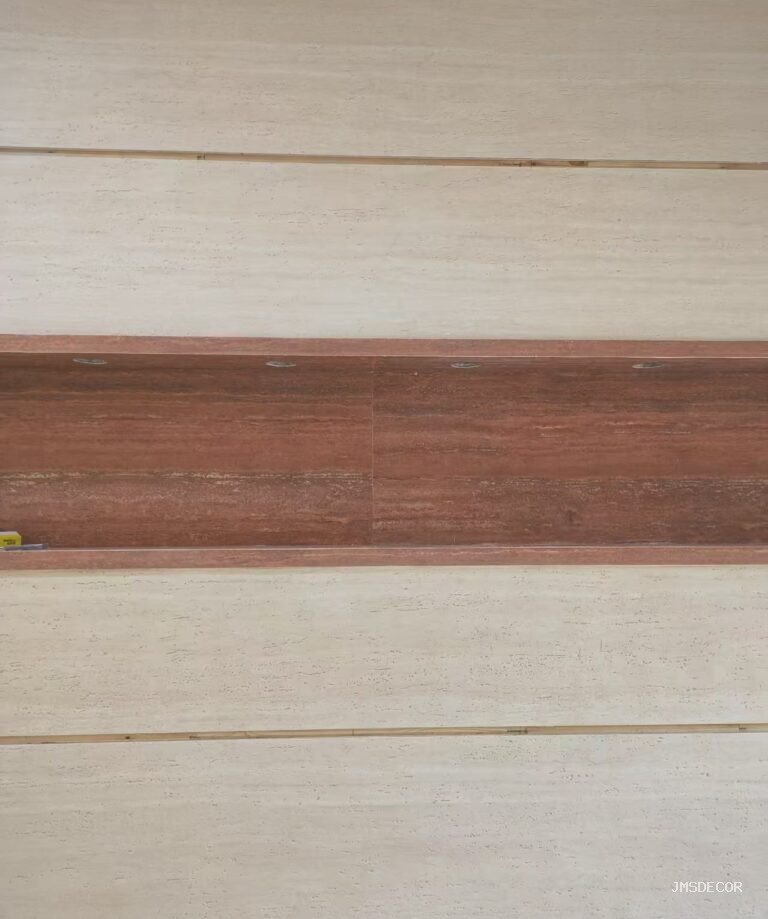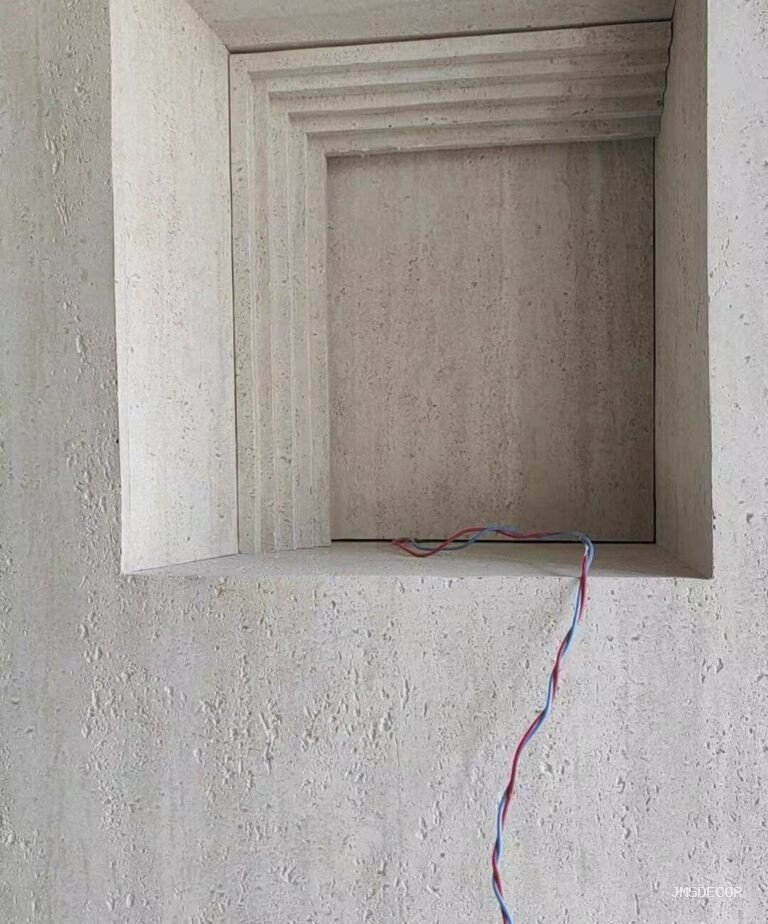
The clean finish around a socket, a switch, or a pipe penetration is decided before the panel is cut, not after. Flexible stone veneer is a thin 2–8 mm sheet bonded to the wall, so an opening cut too late or too small leaves a raw edge, an exposed adhesive line, or a cover plate that will not seat. The work splits into two responsibilities people mix up: the electrical box is a licensed-electrician matter, and the stone cut and edge finish is the installer’s. This guide separates the two, gives the cut sequence, and names the acceptance checks that stop “close enough” becoming a callback. It covers interior and exterior openings and the wet-room cases where the joint also has to stay watertight.
Who owns the box and who owns the stone?
Split the job at the box. In most jurisdictions an electrical box and its wiring may only be worked by a licensed electrician, and the code requirement that a box remain accessible is an electrical rule, not a tiling one. The installer’s job is to bring the stone to the box cleanly and leave the box reachable; the electrician’s job is to make the box correct before the stone closes around it.
That division matters on a veneer wall because the finished surface moves outward. Flexible stone, its adhesive bed, and any primer add a few millimetres to the wall, so a box that was flush on the bare wall can end up recessed behind the new surface. A recessed box forces the cover plate to sit on the stone, and a plate that does not sit proud of the finished face is the usual cause of a gap, a cracked tile-look edge, or an inspection failure. Whether to extend the box, and with which listed part, is the electrician’s call — raise it before the first panel near an outlet goes up, not when the plate will not fit. Box accessibility is governed by the electrical code; in North America the relevant requirement is in the NFPA 70 National Electrical Code, and the electrician, not the stone installer, owns compliance.
Should the veneer go over or around an outlet?
The panel is cut to the opening; the opening is not covered by the panel. A flexible sheet laid over a live box hides the box, which is both a code problem and a maintenance problem — nobody can service the device without guessing where the hole is. The correct sequence is to position the box first, then cut the stone to meet it.
Where the layout allows, plan the sheet seam so the box falls in the middle of a full sheet rather than on a joint line. A cut in the field of a sheet is easier to keep clean and square than a cut straddling a seam between two sheets, where a small error shows on both pieces. Where the box must sit near a seam, accept it deliberately, and make the cut around the box on the sheet whose edge the cover plate will visually dominate.
How do you cut a clean opening without chipping the face?
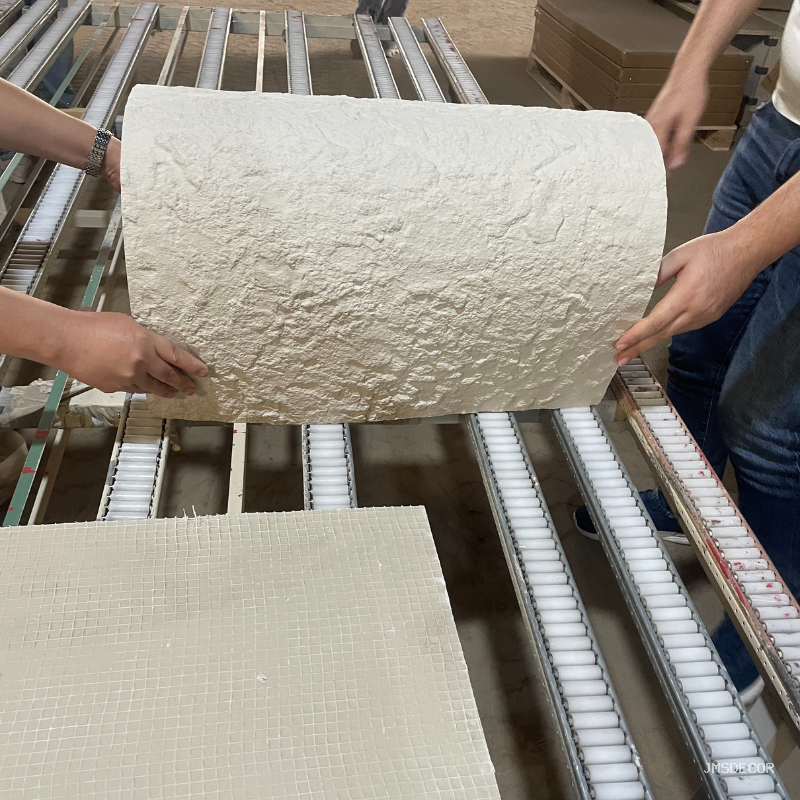
The face is the fragile side. Flexible stone-powder and binder layer over a fiberglass mesh backing; a careless cut tears the face or lifts the mesh at the edge. A repeatable method keeps the break on the back and pushes the clean edge to the front.
- Template first, never freehand. Make a card or thin-cardboard template of the opening, place it on the sheet, and scribe around it. This removes the “measure twice on the wall” error where the sheet is already in adhesive.
- Round openings, then square. A circular hole-saw or hole attachment starts the opening and controls the corners. Cut slightly inside the finished line, then nibble to the scribed line with fine snips or a carbide-grit blade. Cutting straight with a jigsaw leaves a jagged edge you cannot fix with filler.
- Cut from the back. Score or cut toward the back so any micro-chipping lands on the mesh side, not the visible face.
- Support the sheet fully. Lay it on a flat board while cutting; an unsupported sheet flexes and the cut wanders or the face cracks away from the line.
- Clean the edge once. Lightly dress the cut edge so it is not sharp or ragged, then inspect it. This is edge finishing, not sanding the face.
How should the gap at the box be finished?
Leave the opening slightly generous rather than skin-tight, so the cover plate overlaps the cut edge. A plate that fully covers the cut hides a small cut error; a cut made too small forces a visible, ragged reveal you cannot hide. The plate, not the stone, should read as the finish line at the device.
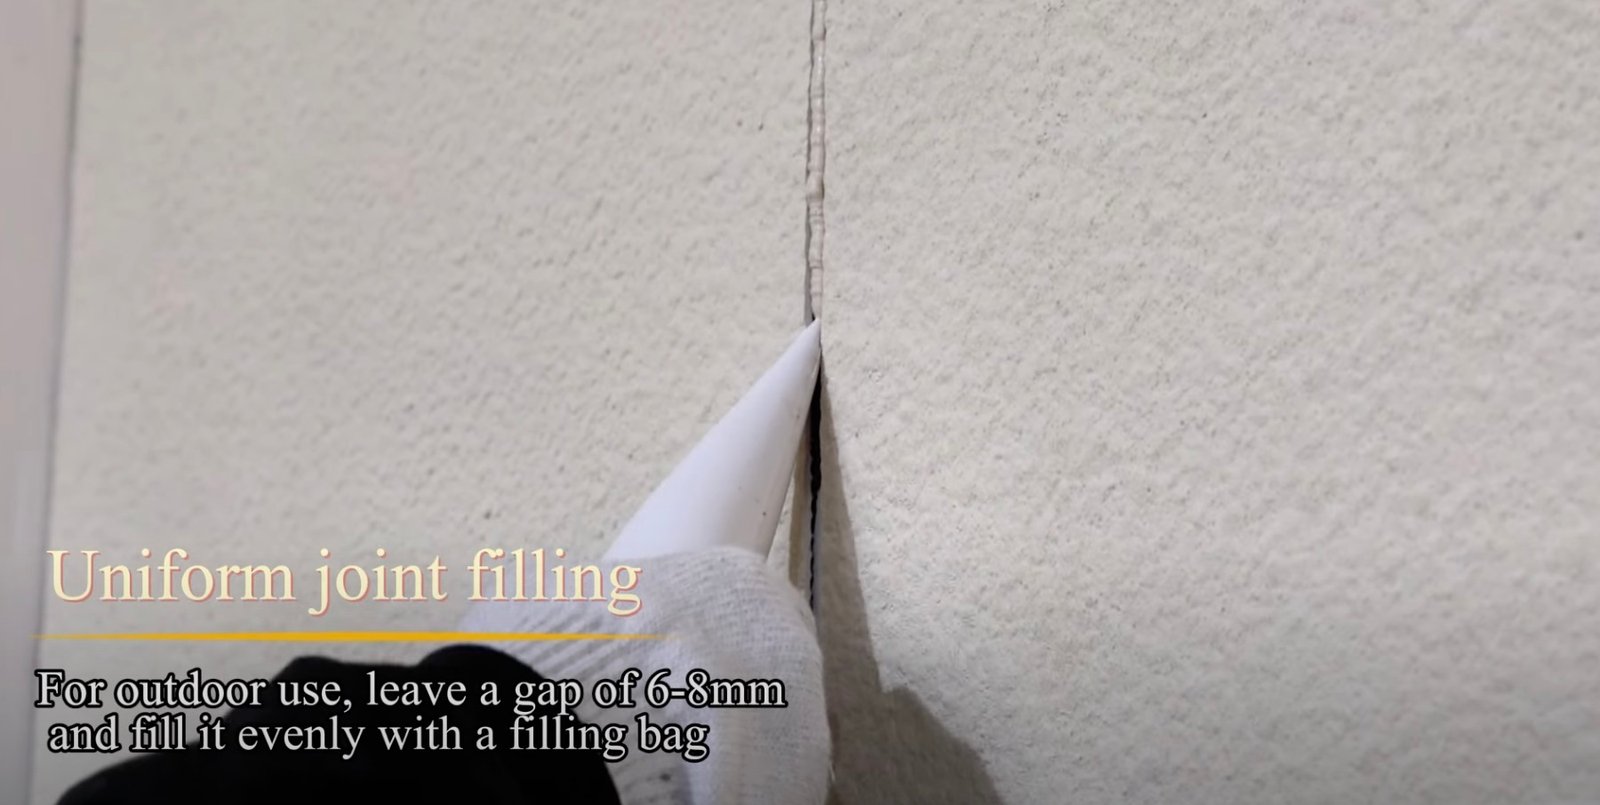
Where the cut edge is exposed beyond the plate — a tight recess or a device with a slim surround — treat the edge the way you would any exposed reveal on the product. Do not fill the gap with rigid mortar or build it up with a sandable filler that will read differently from the stone under light. The right edge treatment follows the manufacturer’s guidance for cut edges; if the system is specified to receive a sealant at the perimeter, use a flexible sealant, tool it neatly, and keep it flush.
How do pipes and exterior penetrations differ from a socket?
An electrical box is a dry, indoor, flush finish. A pipe through an exterior wall, or a penetration that sees water, adds a weatherproofing requirement the stone cannot answer on its own. The veneer is a finish, not a water barrier; around a penetration the drainage and flashing plan governs, and the stone must be detailed so it does not trap water against the substrate or block a drain path.
At these points, the sequence is: make the substrate and its waterproofing correct and flashed; then bring the veneer up to the opening; then seal the transition with a flexible sealant compatible with the face. A sealant is not a substitute for flashing behind the stone, and a neat bead over a wet substrate will fail just as the bond does elsewhere on a wall that was not made dry first. The interior-box logic — box first, cut second — still applies; the extra step is that water management comes before both.
Does a wet room change the rules at an outlet?
In a shower or splash zone, the wall behind the stone is a tanked system, and every penetration of that tank — a niche, a pipe, a boxed-out fitting — is a waterproofing detail, not a tiling detail. A socket or fixture placed on a shower wall has to be handled within that tanked assembly by the trades responsible for it, and the veneer only closes over a detail that is already correct and sealed.
The practical difference from a dry feature wall is that “cut it and cover it” is not enough; the joint at the device must be sealed as part of the wet system and must stay flexible with movement. Our wet-room detailing guide covers the membrane continuity and edge protection behind that; the same principle reaches the outlet and pipe openings. Confirm product and adhesive suitability for the wet zone with the installation manual.
What makes a finish “acceptably clean”?
Agree the standard before the work, because “clean” is where disputes start. For openings, a defensible acceptance check is narrow and visual:
- The cover plate or trim sits flush and full-overlaps the cut edge; no raw stone shows beyond the plate.
- The cut edge is intact — no face chipping, no lifted mesh, no radial crack running from the corner of the opening.
- The opening is square and correctly sized: the device operates freely, the plate lies flat, the box is accessible.
- Any perimeter sealant is continuous, tooled, and colour-consistent, with no voids at the corners.
- Nothing has been concealed — the panel was not bonded over a box to hide a short cut.
Tie the check to the approved sample and the installation manual, the same references a reviewer uses on a submittal package. Where a photograph of an approved detail exists from the mock-up, it becomes the standard for every matching opening on the job.
How do you protect openings until handover?
The cut edges around devices and pipes are the weakest, most visible points on a finished wall, and they are exactly where a careless trade will jab a tool or hang a cable. During the remaining works, keep the box and cut edge clean and guarded; a loose cover plate left off invites a screwdriver to rest on the stone edge. Fit cover plates late, and re-check each opening after painting and after plate fitting — the two moments that most often mark or chip a clean cut. Where a cut does get damaged during the works, a single panel around an opening can often be replaced rather than a full re-clad; our panel-repair guide covers matching a replacement to the approved sample, and the flexible stone veneer range gives the formats and thickness bands that determine how a cut edge is detailed.
FAQ
Can the installer move or extend an electrical box?
No. Box work and wiring are the electrician’s licensed scope, and the code rule that a box stay accessible is electrical. The installer’s job is to cut the stone to the box and leave it reachable. Raise a recessed box early so the electrician can decide.
Should I cut the opening tight or leave a little?
Leave it slightly generous so the cover plate fully overlaps the cut edge. A plate that hides the cut is what makes a small error invisible; a cut that is too small creates a reveal no plate covers.
What tool makes the cleanest opening?
A template and a hole-saw to start, finished to a scribed line with fine snips or a carbide-grit blade, cutting toward the back so any chipping stays on the mesh. A freehand jigsaw cut leaves a jagged edge that cannot be dressed clean.
Can I fill a too-small or chipped opening with sealant?
Not a structurally short cut. A gap a cover plate cannot overlap is a re-cut, not a caulk job. Sealant finishes a sound, slightly-generous edge; it does not repair a cut that is wrong in size or position.
Does an exterior pipe need more than a cut and a bead?
Yes. The waterproofing and flashing behind the opening come first; the stone and a flexible, compatible sealant close over a detail that is already draining. A bead over an unflashed penetration traps water.
Who decides the acceptance line on openings?
The approved detail or mock-up, read with the installation manual. Photograph the agreed standard at the mock-up so “clean” means the same thing at handover as it did at the start.