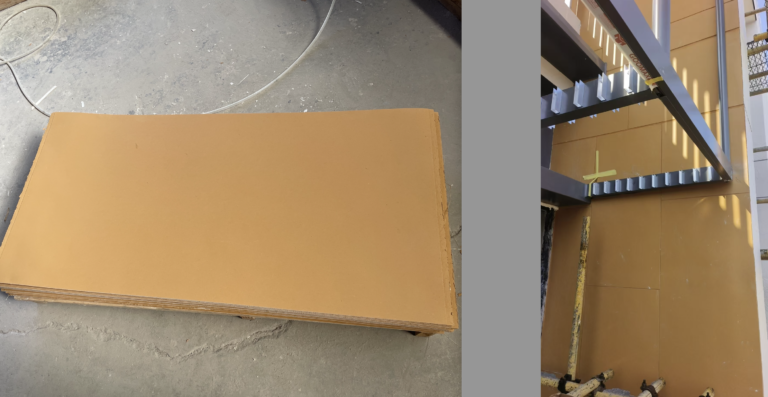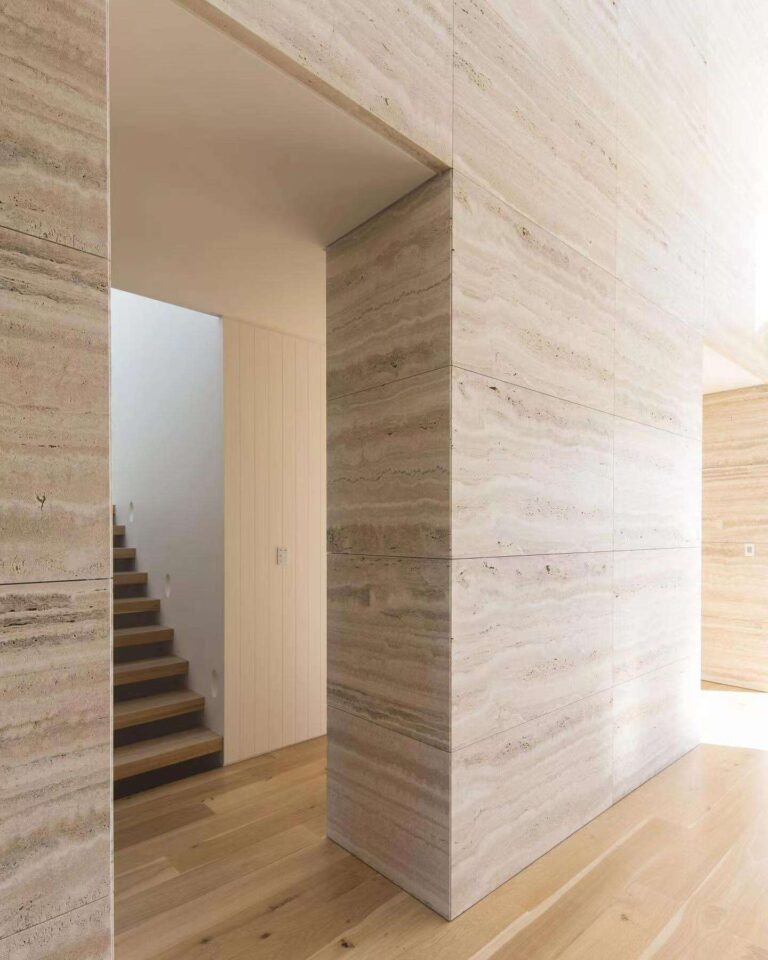
Most damage to a finished flexible stone wall does not come from the stone. It comes from the trades that follow: painters dragging ladders, drywall crews kicking boards, installers stacking materials against a wall that has just been bonded. The protection window runs from the moment the adhesive cures to the moment the site is handed over, and it is cheap to get right and expensive to get wrong. This guide gives the cure-before-you-cover rule, a two-layer protection method, the hazards to guard against, and how to write protection into the works so nobody has to argue about it later.
Why protect the wall before it is even finished?
A newly bonded flexible stone wall looks complete the day it goes up, but the bond behind it is still developing. Adhesive continues to cure after placement, and the surface can be disturbed before it has fully gained strength. Impact, vibration, or a load leaned against it during this window can break the bond in places that look perfect on the face.
The second reason is simpler. A feature wall or a retail facade is often installed before the surrounding work is done, so it sits in an active site for days or weeks. The stone face is decorative, not armour. Abrasion from a board edge, a scrape from a scaffold tube, or paint overspray can spoil a panel that cost real money and matched the approved sample.
Treat the wall as a finished surface that must survive an unfinished building. That is a different discipline from installing it, and it belongs in the programme, not in goodwill.
How long before the wall can be covered?
Do not cover a freshly installed wall until the adhesive has cured to the point specified in the product and adhesive guidance, and until the installer confirms it. In cool or damp conditions the cure is slower; in a hot midday sun the wall surface can get hot enough to change how the adhesive behaves. The point is not a fixed number of hours you copy from a forum — it is the cure condition for your system, confirmed by the installer and recorded.
Two practical consequences follow. First, keep the wall free of any load, movement, or cover during the cure. Second, do not trap moisture against a face that is still setting. A tightly sealed plastic sheet against a fresh wall can hold condensation against it, which is the opposite of what the bond needs.

What should the protection look like?
A workable protection is two layers, each doing a different job.
| Layer | What it does | Typical material |
|---|---|---|
| Soft inner layer | Prevents abrasion on the face | Clean non-abrasive fabric, builder’s felt, or a soft-backed sheet |
| Rigid outer layer | Absorbs impact and keeps loads off the wall | Corrugated plastic, foam board, plywood, or a framed screen |
The critical rule is that neither layer bears on the stone. Support the protection clear of the surface so the inner layer rests against the protection frame, not the panel. A board leaned directly against a cured face still risks a scratch or a stain; leaned against a fresh face it risks the bond itself. Hold it off the wall.
Seal the top edge of the protection against falling debris and paint. Protect from below, not only at eye level — the bottom courses take the most impact from carts, materials, and boots.
Which hazards should I guard against?
Name the hazards in order of how often they damage a finished veneer wall:
- Impact. Ladders, scaffold tubes, boards, and trolleys. Guard the corners and the bottom band hardest.
- Abrasion. Anything dragged across the face. Keep the soft layer clean; grit caught between fabric and stone is a sandpaper.
- Chemicals and spills. Paint, solvents, mortar droppings, and cement wash. These can stain or etch; the protection and a prompt clean-down matter.
- Moisture trapped against the face. Airtight wrapping during cure, or wet protection left on too long.
- Cargas sobre la superficie. Materiales apoyados contra la pared o fijaciones taladradas en una pared que no estaba diseñada para ello.
- Rayos UV y condiciones climáticas en los bordes expuestos. Si la pared está en el exterior, los bordes cortados sin acabado o la ausencia de sellador permanecen expuestos hasta que se protejan.
¿Qué debe indicar el registro de protección?
Una breve nota de protección, archivada con el paquete de entrega, elimina la mayoría de las disputas posteriores. Debe registrar la fecha de instalación, el adhesivo y su condición de curado antes de cubrir, el método de protección utilizado, la fecha en que se retirará y quién es el responsable mientras los trabajadores están en obra. Si el proyecto tiene un período de mantenimiento o de subsanación de defectos, indique cuándo se realizará la inspección final de la pared protegida.
Este registro se conecta con el resto de la documentación. El número de lote vincula la pared protegida con el lote aprobado, y la nota de protección debe acompañar al paquete de envío que el revisor aprobó.
¿Cuándo debo retirar la protección y qué debo revisar?
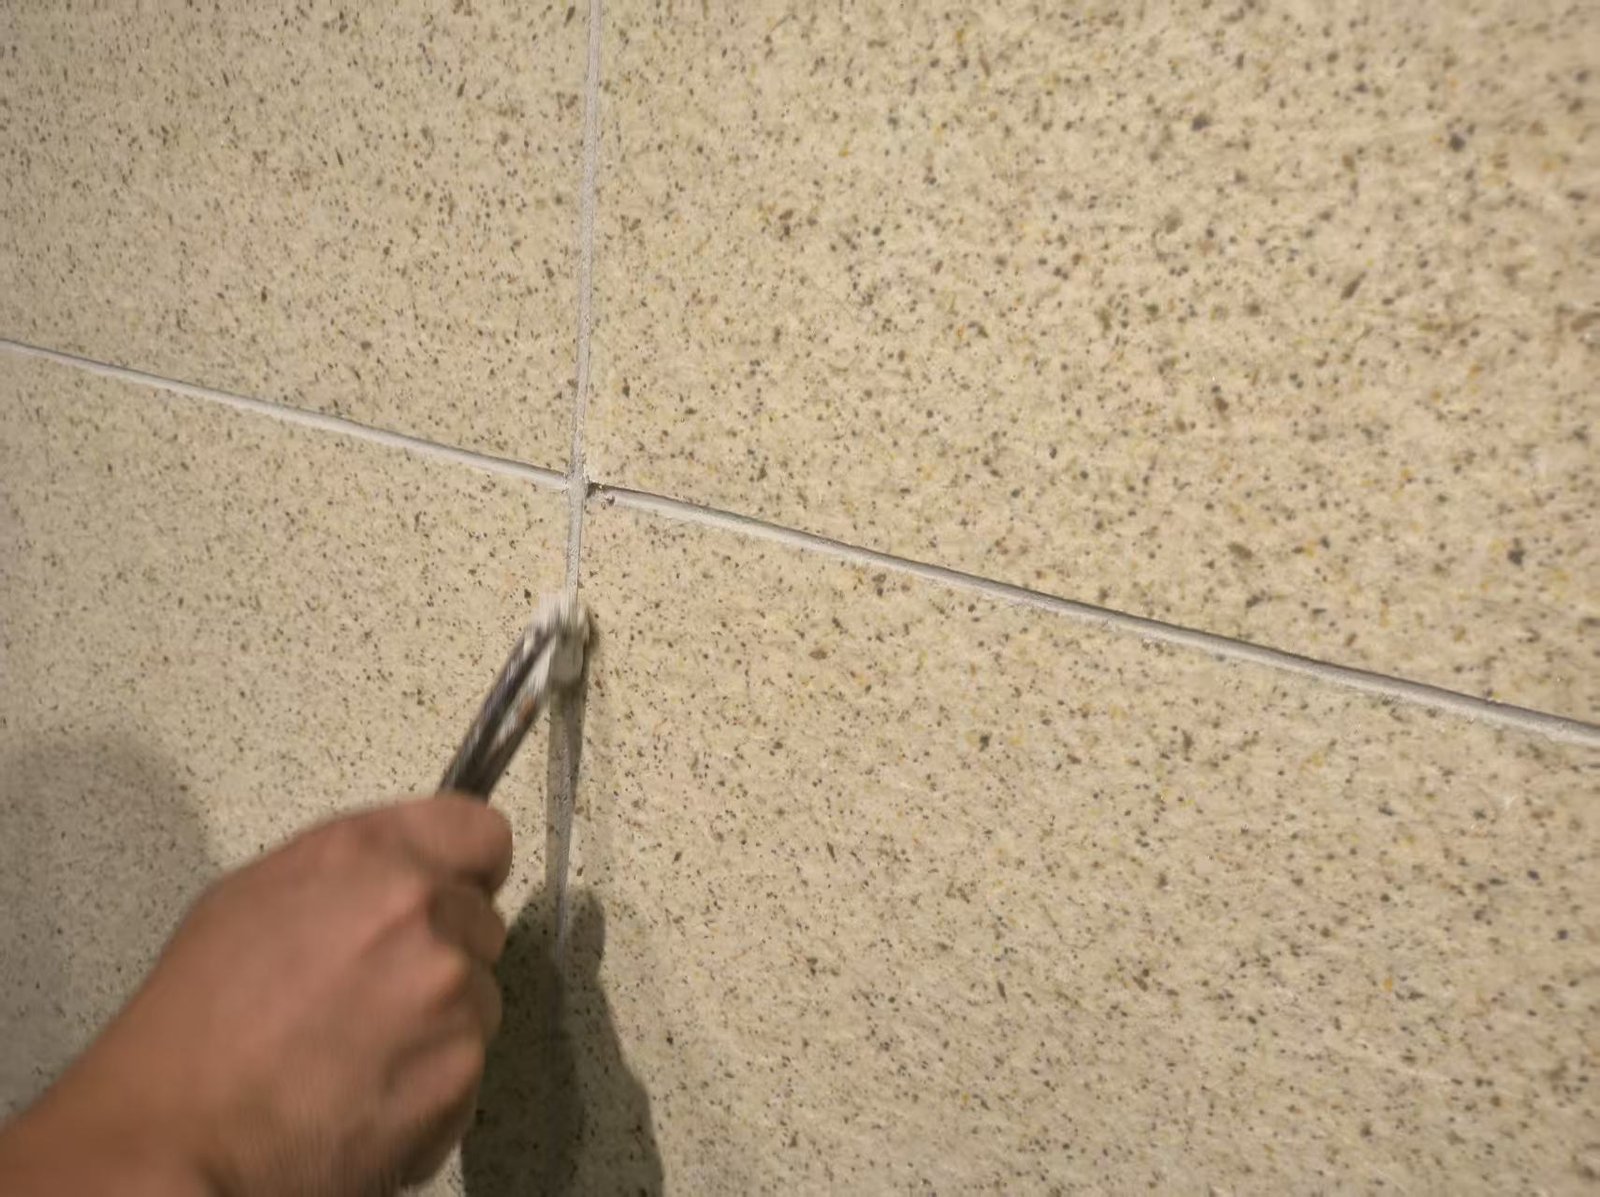
Retire la protección tan pronto como terminen los demás gremios y antes de la inspección final de entrega, no el último día. Una vez retirada, inspeccione la cara a luz normal y luz rasante, desde distancia y de cerca. Revise esquinas, bordes, juntas y la franja inferior donde se concentra el impacto. Busque arañazos, manchas, marcas de pintura y cualquier panel que se haya movido o despegado durante los trabajos.
Limpie según las instrucciones de limpieza y mantenimiento del producto en lugar de improvisar; un limpiador equivocado puede causar más daño que la pintura que se pretendía eliminar. Nuestro guía de limpieza y protección indica qué es seguro para la superficie finalizada.
How do I keep other trades off the wall?
The technical protection only works if the site management supports it. Three things help. Put the wall into the programme as a finished item, so scheduling does not park a trade against it. Signpost the protected area with a clear notice naming the material and the “do not lean, do not drill” rule. And make one named party — the subcontractor who installed it, or the general contractor’s site lead — responsible for the protection until removal.
Model building codes treat adhered exterior wall finishes as a specified assembly with inspection points, which is a useful reminder that a finished veneer is subject to acceptance criteria, not to whoever needs a place to lean a ladder next. The International Code Council publishes the codes most jurisdictions adopt; where the wall is part of a permitted exterior assembly, the inspection and acceptance obligations are set by that code, not by site convenience.
Where the wall is a showpiece — a lobby, a feature stair, a retail entry — protect it first, before the adjacent trades start, not after the first scratch appears. Retrofitting protection after damage is the expensive version of the same task. The same revestimiento de piedra flexible that finishes those feature faces is what you are defending: keep its formats and pattern references on file so a damaged panel can be matched and replaced rather than guessed at.
What changes between indoor and outdoor protection?
An interior feature wall is protected from people and materials — impact, abrasion, paint, dust. An exterior facade is also protected from the weather and from work on the building’s face while the wall is still exposed.
Outdoors, three things add risk. Rain can carry dirt onto a face that is still curing or that has an unfinished cut edge; a breathable outer layer that sheds water, without sealing the wall in, is the balance. Sun-heated surfaces change how adhesives and sealants behave, so the cure window should be planned around the wall’s exposure, not the calendar. And scaffolding on an exterior wall puts a permanent impact hazard right against the finish for the length of the job, which is exactly where the rigid outer layer earns its cost. A finished retail facade that is left wrapped against the weather for weeks can trap damp behind the wrapping, so schedule the removal with the same care as the installation.
Indoors, the hazards are more predictable — ladders, boards, trolleys, and paint — and the fix is mostly discipline: protection in place before the next trade starts, and one person accountable until it comes off.
PREGUNTAS FRECUENTES
Can I wrap a fresh wall in plastic for protection?
Not tightly against the face while the adhesive cures. Trapped condensation against a setting bond is a problem. Follow the cure condition and use a breathable layer held clear of the surface.
How many layers of protection do I need?
Two: a soft layer against abrasion and a rigid layer against impact, with neither bearing on the stone. A single hard board against the face trades a scratch for a stain or a bond disturbance.
Who removes the protection?
Whoever owns it in the programme. Agree it in writing so the wall is not left wrapped past handover or stripped while other trades are still working.
What if a panel is damaged during the works?
Document it with photographs and the batch number, and treat it as a repair, not a re-clad. The panel-replacement guide covers matching a repair to the approved sample.
Does the stone need sealing after protection comes off?
Only if the product guidance says so. Follow the cleaning and maintenance instructions for the specific system rather than applying a general sealer.