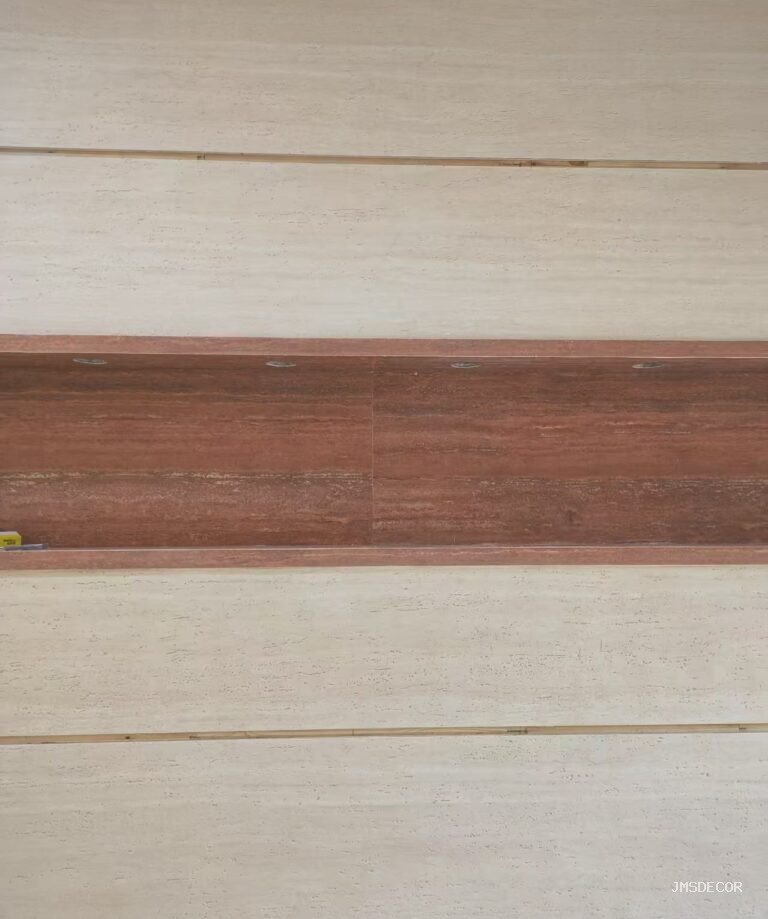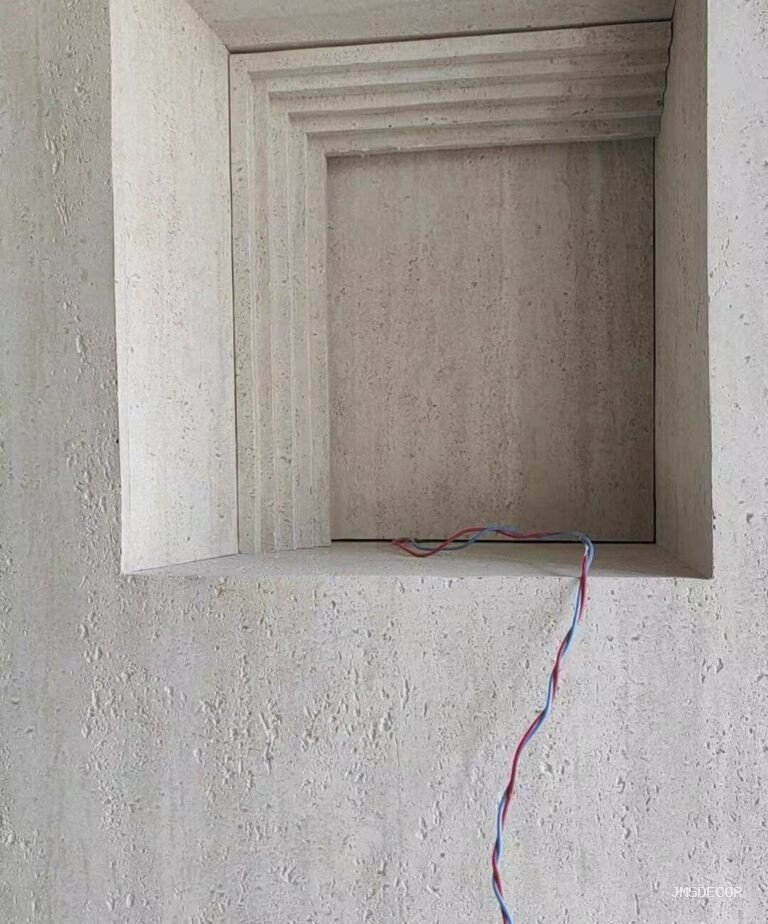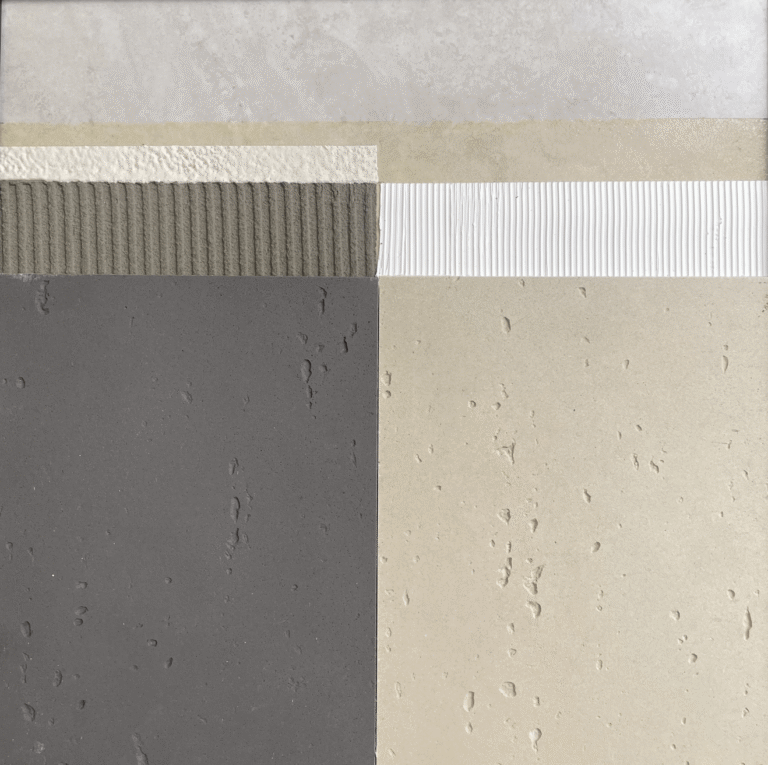
Stone on one side, timber slats on the other, and a shadow line where they meet: it is one of the most specified feature-wall details in commercial fit-out, and one of the least documented. The reason is that it is not really a stone detail or a timber detail — it is a junction between two materials with different movement, different tolerance and different trades, and each trade will assume the other has set the datum. This guide sets out what has to be decided before either material goes on the wall: which plane sits forward, how the junction is closed, what happens behind it, and how the fire and moisture strategy survives the meeting point.
Why the stone-to-timber junction fails
Timber slat panels and flexible stone move for different reasons. Timber takes on and gives up moisture with the room, so a slat array can change width across the seasons, and its fixings have to allow that. Flexible stone is a mineral composite with a fiberglass mesh back; it does not swell with humidity the way timber does, but it is thin enough to telegraph whatever the substrate does beneath it. Put the two hard against each other with a tight butt joint and the gap will either open — when the timber shrinks — or crush the slat edges on the dry side.
There is a second, less obvious cause. Slats are usually built as a framed array with its own substrate, set off the wall by battens. Stone is bonded directly to a flat substrate. The two systems therefore have different finished depths, and the junction is where the depth difference has to be resolved. If that is left to the site, someone forces one material to meet the other, and the result is a taper that runs the length of the wall.
Which plane sits forward, and who decides?
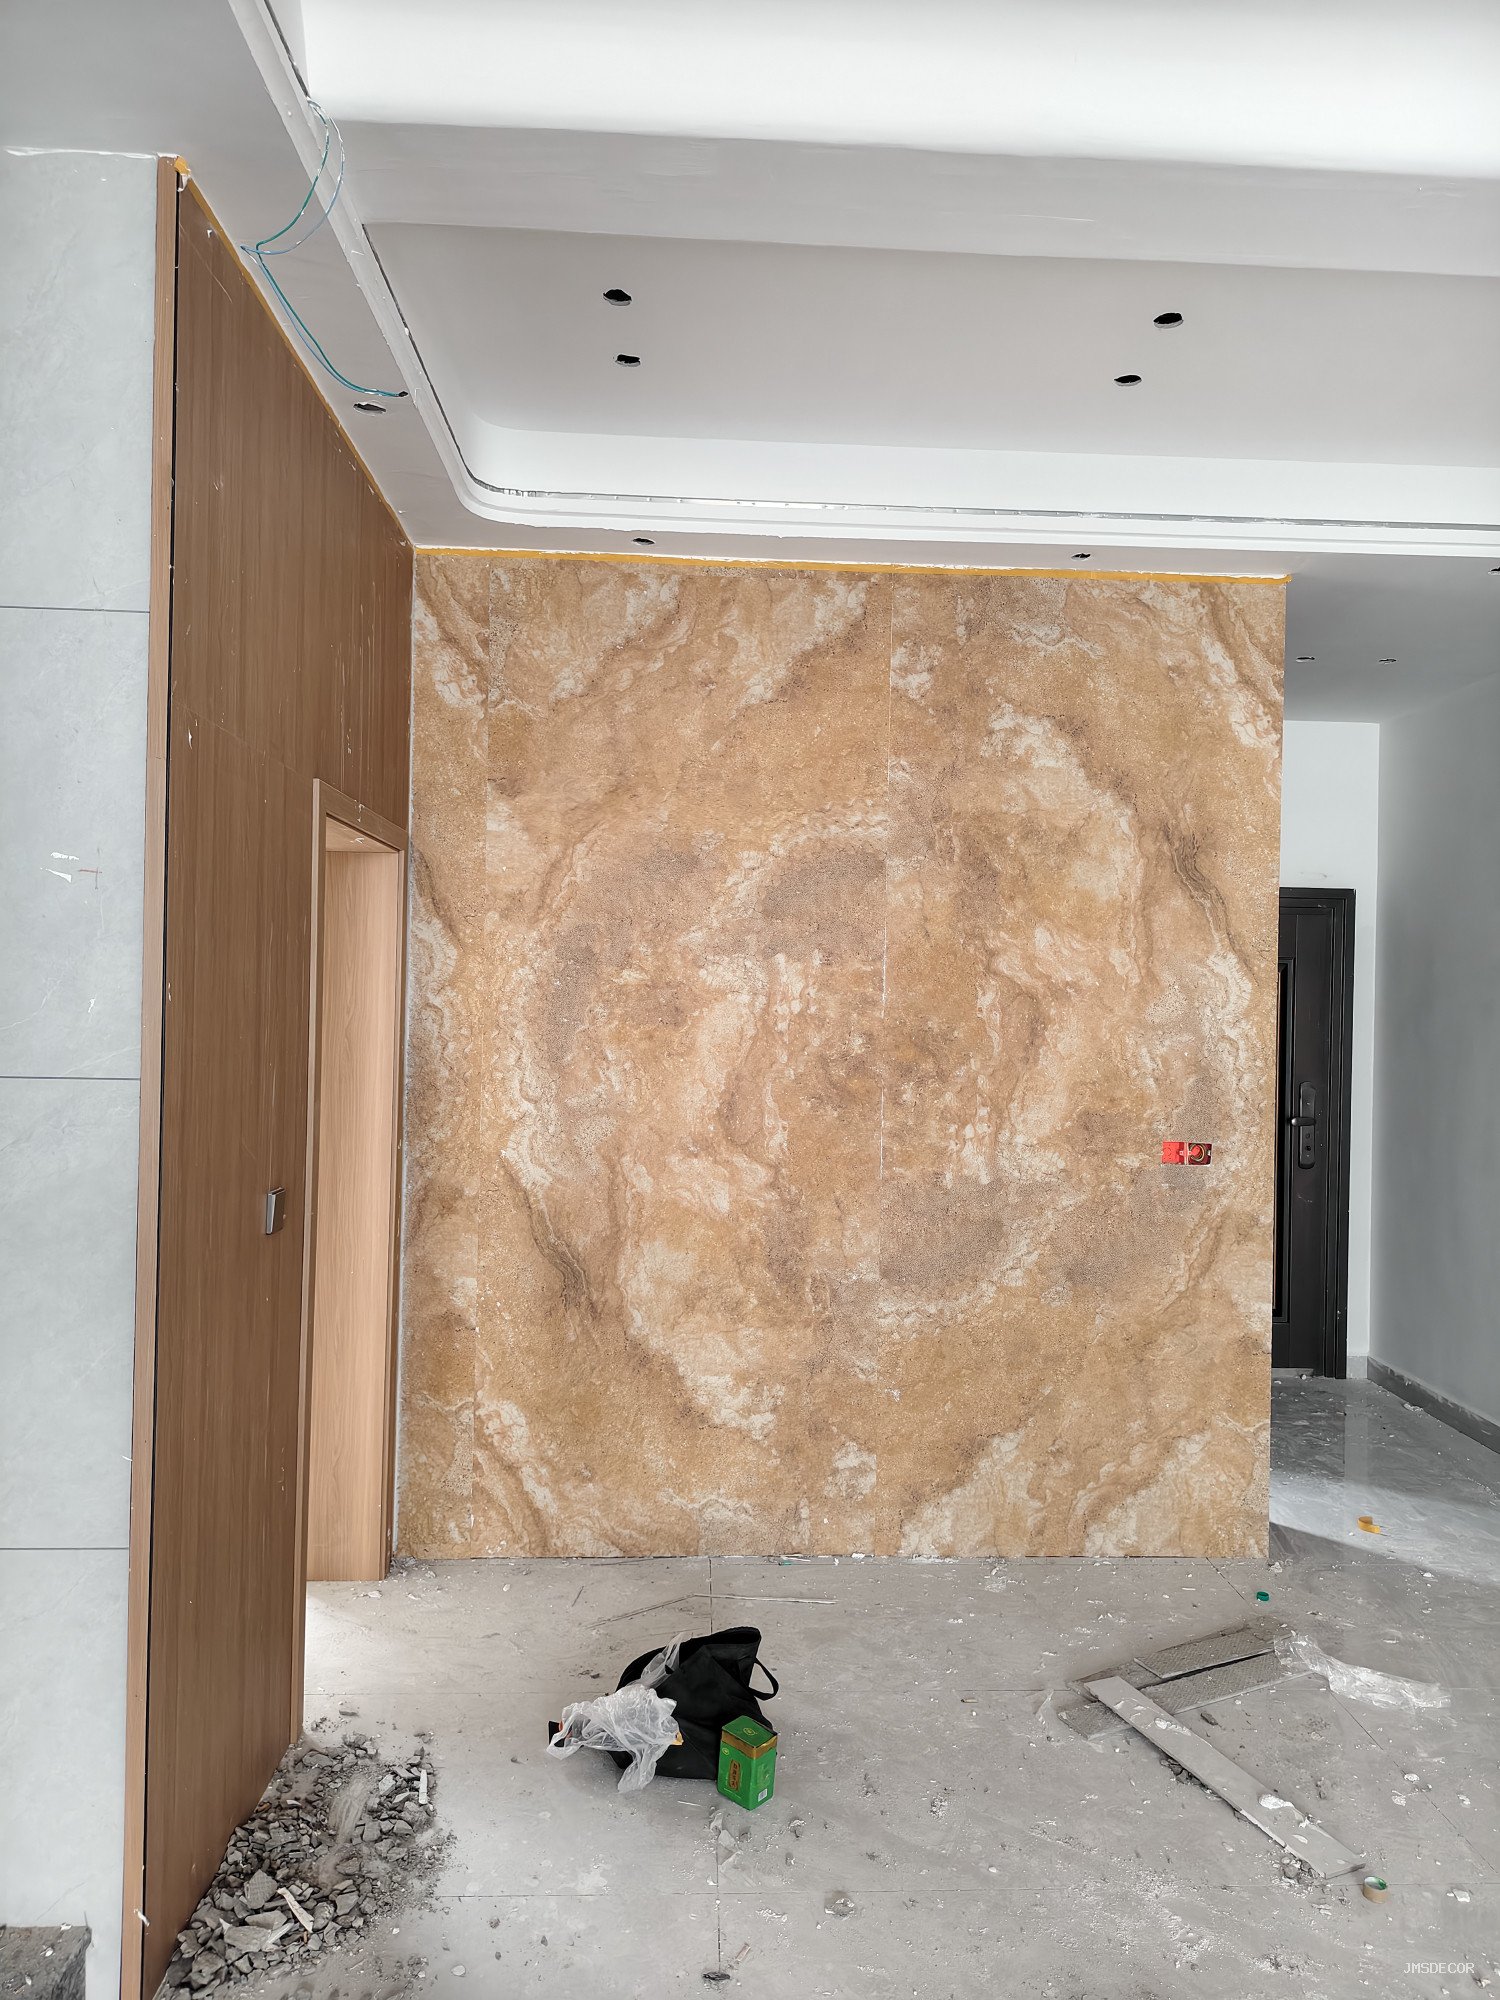
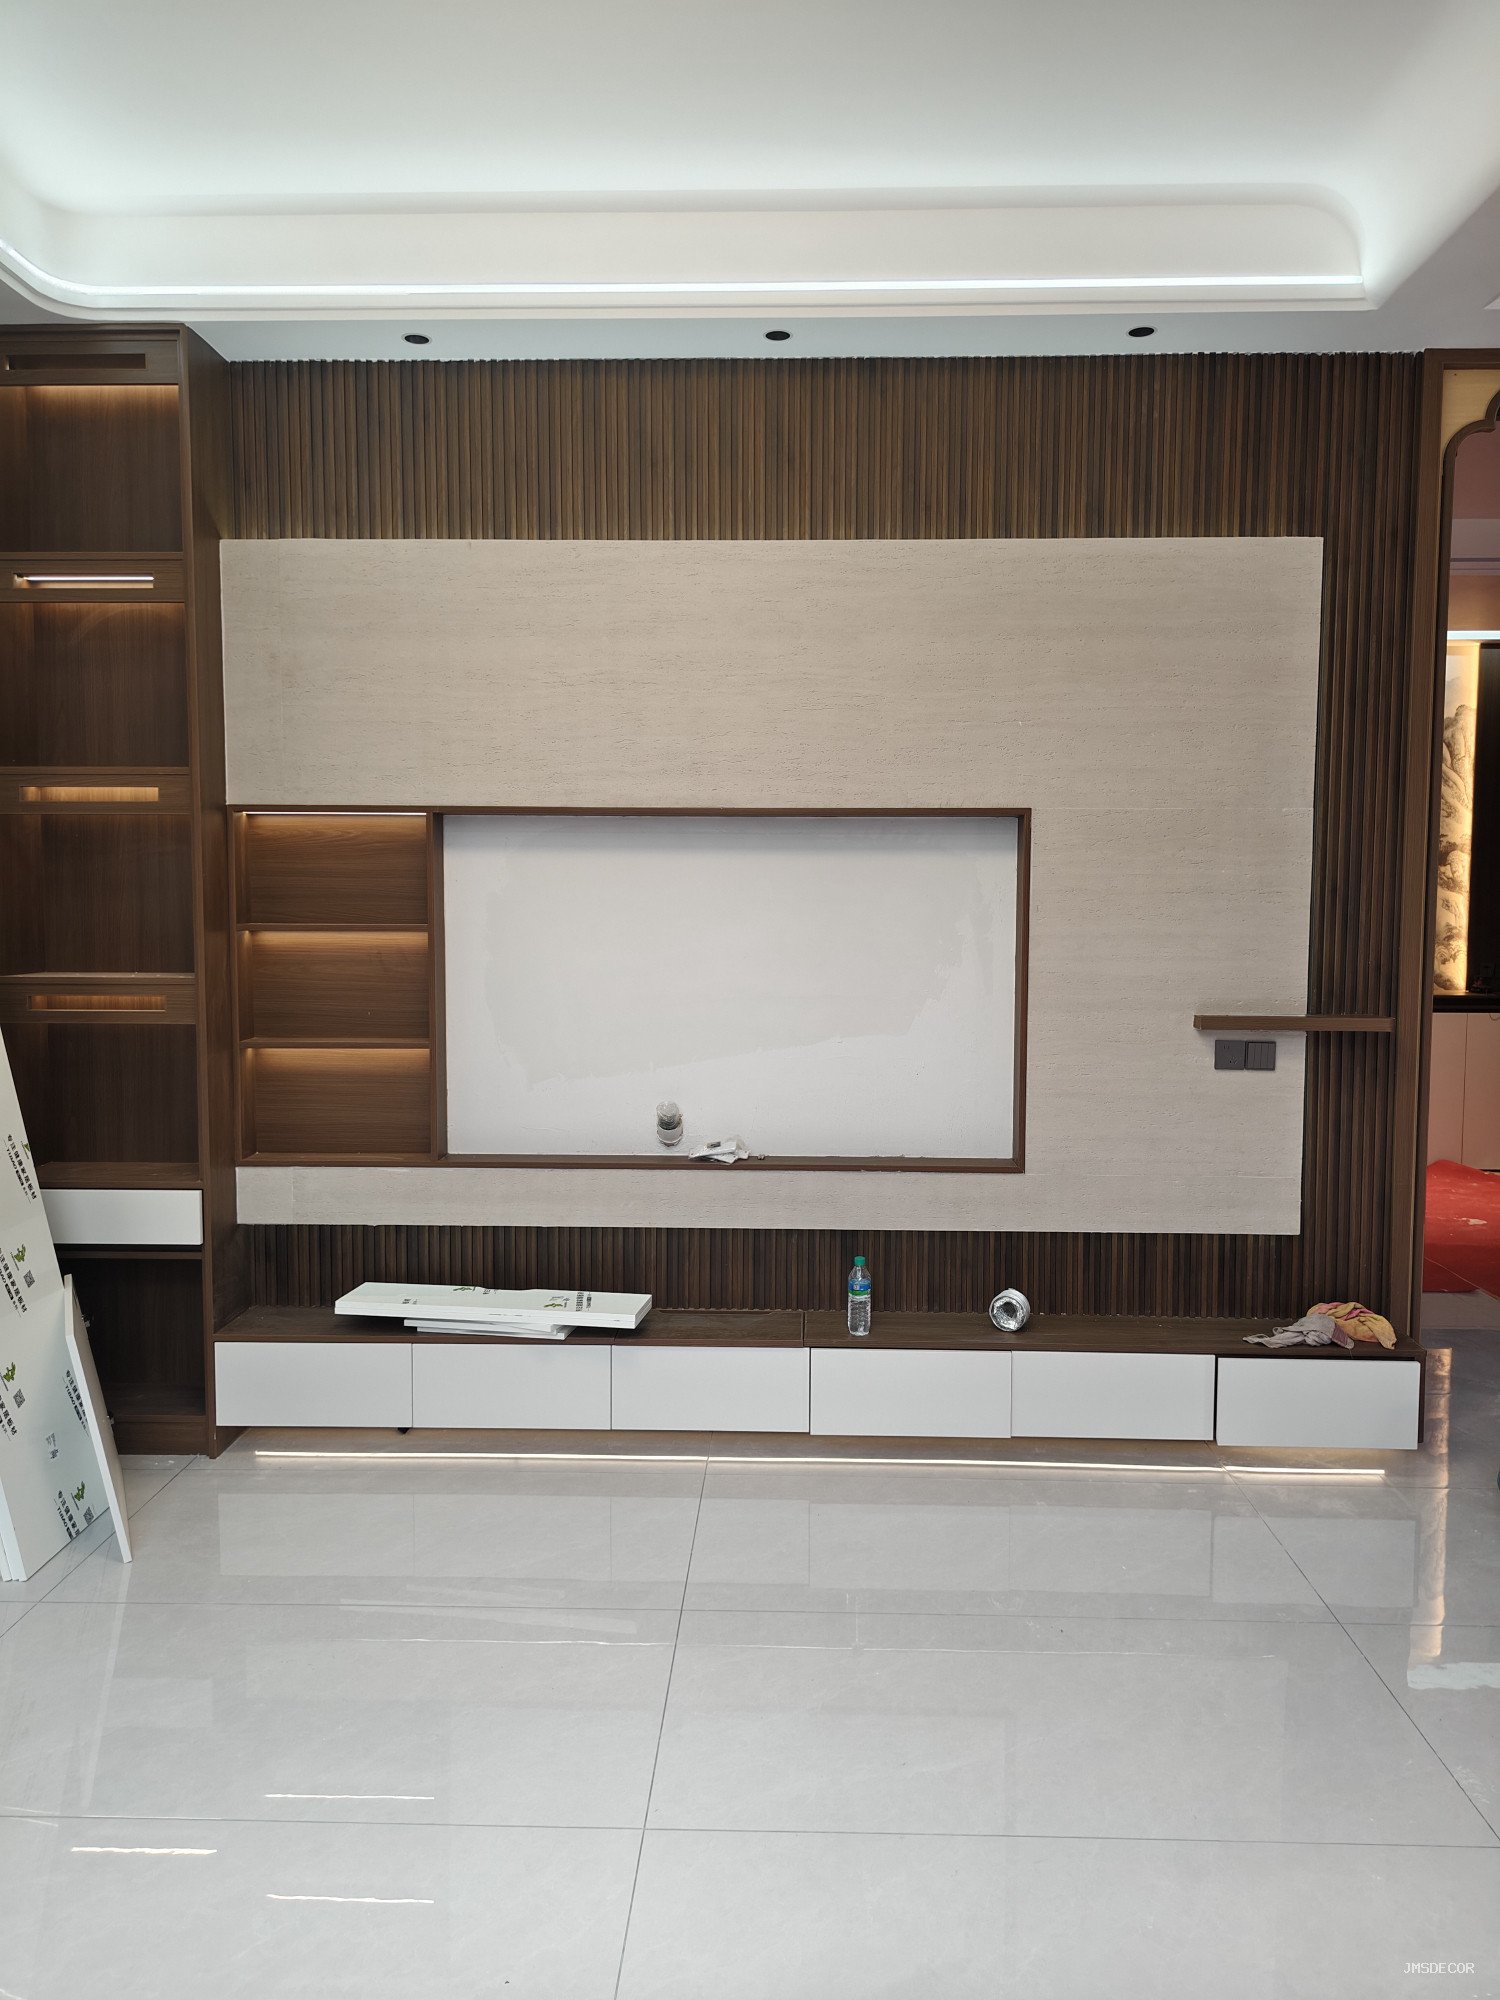
Decide this at design stage, not on site. The common solutions are: stone proud of the slats, so the stone edge casts a shadow onto the timber; slats proud, so the timber array frames and returns over the stone; or both flush with a deliberate shadow gap between them.
- Stone proud. Easiest to build. The slat array stops short, the stone runs past the junction, and the edge of the stone is the detail. It needs the stone edge to be cut dead straight and protected, because a proud edge is also an exposed edge.
- Slats proud. The timber takes the eye and the stone reads as a recessed field. This works well when the slats carry the lighting and the stone is the backdrop, but it puts the slat returns in front of the stone, so the stone face has to be complete and clean behind them.
- Flush with a shadow gap. The most refined and the least forgiving. Both planes have to agree on depth, and the gap has to be formed by a stop or a trim rather than by hope.
Whichever is chosen, the datum should come from the finished stone face, because flexible stone is thin and cannot be packed out without showing. Set the slat array off the stone, not the other way round.
How is the junction actually closed?
Three details cover most situations. A shadow gap is the default: the two materials stop short of each other by a controlled amount, and a dark recess reads as a deliberate line. The gap needs a backer — a painted or dark-anodised channel — so that what you see through it is not bare framing, dust and cable. Depth matters more than width here; a shallow wide gap looks like a mistake, a narrow deep one looks drawn.
A trim or reveal profile is the fallback where a shadow gap cannot be guaranteed, for example where the slat array is installed by others on a different programme. The profile absorbs the tolerance, covers both cut edges and gives the junction a fixed line that will not wander. The third option — a tight butt with sealant — should be avoided on any wall longer than a couple of metres, because the movement has nowhere to go and the sealant line becomes the visible defect.
What has to happen behind the junction?
This is where most of the risk sits, and none of it is visible afterwards. Three things need to be settled before either finish goes up.
- Substrate continuity. The stone substrate and the slat battens should be fixed to the same structural background, or to backgrounds that will not move relative to each other. If the slat array is on a stud wall and the stone is on a different stud run, the junction will crack and no trim will hide it for long.
- Services. Cables for the slat lighting, sockets in the stone field and any switch drops all cross this line. They have to be run and tested before either material is fixed, with the boxes set to the finished faces of their own material, not to a shared nominal depth. A box set to the wrong plane is the single most common reason a junction gets opened up again.
- Fire strategy. Where the wall is a fire-rated separation, the junction is part of the compartment line. Interrupting the lining with a slat array can breach it unless the detail is assessed; the timber itself also has to meet the reaction-to-fire requirement for the space. Flexible stone is tested to ASTM E84 Class A and EN 13501-1 Class A2, which is often why it was specified on the wall in the first place — but that classification does not transfer to the timber next to it. Fire-stopping at the junction belongs in the drawing, not in a site instruction.
How do the two trades sequence without damaging each other?
The safe order is: stone first, slats second. Stone work is wet, dusty and generates offcuts; slats are easily marked and their thin edges bruise. Doing the stone first means the slat array can be fitted into a clean, finished surround and the junction closed once, without masking a completed timber face.
Where the programme forces the opposite order, the slat array needs a temporary protective wrap and a rigid stop at its edge, so the stone trade has something to work to. Either way, agree the datum — a chalk line or a laser mark at the finished stone face — and record it, because the second trade will not be on site when the first one leaves. Our guide to protecting installed flexible stone during the works covers the protection side in detail.
Wie sieht eine gute Übergabe aus?
Treten Sie drei Meter zurück und betrachten Sie die Fuge aus der Ferne. Die Linie sollte gerade sein, der Abstand gleichmäßig von Ende zu Ende und das Tiefenverhältnis zwischen den beiden Materialien darf sich über die gesamte Wand nicht verändern. Untersuchen Sie anschließend jedes Ende genauer: Die Anschlussstelle an einem Kehlbrett, einer Decke oder einem Boden ist dort, wo die Toleranz normalerweise sichtbar wird. Eine Fuge, die in der Mitte gleichmäßig ist und an den Enden zuschnürt, wurde von zwei verschiedene Punkten aus abgesteckt, nicht von einem einzigen.
Prüfen Sie die Steinränder auf Ausbrüche dort, wo die Lamellen anstoßen, und stellen Sie sicher, dass der Schattenfug tatsächlich offen ist – nicht mit Kleber, Dichtmittel oder Staub verschlossen. Eine Fuge, die zu “Ordentlichkeit” überbrückt wurde, erfüllt ihren Zweck nicht mehr. Bestätigen Sie abschließend den Farbton der Steinplatten an der Fuge, denn eine Lamellenanordnung unterteilt die Wand in kleinere visuelle Felder, und jede Chargendifferenz macht sich gegenüber Holz stärker bemerkbar als gegenüber weiterer Stein.
FAQ
Kann flexibler Stein direkt auf den Lamellen-Tragwerk aus Holz montiert werden?
Nicht als Abkürzung. Die Platte benötigt ein stabiles, ebenes Tragwerk mit der passenden Oberfläche für den zugelassenen Kleber, und ein Lamellenraster ist in dieser Hinsicht weder eben noch stabil. Der Stein sollte sein eigenes durchgehendes Tragwerk haben, wobei das Lamellenraster unabhängig daneben errichtet wird.
Wie breit sollte die Schattenfuge sein?
Breit genug, um als Linie wahrgenommen zu werden, und schmal genug, um absichtlich zu wirken – die Tiefe ist es, die die Wirkung erzeugt. Legen Sie sie in der Detailzeichnung mit dem Profil oder Anschlag fest, das sie bildet, und halten Sie dieses Maß über die gesamte Fuge ein, statt es an jedem Ende individuell anzupassen.
Wird die Bewegung des Holzes den Stein an der Fuge rissig machen?
Nicht, wenn beide voneinander getrennt sind. Der Schaden entsteht durch das Festhalten des Holzes gegen den Stein; eine Schattenfuge oder ein Profil gibt der Bewegung einen Ausweg. Der Stein selbst ist unter normalen Innenraumbedingungen dimensionsstabil, aber er ist dünn und folgt einem beweglichen Tragwerk.
Deckt die Brandklassifizierung des Steins die gesamte Wand ab?
Nein. Die Klassifizierung gilt für das Steinprodukt, nicht für den Aufbau. Die Holzlammellen, der Hohlraum und die Fuge müssen in einer brandgeprüften Wand jeweils ihre eigene Performance nachweisen, und der gesamte Aufbau muss als System bewertet werden.
Für Format- und Dickenoptionen auf der Steinseite finden Sie flexible Steinverblendung die aktuelle Palette auf der Seite. Bei der Holzausführung werden Hinweise zu Bewegung und Befestigung für Holzwerkstoffplatten von, WoodWorks veröffentlicht, und unsere Bewegungsfugen-Leitfaden covers how the stone field itself should be broken up.