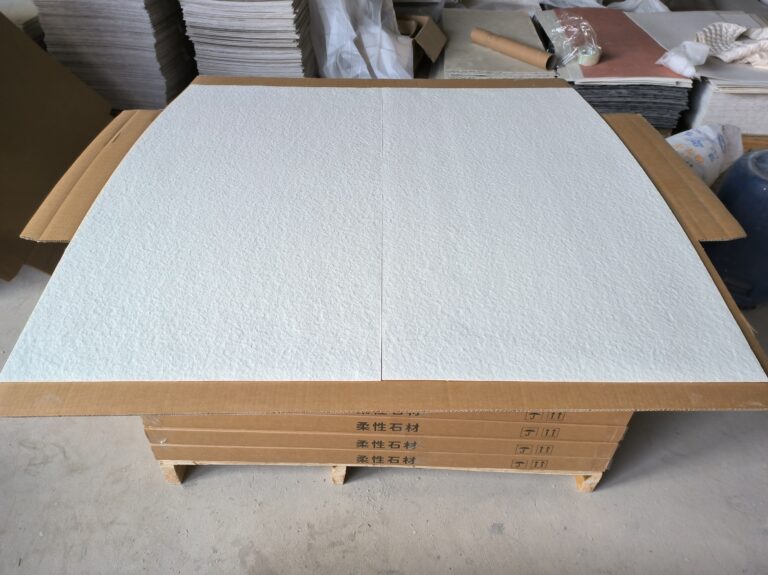
Most flexible stone walls do not stand alone. They stop somewhere — against a painted plaster return, a tiled splashback, a timber slat array, a glazed screen — and that stopping point is where a good installation is most easily undone. The stone itself is 2–8 mm thick, which means the transition is not a deep shadow like a tile upstand; it is a thin, precise edge meeting another material with its own thickness, movement and finish. This guide covers how to plan those transitions, which of the three termination methods suits which condition, and what makes the joint at the end of a stone field read as designed rather than stopped.
Why the transition is harder than the field
Across the field, the stone meets itself: same thickness, same movement, same installer. At a transition, every one of those assumptions breaks. The neighbouring material may be thicker (tile adhesive plus ceramic), thinner (paint on plaster), or mechanically different (timber slats on battens, glass in a channel). Each difference shows at the boundary, and the boundary is exactly where the eye goes.
The second reason is sequencing. A transition is shared between two trades, and whichever finishes second inherits whatever tolerance the first left. A painted wall that runs slightly out of plumb makes a stone edge beside it look tapered even when the stone is dead vertical. Nobody measures the paint; everybody reads the stone line.
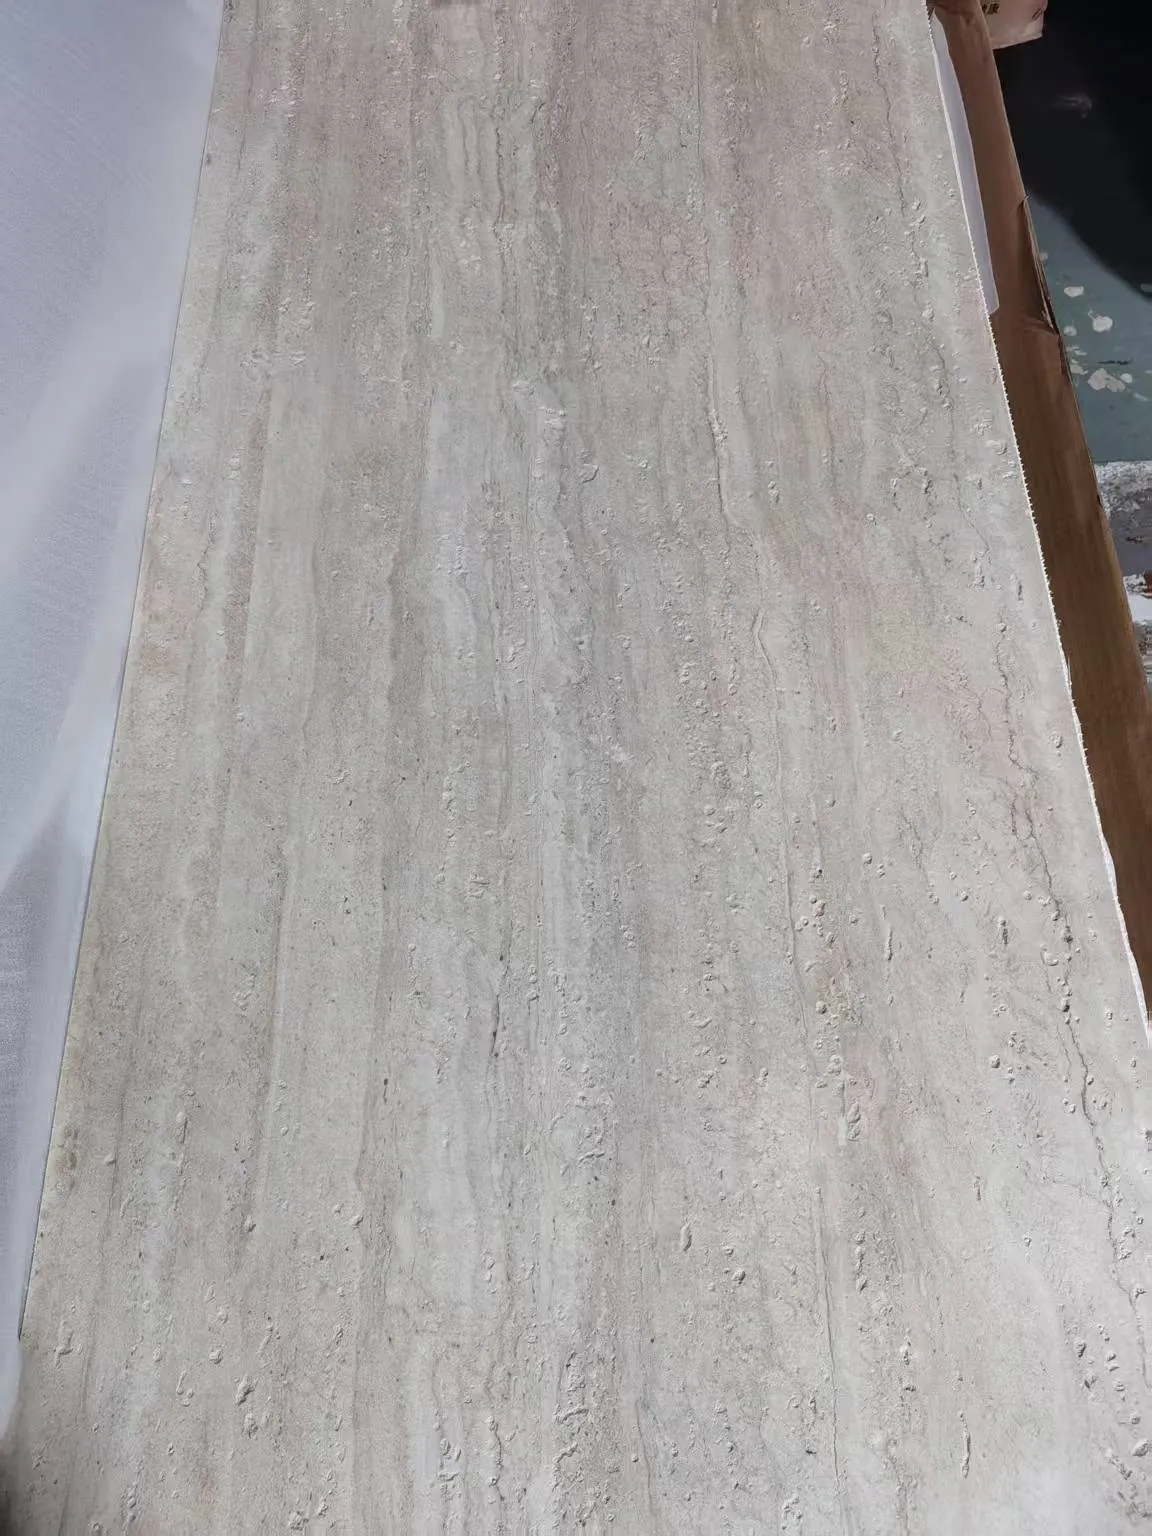
What are the three ways a stone field can end?
Almost every transition resolves into one of three details, and choosing between them is a decision about who owns the visual line.
- The stone edge is the finish. The stone runs to the boundary and its cut edge is left visible, possibly chamfered or very lightly dressed. Cheapest and cleanest when the adjacent material is flush or nearly so. Requires a genuinely straight cut and an edge that tolerates being seen.
- A shadow gap. The stone stops short of the adjacent material, leaving a controlled recess that reads as a deliberate line. This absorbs tolerance from both sides and hides the cut edge in shadow. The most forgiving option, and the one to specify when the two trades are on different programmes.
- A trim or profile. A metal or matching profile caps the stone edge and bridges to the next material. It fixes the line absolutely and covers any cut imperfection, at the cost of introducing a third material to the palette.
The right choice usually follows the adjacent material: paint and plaster suit a fine shadow gap or a bare edge; tile with its own grout line often suits a shadow gap that matches the grout width; timber slats and glass usually need a profile because their interfaces are dimensionally fussy.
How does the stone edge meet paint or plaster?
Paint is the most common neighbour and the least tolerant of a bad stone edge, because the contrast is total: a crisp mineral face against a flat matt film. Two rules make it work. First, the stone must be cut and finished before the wall is painted, so the painter can cut in to a fixed line rather than chasing a ragged one. Second, the stone edge itself must be sealed or primed as the system requires, because an untreated cut edge wicks paint and shows a dark line.
Where the plaster is not perfectly flat — and it rarely is over a long run — a narrow shadow gap is worth the extra detail. It converts a wavy contact into a drawn line and gives the painter a clean stop. Without it, every undulation in the plaster becomes a visible variation in the stone edge, which is the one thing a client will point at.
How does it meet tile or another hard finish?
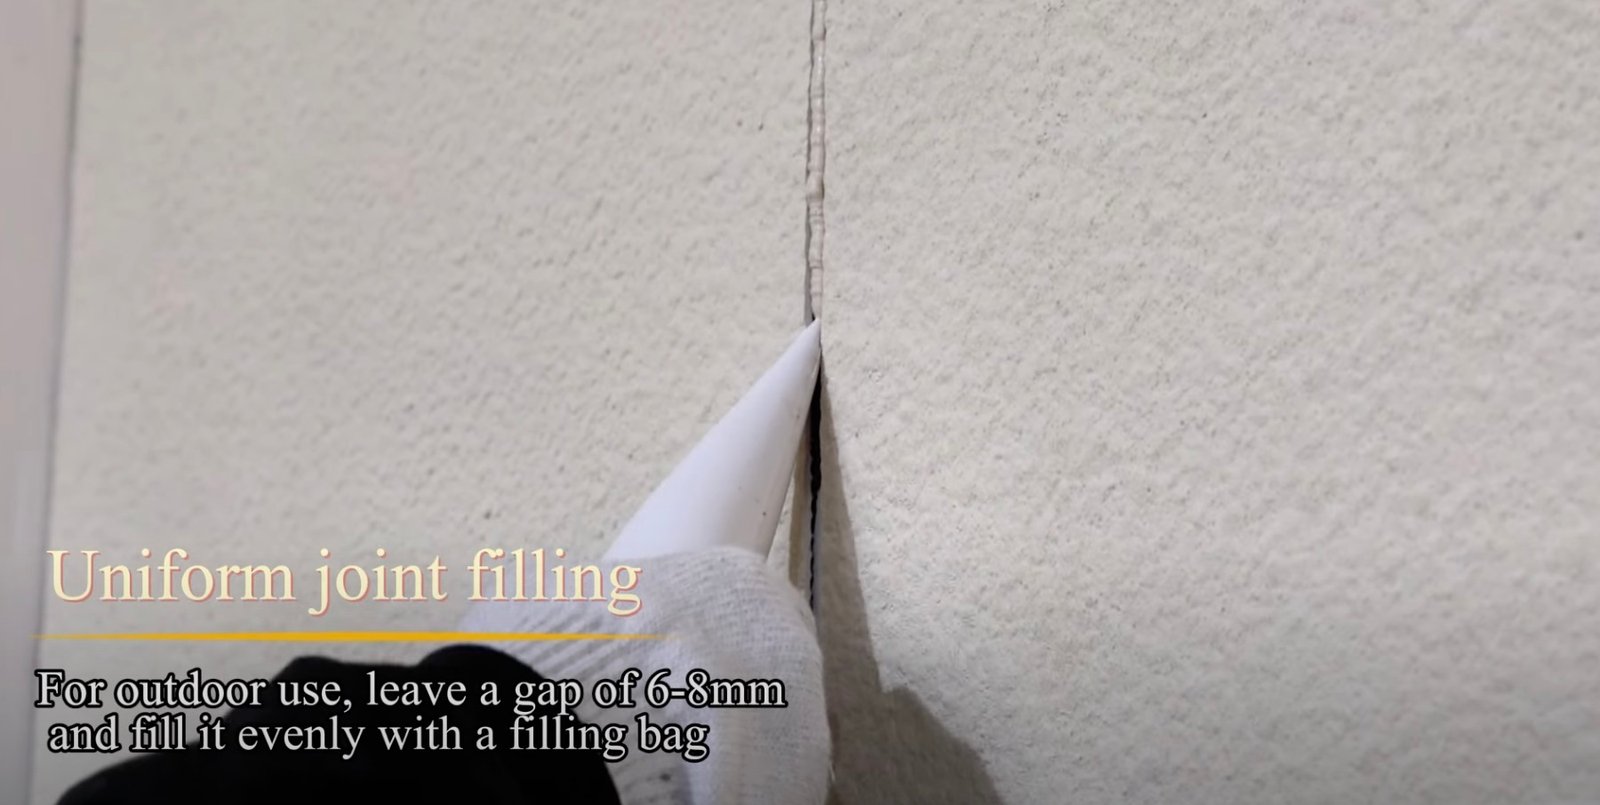
Two hard finishes meeting is the case most likely to crack at the junction, because both are rigid and both are bonded. The fix is the same principle used across the stone field itself: do not butt two rigid finishes tight. Leave a designed joint — matching the tile’s grout line is the tidiest solution — and fill it with a flexible sealant rather than grout, since the two materials will not move identically.
The sequencing matters here too. Tile adhesive plus tile usually builds out further than flexible stone on its bed, so the stone will sit slightly recessed against the tile. That is fine if it is planned — the recess reads as a shadow reveal — and ugly if it is discovered on the day. Set the finished faces in the setting-out drawing before either trade starts, the same discipline our panel joint set-out guide applies inside the field.
What about timber, glass and metal?
These are the transitions where a profile usually earns its keep, because the interface is mechanically fussy and the materials move differently. Timber slats, as covered in our stone-to-timber junction guide, need a gap that lets the timber work; a profile or a generous shadow gap does that while protecting the stone edge from the slat ends. Glass in a channel needs the stone to stop clear of the channel, with the gap sealed so nothing can migrate behind the glass. Painted metal trims are the quietest solution where a shadow gap is not achievable because the substrate is already closed up.
Who owns the joint, and how is it handed over?
Every transition should have one named owner — the trade that closes the joint last — and that owner should be written into the programme, not agreed on site. If the stone installer is first, the painter or tiler closes the joint and owns its appearance; if the stone goes last, the installer owns it. What must never happen is both trades assuming the other will fill the gap, because the result is a joint filled late, badly, with the wrong product.
At handover, inspect each transition as its own item rather than as part of the wall: the line should be straight along its full length, the gap width should be constant, the sealant (if used) should be tooled and continuous, and no adhesive or filler should be smeared onto the stone face. Photograph each type once, at the mock-up, and use those photographs as the standard for every repeat on the job — the same approach our submittal package guide recommends for approvals generally.
What does the transition look like after a year of service?
A stone junction is judged twice: once at handover and once a year later, and the second reading is the honest one. Two things commonly change. A sealed joint where the wrong product was used will have cracked or pulled away from one side, because the two materials did not move together. A bare shadow gap will have accumulated dust and, in a hard-working interior, will have been wiped into a grey smear at the bottom — which is a maintenance item, not a defect, but it should be known at specification stage rather than discovered by the client.
The transitions that survive are the ones that were given room to move and a clear owner. Where a joint has been designed with a consistent width, a flexible seal and a defined person responsible for closing it, the first annual inspection finds it intact and the touch-up is a wipe, not a repair. Where the junction was treated as the last five minutes of someone’s day, the first inspection is when it gets rebuilt — and by then the stone edge either has to be re-cut in place, which is delicate, or the adjacent finish has to be opened up, which is expensive.
الأسئلة الشائعة
Can flexible stone simply butt against painted plaster with no gap?
It can, if the stone edge is cut dead straight and the plaster is flat over the full run, and if the edge is sealed as the system requires. Where either condition is doubtful, a narrow shadow gap is more reliable and looks more deliberate.
Should the transition joint be sealed or left open?
Interior dry transitions can often be left as a shadow gap. Anywhere water, dust or air movement matters — wet rooms, exteriors, service risers — the joint should be sealed with a flexible product, never a rigid filler.
Can I use grout at a stone-to-tile junction?
Better not. Two rigid finishes bonded side by side will move differently, and rigid grout at that line cracks. A flexible sealant in a joint that matches the grout width gives a consistent look without the cracking.
What if the adjacent wall is out of plumb?
Either correct the wall before the stone goes on, or design a shadow gap wide enough to absorb the deviation. What you cannot do is chase the deviation with the stone edge — the taper will be visible from three metres away.
Transitions should be drawn and owned before either trade starts, and the stone side detailed against the system’s installation manual. Format and thickness options — which set the depth relationship at every junction — are listed on the قشرة حجرية مرنة page, and reference methods for adhered finishes are published by the مجلس بلاط أمريكا الشمالية.