
The reception desk is the most photographed piece of joinery in any hotel: every check-in, every luggage set-down, every waiting glance lands on it, and the first three metres of it carry the brand. Cladding that desk in flexible stone delivers what the brief really asks for — the carved, monolithic stone look at a weight the joinery can carry, wrapped around curves a slab would crack on, with lighting integrated where the design wants it. But a desk is also the hardest stone surface in the building: hands, keys, trolleys, pens and cleaning all live on its top and its corners. This guide covers the reception desk end to end: the structure beneath, the curve and the lighting, the wear strategy on the working surface, and the details that make the desk read as one piece of stone.
What the desk is actually made of
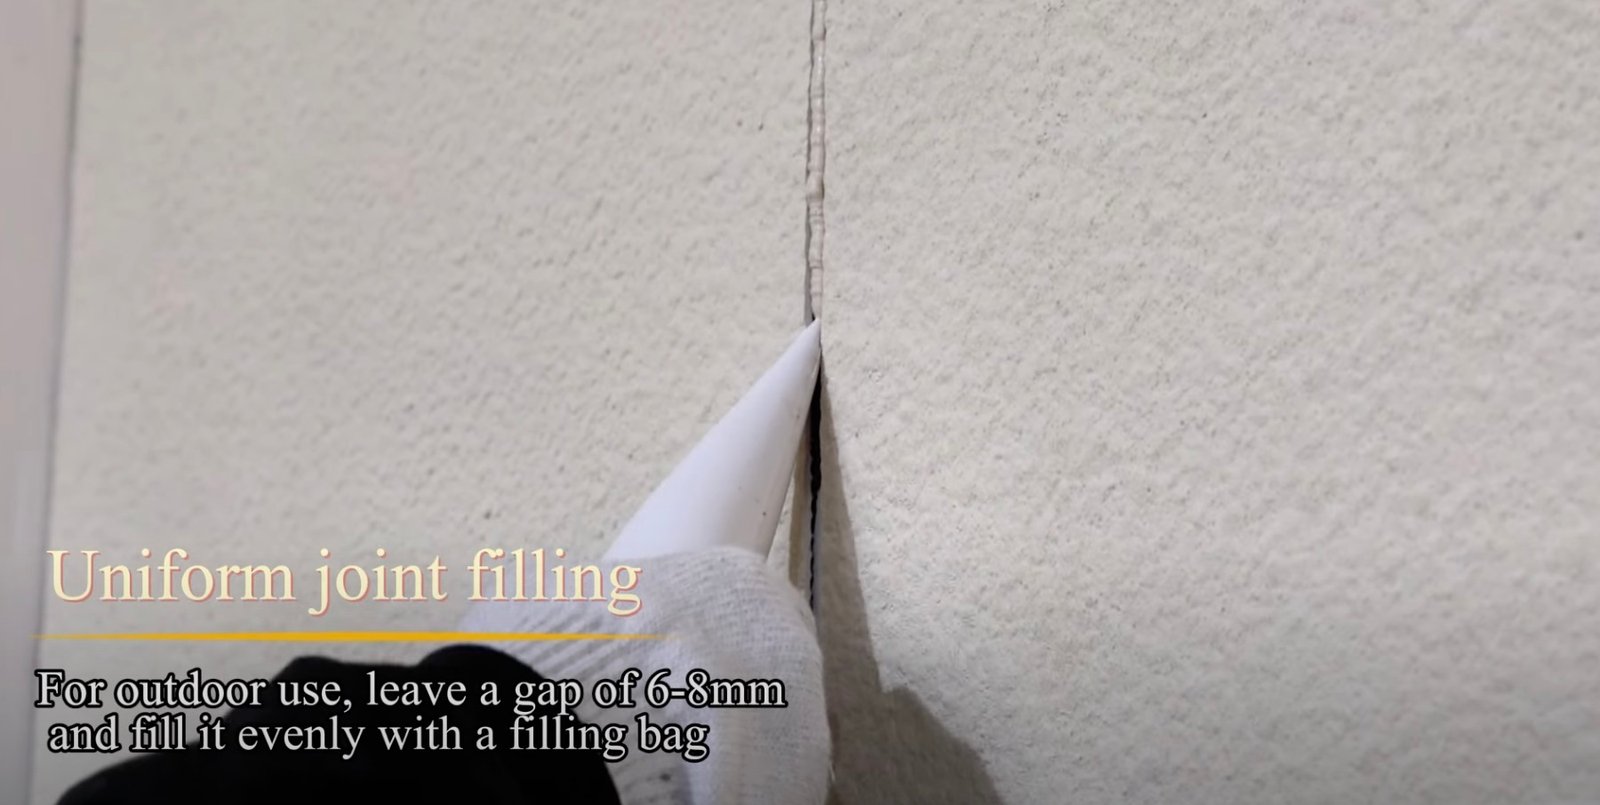
Layered back to front like every stone-wrapped element on this site. The joinery carcass is the structure — a desk built to take its own loads, with blocking wherever the counter top, the transaction shelf or any future screen will fix. The substrate is the flat, jointed board our backing board guide specifies, set to the depth that the finished face calculation requires. The stone is bonded with the approved system at full coverage — the verification from our coverage guide applies on the first panel, because a desk’s edges and returns get handled from day one.
What the stone must never be asked to do is carry: the counter top, the transaction shelf, monitors, screens and bell hardware all fix to the carcass through the finish — the same rule our media wall guide applies to TVs. Their penetrations are templated, cut before bonding, and closed with plates and sleeves that make the fixings invisible and the edges protected.
How the curve is built
The curve is why the material was chosen, and it is built from the framing out. A curved desk front is a curved frame — ribbed, set out from the drawing’s radius, skinned with a flexible board that takes the arc without facets. The stone then wraps it, and the material’s own limit sets the design’s freedom: roughly a 200 mm minimum radius on typical patterns, tighter on the thinnest faces, closer to 300 mm on thick or complex ones — the bend data from our pattern selection guide is the geometry check before the design is signed. A radius the sheet cannot follow is not “a smaller curve”; it is a different detail — a facet, a break, or a trim.
At the curve’s ends, the transitions to the straight returns are where the eye lands: the joint lands on a designed line, the stone flows around the bend without a seam in the visible arc, and the edge at each end is capped or shadowed per the termination logic in our edge trim guide. A curved front with a seam in the middle of the bend is the one flaw every guest photographs.
Where the lighting goes — and when
Desk lighting is integrated before the stone goes on, not retrofitted onto it. The cove under the counter lip that washes the floor, the grazing line that shows the curve’s relief, the backlit logo panel — each is a channel and a driver positioned in the framing, with cables run and tested before cladding, per the integration rules in our lighting guide. What the stone contributes is the surface the light lands on: a pale travertine field under warm grazing light reads as carved stone; the same field under cool downlights reads as painted MDF. The colour temperature decision is the desk’s, made at design stage.
Service access closes the lighting detail: drivers sit in ventilated, opening compartments — the removable-panel logic from our access panel guide — because the desk’s lights will be serviced long before the desk is replaced, and a driver buried behind bonded stone converts a swap into surgery.
What wears, and how the design answers it
The working surface takes the abuse: keys dragged, pens pressed, luggage bumped, cleaning products spilled. The honest answers, in order of effectiveness. A solid top — stone, composite or timber — on the transaction zone, with the flexible stone running on the fronts and returns the hands see but the trolleys do not hit. Radiused or capped edges at every corner the public can reach, per the protection logic in our top-edge guide. Batch-matched spare panels from the original order held by the hotel’s engineering team, so a scarred front section is a same-batch swap rather than a visible patch — the spare logic our maintenance plan guide formalises. And the care instruction taped inside the back-of-house cabinet, because the desk is cleaned nightly by whoever is on shift.
How the desk reads as one piece of stone
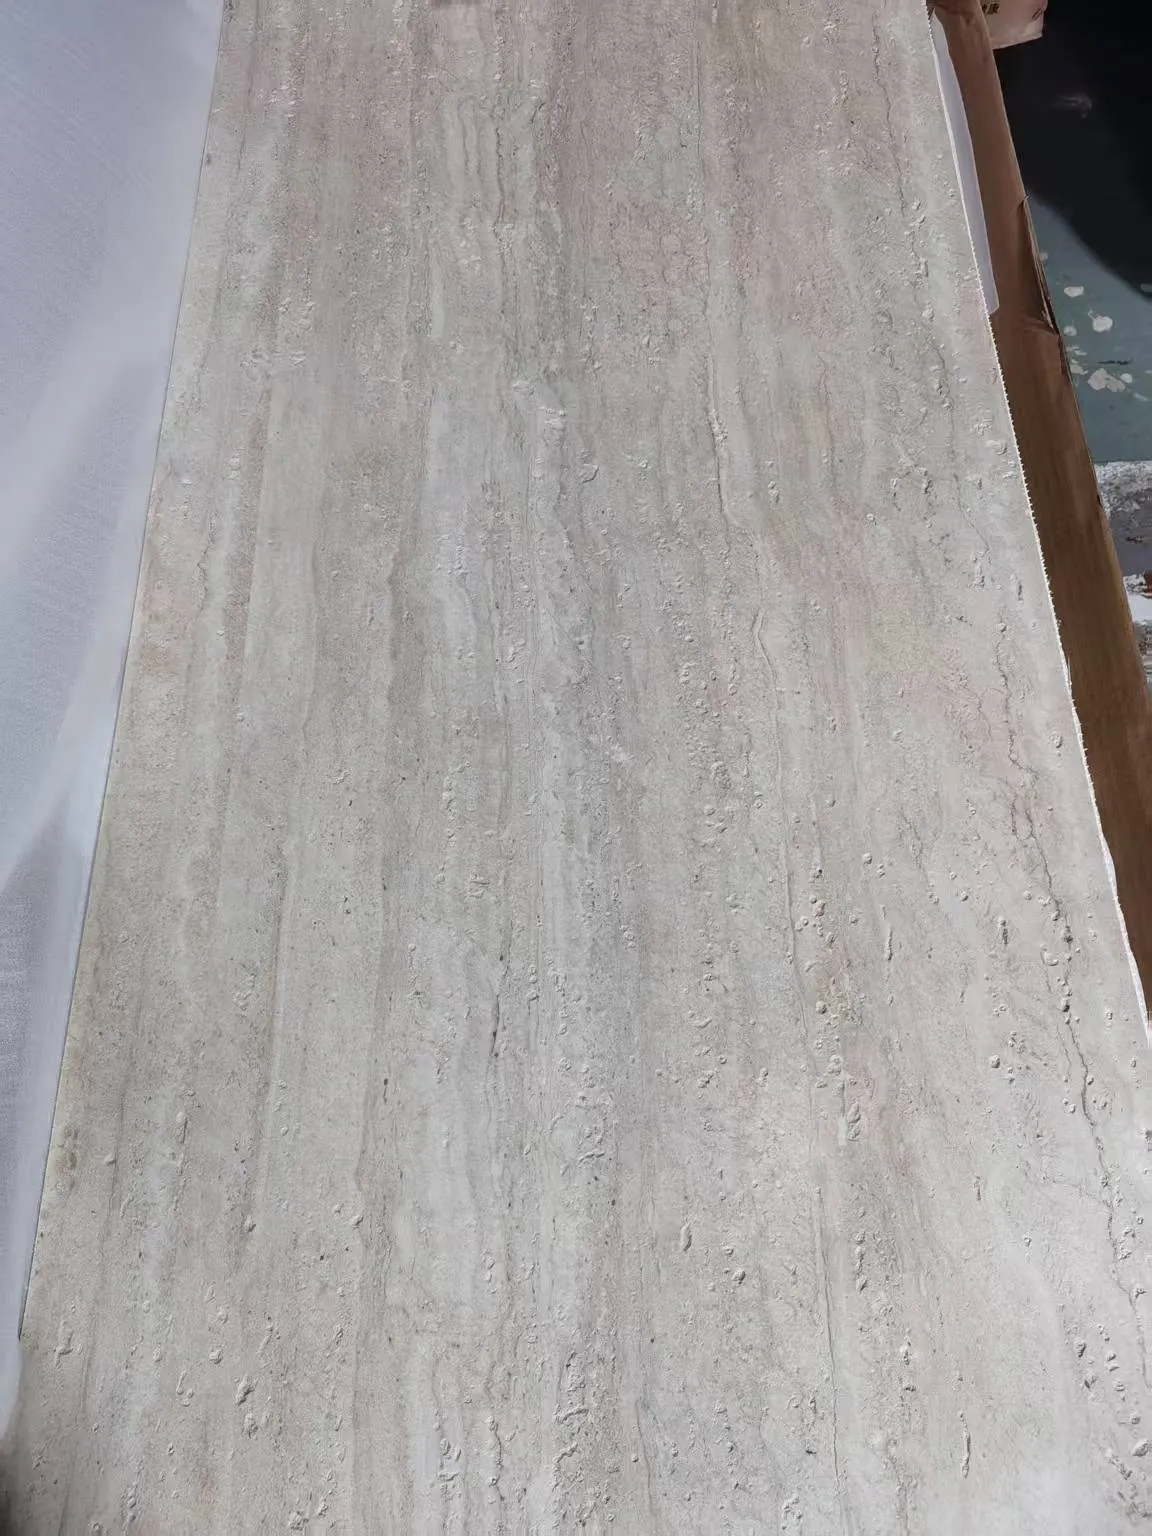
The monolithic read is a set-out achievement. The veining or stratification flows across the front without a visible break in the arc — which on a printed face means the sheet sequence is planned so the pattern runs continuously, exactly the continuity logic our joint set-out guide applies to walls. Joints land where the design puts them — at returns, under the counter lip, behind equipment — never mid-curve. The top and the front either read as one material or deliberately differ, and the junction between them is detailed as a line, not left to the site.
Height and proportion finish the read: the transaction shelf at the height the standing guest actually uses, the toe recess shadowed rather than tiled, the ends returned to the floor or terminated on a trim — each a small decision that the drawing makes once and the site never has to guess.
デスク工事の現場進行プロセス:手順解説
リセプションデスクは小さな建築作品のようなものです。組み立て手順を一通りご確認いただけます。まず、キャビネット(胴体)の組み立てと下地補強が完了し、カウンター、棚、パーティション、設備類が確定したら承認を得ます。その後、裏紙ガイドに従い基板を平坦に施工し、石貼り前に完成面の寸法チェーンを実際のキャビネットに対して検証します。もし加工現場でデスクが15mm膨らんでいた場合、全ての戻り部分に誤差が現れるためです。デスクが開いた状態のうち配線・設備を通し、コーニス、ドライバー、ケーブル経路、取引用棚のデータおよび電源をテストします。その後に石材施工へ進み、パネルは実物キャビネットから型取りし、曲面の配列は連続したアーチに見えるよう計画します。全面塗布で接着し、最初のパネルで持ち上げ試験を行い、継ぎ目は記入された線に合わせて配置し、縁をキャップ仕上げます。これらを納品記録として撮影し、プロジェクトごとに保管します。 submittal guide 最後に携わる工種の品質管理は、デスクにおいて特に重要です。天板は石材施工後に据え付け、アクセサリーはその後に取り付けられ、ロビー引き渡し時まで保護被覆は外しません。なぜなら、他の業者が室内仕事中にデスクに寄りかかるためです。こちらの.
に記載の保護規定は、ここで最も厳格に適用されます。 protection guide デスクと壁の接合部はどこにあり、どの業者が責任を持ちますか?
独立型のデスクは空間endで終わりますが、ロビーのストーンfeature wallに設置されるデスクは、オーナー明確な接合部で出会う必要があります。清潔感のあるディテールとは、デスクの端部を壁へ.finished termination として収め、キャップまたはシャドウギャップ等で仕上げる一方、背後の壁は連続して伸びさせ、片方の工种がもう片方の仕事を塞ぐ必要がないようにすることです。デザイン意図が「デスクと壁を一体の彫刻要素として見せる」場合、ストーンは接合部をまたいで連続し、二つの工种が一つの基準線と一つのバッチを共有します。こちらの
の構成ルールを一つのオブジェクトに適用します。いずれの方法でも、接合部は図面に記載し、名称を付けて所有関係を明確にします。これはこちらの mixing guide があらゆる終端部對於適用する所有権管理规定と同じです。 transition guide 床との接合部は、図面上で独自の線を引き、詳細を定める価値があります。タイル床上に置くデスクのすき間部分は、石貼り前にシャドウギャップまたはベースボードのどちらを採用するか決定する必要があります。なぜなら、床の勾配は実際存在し、デスクは水平に設置されるためです。これは半壁ガイドの.
のベースロジックを家具スケールで適用した場合と同じ原理です。客席はなぜそのデスクが_finished look_と感じるかを言語化できませんが、通常その理由は足元部分の仕上げにあります。
FAQ
デスク前面はどれほどきついカーブに対応できますか?
一般的なパターンでは最小半径200mm程度、薄い面材ほどさらに鋭角的に対応可能ですが、厚手または複雑なパターンでは約300mm近くなります。パターンの曲げデータが判断し、フレーム組み立て前に図面でチェックを行います。
ストーンが前面のみに施されている場合、カウンターの天板は何で保護されますか?
デザイン選定による堅牢な取引天板(ストーン、複合材、または木材)をキャビネットへ固定します。フレキシブルストーンが目視可能な前面を担当し、天板は薄い仕上げ材では耐えられない日々の使用負荷を受け持ちます。
Can the desk lighting be replaced without touching the stone?
Yes, when the drivers sit in ventilated, opening compartments planned before cladding. The light line itself is integrated before bonding and serviced through its profile — the serviceability rule from the lighting guide.
How is a damaged front section repaired?
As a same-batch panel swap from the spares held at order time — a half-day job that restores invisibility. The maintenance plan guide covers the register and the swap.
Build the desk in layers, plan the curve against the bend data, light it before the stone goes on, and protect the metres that work. Formats and bend behaviour are on the flexible stone veneer page, and hospitality joinery and fixture safety practice is published by OSHA.