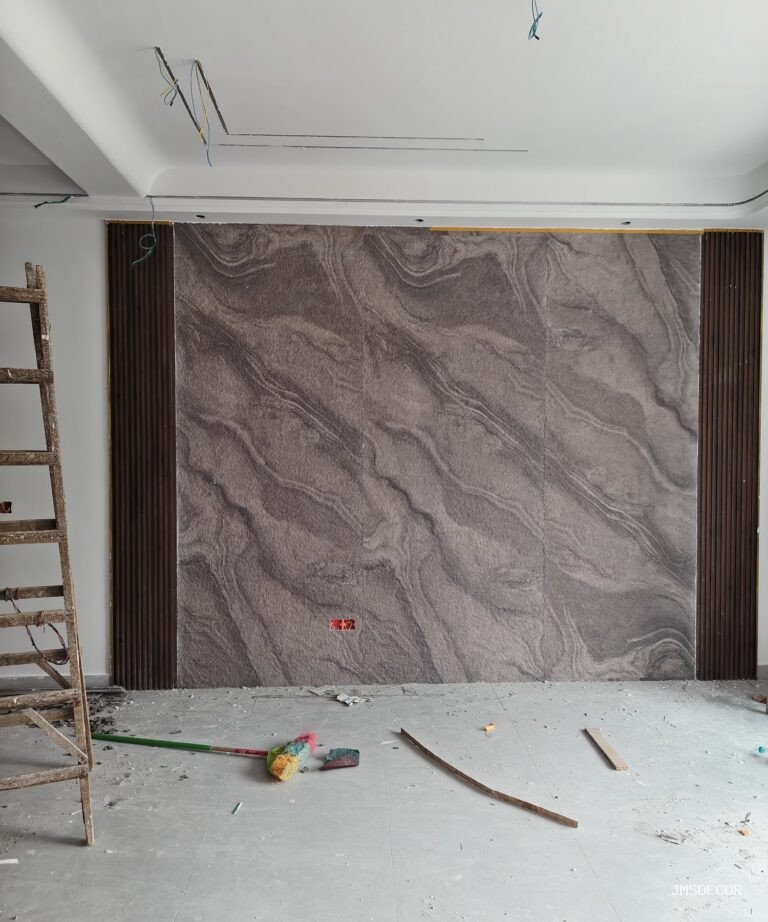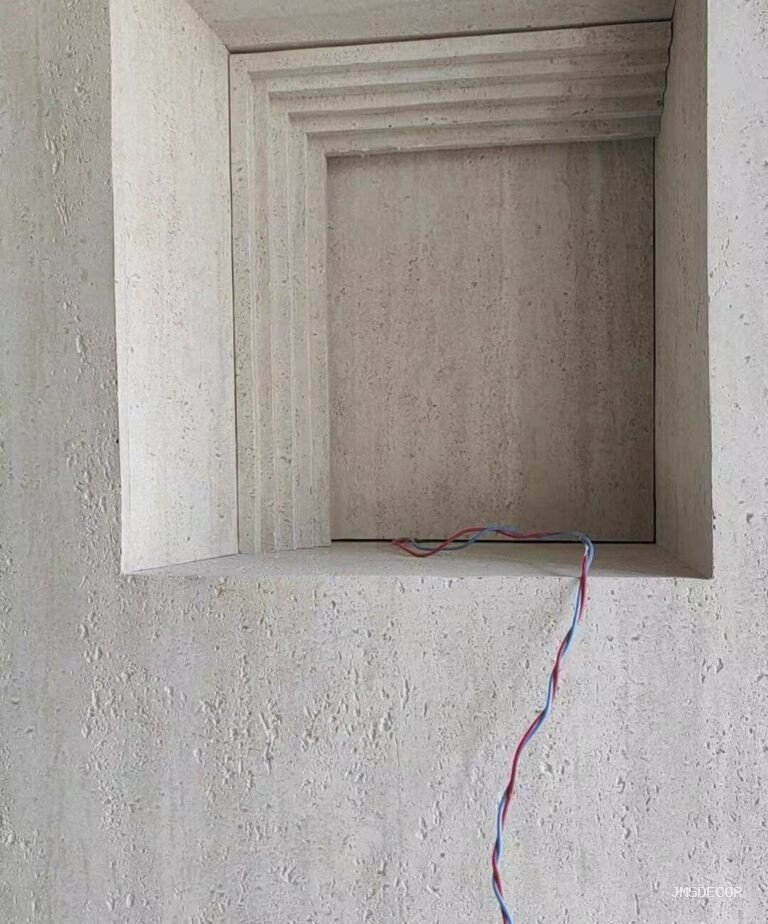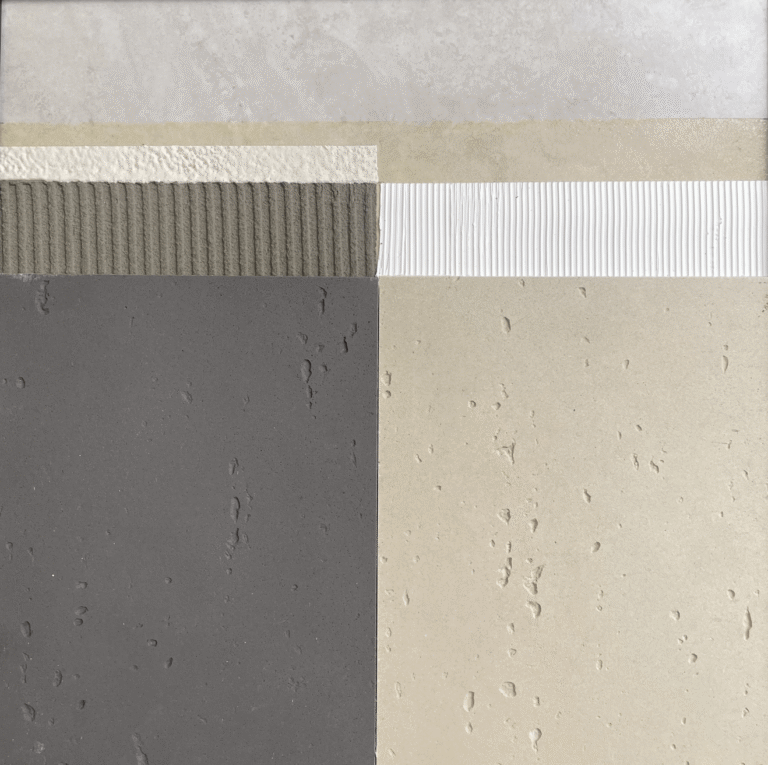
Ask where the joints should fall on a flexible stone feature wall and the answer you get is usually “wherever the panels end”. That is how a wall ends up with a 60 mm sliver in the most visible corner and a joint running straight through the middle of a downlight. Setting out a stone wall is a drawing exercise that happens before anything is cut: the module has to be laid over the elevation, adjusted for openings and lights, and agreed while changes are still free. This guide covers how to run that set-out on flexible stone, where the joints should and should not land, and how a horizontal accent band changes the rules.
What module are you setting out from?
Flexible stone is produced at a standard 1200 × 600 mm, with formats up to 1200 × 2900 mm available. That range is the first design decision, not a purchasing detail. A 1200 × 600 module gives a horizontal proportion that suits most walls; a long format removes a joint line entirely and is often the better choice for tall feature walls, at the cost of handling weight and of fewer options to adjust the layout when the wall is not the size the drawing said.
Because the sheet is thin — 2–8 mm depending on pattern — the joint is not a deep shadow. It reads as a line, and the eye is very good at noticing a line that does not belong. That is why the layout deserves more attention here than on a tiled wall, where a wide grout joint gives the designer more room to hide adjustment. It also means the number of joints matters: every extra line is another thing to align, so a wall that can be covered with fewer, longer panels is generally the easier wall to make look right.
Where should joints fall on a feature wall?
Start from the wall, not the panel. Lay the module over the whole elevation and look for these conditions, in this order:
- No slivers. Any panel narrower than roughly a third of the module in a visible area reads as an error. Shift the whole grid, or move the starting point to a corner, rather than accepting a narrow strip at the end.
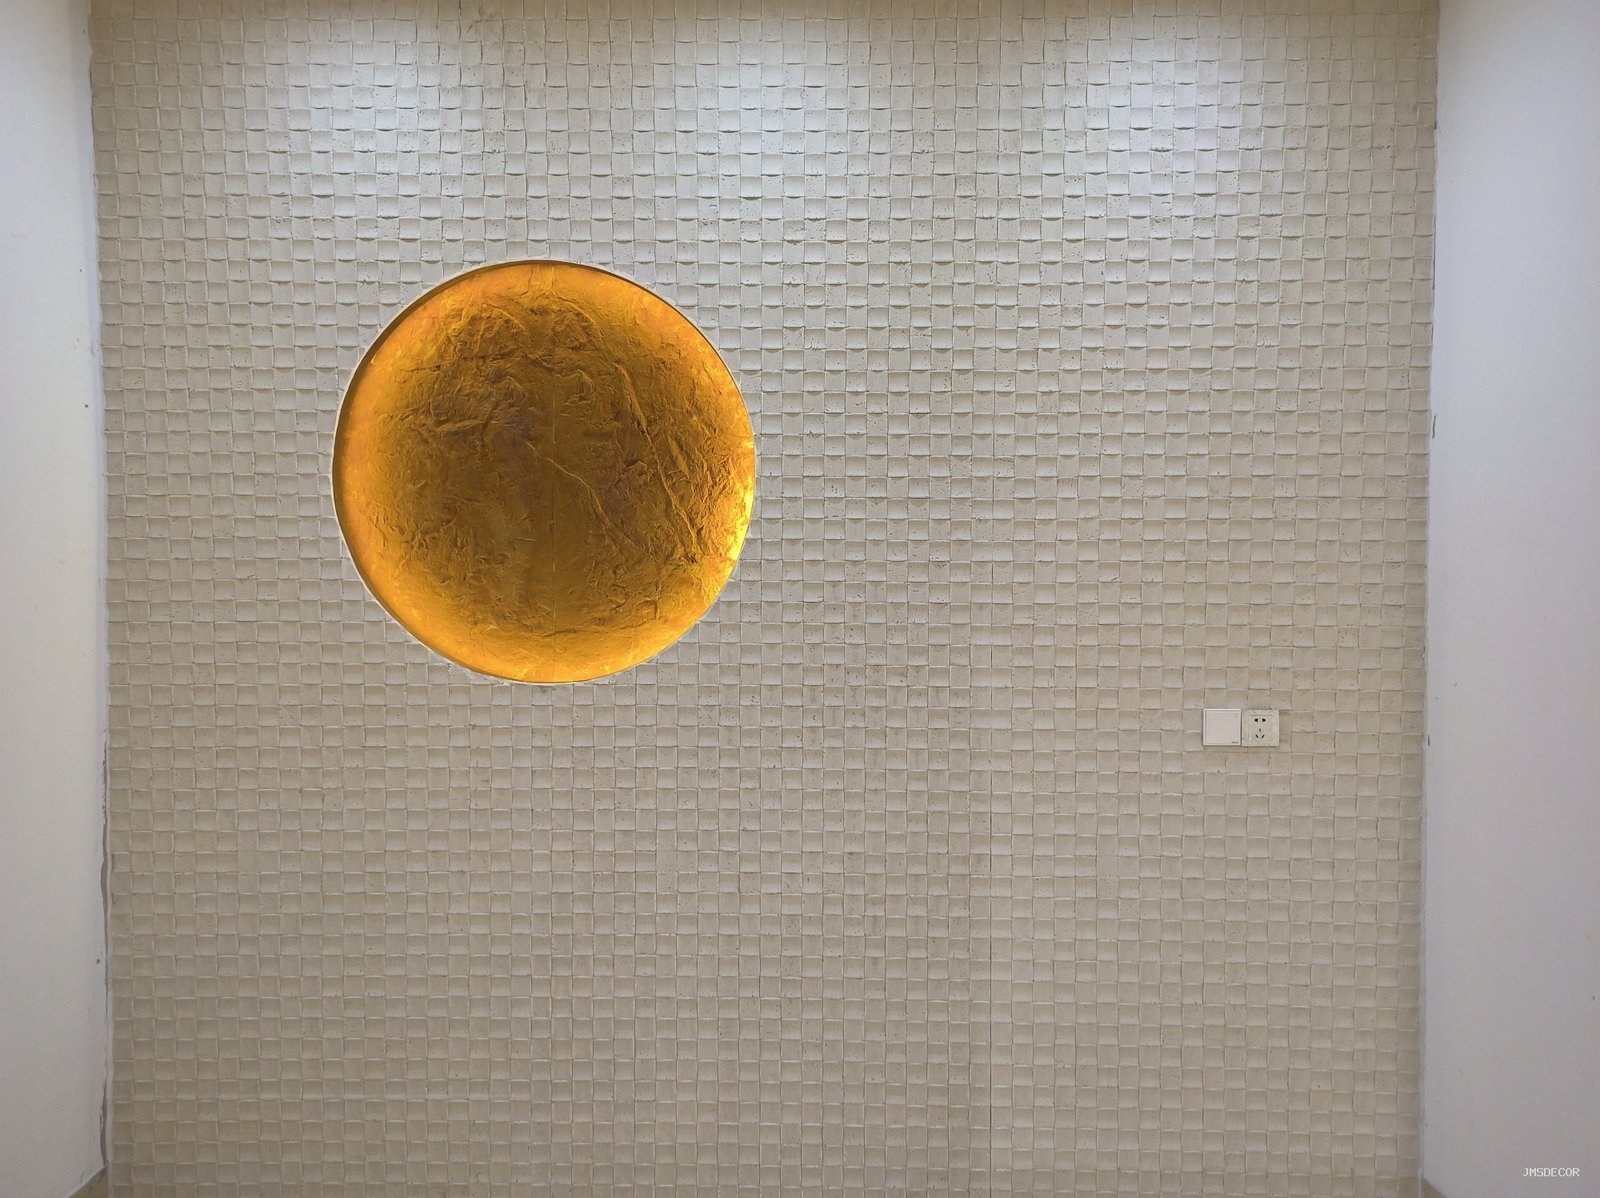
- Joints off focal points. Nothing should run through the centre of a light fitting, a switch bank, a display niche or the middle of a bookmatched pattern. Move the grid so the joint lands to one side of these elements.
- Joints off eye level where possible. A horizontal joint at standing eye height on a feature wall draws the eye along a line rather than across the surface. High or low joints are less noticed.
- Joints aligned with architecture. A joint that lines up with the edge of a return, the reveal of a door or the top of a slat array looks intended. A joint that is a few millimetres off does not, and that difference is exactly what set-out is for.
- Joints clear of the movement strategy. Setting-out joints are not movement joints. The field still needs its movement provision, and the layout has to leave those locations free.
How does a horizontal accent band change the set-out?
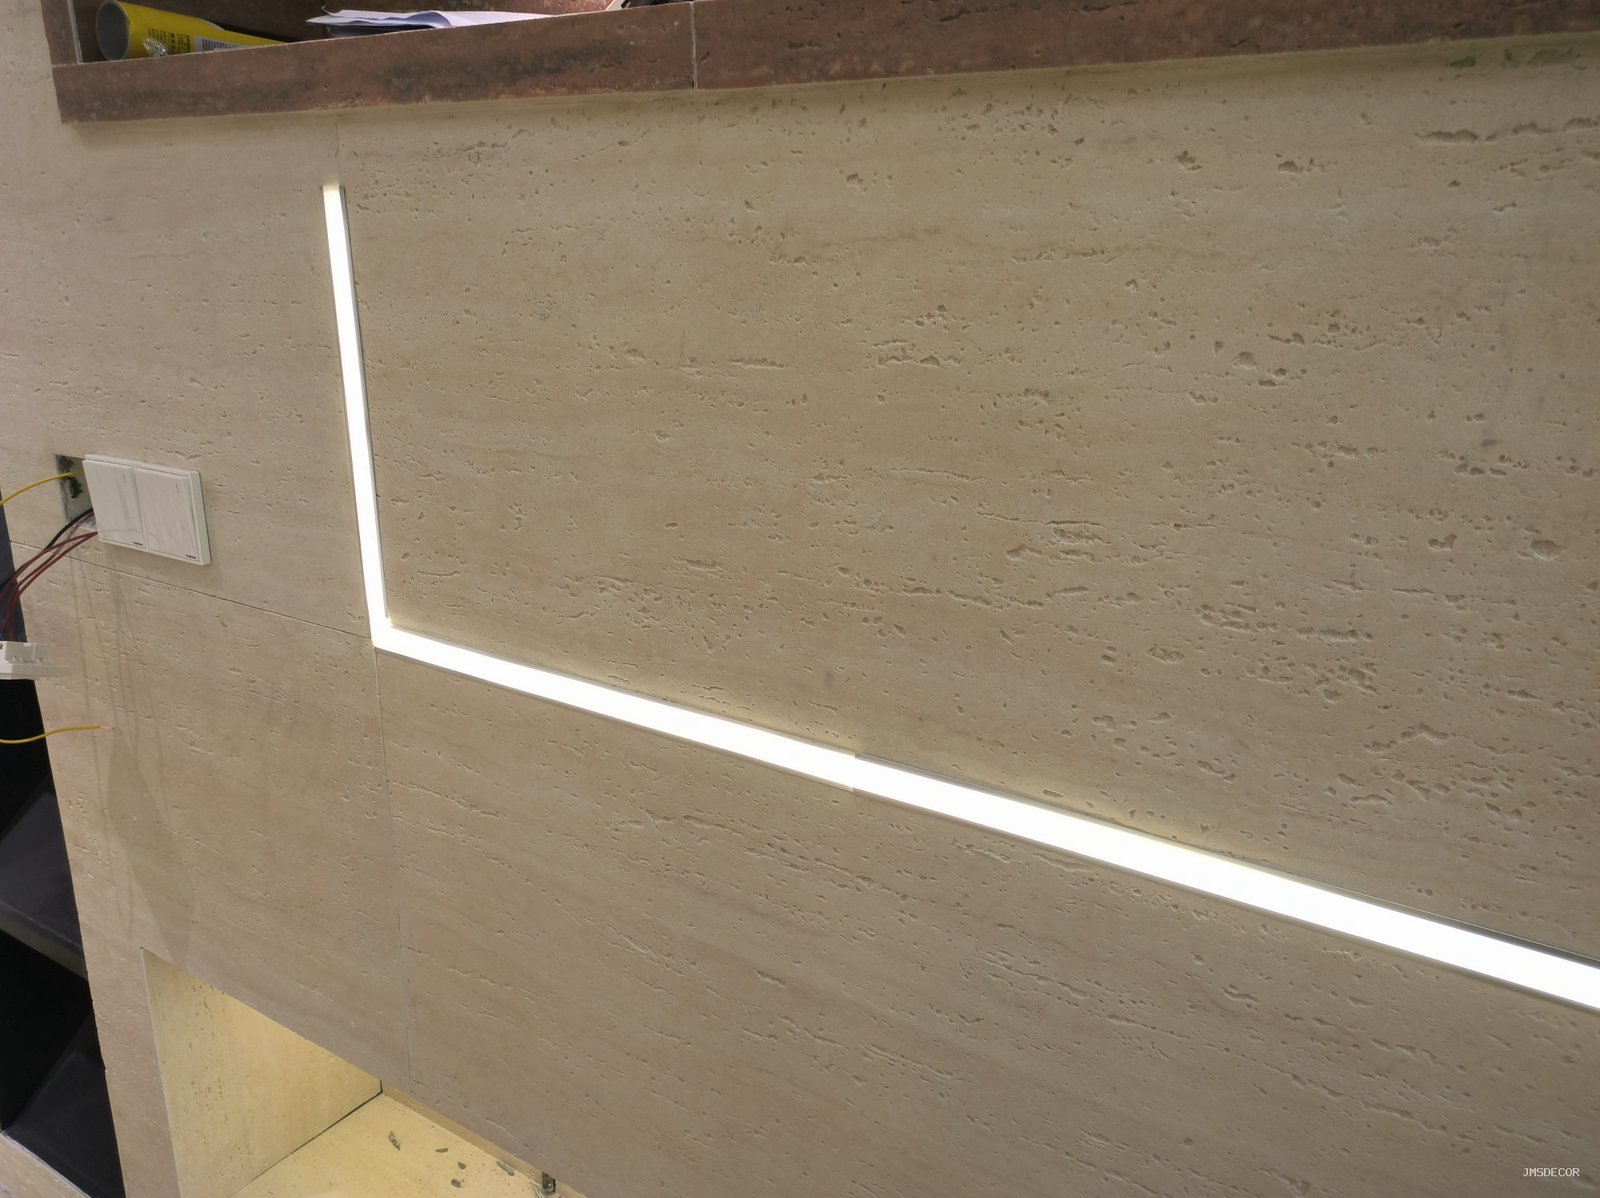
An accent band — a contrasting course of stone, a different pattern, or a metal or lit reveal — is a strong horizontal line, and everything else has to acknowledge it. The band has to be set out first, at the height the design shows, and the field module laid above and below it independently. Trying to keep one continuous grid through the band usually produces a thin course on one side.
Two rules make the band work. First, the top and bottom edges of the band must be dead level along the whole wall, because any drift is amplified by the contrast. Second, the field joints above and below should either align with the band ends or be deliberately offset — the one thing to avoid is a near-miss of a few millimetres. Where the band is lit, the light line and the band edge have to be set out together, since the two lines will be read as a pair.
How do I check the set-out before cutting?
Dry-lay it. Lay the panels on the floor in the proposed arrangement, or mark the grid on the wall and photograph it, and check the conditions above against the actual elevation rather than the drawing. Site dimensions are never what the drawing says, and flexible stone has almost no tolerance to absorb a discrepancy once it is bonded.
Then check four things before a single cut is made: that no panel is a sliver, that every joint clears its focal element, that the band is level, and that the panels assigned to each visible field come from the same batch. Tone difference between batches is far more obvious across a joint than within a pattern, because the joint gives the eye a reference edge. Our guide to colour change after the first batch explains how to check it before the material arrives on site.
How do joints behave where services cross them?
Services are the most common reason a carefully set-out grid gets changed on site. Every socket, switch, downlight and skirting fixing has a position, and each one is a hole in a panel. If the grid is fixed first and the services are located second, the result is a hole that lands on a joint or inside a narrow panel, which is both weak and ugly.
So locate services first in the set-out drawing, then adjust the grid — not the other way round. A socket that sits comfortably in the middle of a panel, with the plate covering the cut edge, looks planned. The same socket straddling a joint needs the panel cut on both sides and the plate never covers the line properly. Where a service must sit on a joint, plan for it: either move the grid or accept a deliberate detail rather than a compromise.
What is different about a printed pattern?
Flexible stone is decorated by 3D inkjet printing, which means a pattern can be produced to repeat, and the surface is not a natural slab with a one-off vein layout. That has two consequences for set-out. First, a pattern that appears continuous across joints has to be planned at the printing stage; it is not something the installer can align on site by choosing a different sheet. Second, because the pattern is printed, the same design can be repeated over a large wall, which makes an even grid the natural choice — there is no vein to follow, so the grid itself becomes the composition.
Where a bookmatched or mirrored effect is wanted across a set of panels, it has to be specified and printed as a set, with each panel identified. It cannot be improvised from stock panels on site, and it cannot be assumed that two panels of the same pattern will mirror each other.
Where does the movement strategy fit?
Set-out and movement are two different exercises and should be drawn on the same elevation. The stone field needs movement provision at the locations the system requires; those locations are fixed by the wall, not by the panel layout. So run the movement design first, then fit the setting-out grid around it. Trying to do it the other way round usually ends with a movement joint moved to a convenient place, which defeats its purpose.
Nuestra movement joint guide covers the field logic; the point here is that both drawings should be issued together, because a joint at the wrong place looks like a setting-out error even when it is technically correct.
PREGUNTAS FRECUENTES
Should I centre the pattern or centre the joints?
Centre the composition, which is not the same thing. On a feature wall, the grid is usually set out from the most visible corner or from the focal element, not from the middle of the wall. Symmetry matters less than avoiding slivers and keeping joints off focal points.
Can I change the layout after the panels arrive?
You can change where each panel goes, but not the module. The panel sizes are fixed once cut, so any layout change that needs a different size means new material. Settle the set-out before ordering, and keep the approved elevation on site.
How wide should the joint be?
Whatever the system and the edge condition call for — this is a specification question, not a preference. What matters for set-out is that the joint width is set out consistently, so the lines read evenly across the wall.
Do I need a joint at every change of plane?
Changes of plane are natural places for joints and are far less visible there than on a flat field. An internal corner or a return is an opportunity; a joint in the middle of a visible flat panel is a problem to be designed out.
The set-out is settled long before the first panel is cut, and it is the cheapest part of the job to change. Product formats and thicknesses are listed on the revestimiento de piedra flexible page, and installation guidance for adhered finishes is published by the Tile Council of North America.