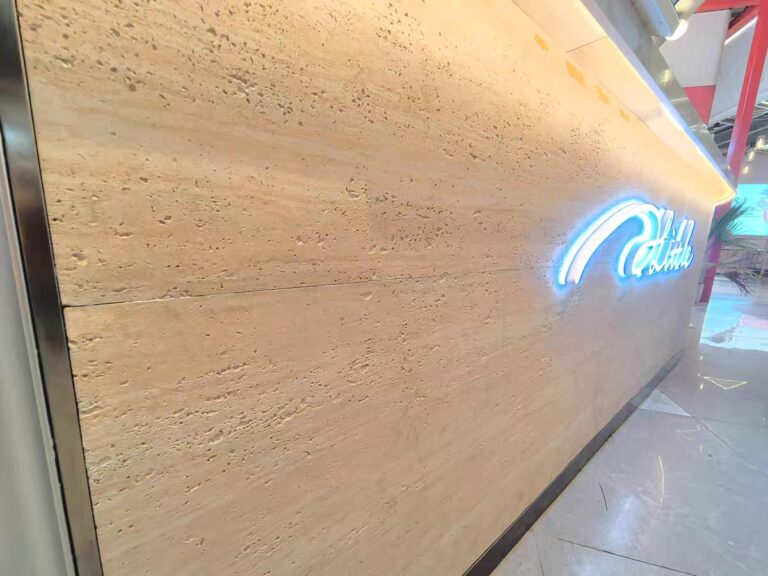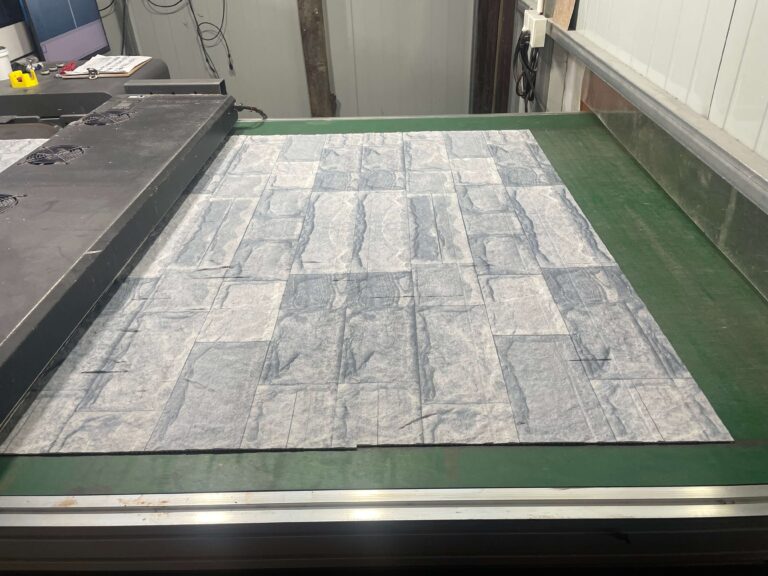
A flexible stone wall is finished twice: once by the installer, and once by whoever designs its light. The same travertine field that glows under a warm wall washer can look flat and grey under a single downlight, and the same slate that reads rich at night can turn harsh in the morning sun. Because the stone face is a printed, textured mineral surface rather than a glossy slab, it answers light differently from both paint and polished stone — it rewards grazing light that reveals relief, and it punishes hot spots that pool on a single panel. This guide covers how to light a flexible stone feature wall: colour temperature, direction, the difference between washing and grazing, and how the translucent panel changes the game entirely.
What does a textured mineral face want from light?
Two properties of the material drive every lighting decision. First, the face is matte and micro-textured — pores, stratification, cleave marks — which means it scatters light rather than reflecting it. That kills mirror highlights but makes the wall an excellent subject for raking light: light that arrives at a shallow angle skims across the relief and turns physical texture into visible shadow. Second, the colour is a printed layer, so its warmth or coolness is strongly influenced by the lamp’s colour temperature. Both properties mean the wall cannot be judged from a flat photograph under neutral light; it has to be lit deliberately to be seen at all.
The practical consequence: budget for lighting design as part of the wall, not as an afterthought. The most beautiful pattern in the catalogue, lit by whatever ceiling downlights the room happened to have, is a missed specification.
Wash, graze, or spot — which one, and where?
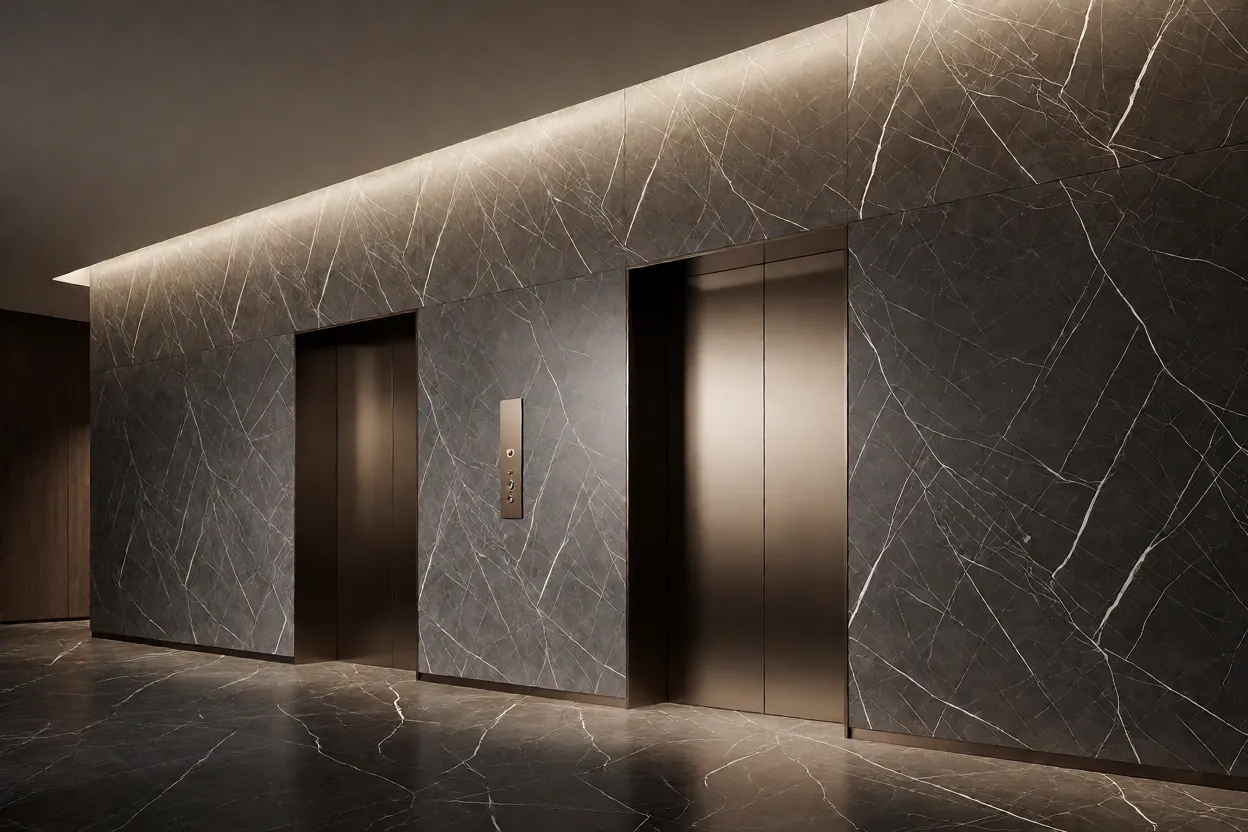
Three techniques cover most walls, and they are not interchangeable. Walling — linear fittings or a track washing the whole plane evenly — is the default for large fields and corridors: it presents the colour and lets the texture come second. Grazing — light placed close to the wall, aimed steeply down or across — is the drama option: it exaggerates relief, which is exactly right for deep-textured faces like rammed earth or slate, and exactly wrong for a wall with installation imperfections, because grazing light is also the light that reveals them. Spotting — narrow beams picking out objects or niches — belongs to the objects, not the field; a spot on bare stone produces a hot pool that reads as a mistake.
Choose by pattern depth. Fine travertine and marble-look faces, with shallow relief, want even washing and a comfortable viewing brightness. Deep slate, brick-look and rammed earth faces want grazing, placed so the shadow direction is consistent across the whole wall — two grazers from opposite sides cancel each other’s relief and leave the wall looking lit but flat.
Which colour temperature suits which pattern?
Colour temperature is the lever that moves the printed tone. Warm white (2700–3000 K) deepens travertine, rammed earth and wood-grain faces; it flatters hotel lobbies, restaurants and homes, and it makes warm neutrals feel expensive. Neutral-to-cool white (3500–4000 K) strengthens slate, grey and cool marble-look faces, and reads clean in retail, clinical and work settings — but pointed at a warm travertine it will grey the face and undo the pattern’s whole character. Mixing temperatures across one wall is the one unforgivable error: the eye reads the seam between lamps before it reads the stone.
Test with a lamp and a sample before specifying the circuit. Hold the physical sample of the chosen pattern under warm and then cool light at the wall’s real distance; the difference is often strong enough to settle the specification in a minute. The reference colorimetry behind this — how tone and illuminant interact — is published by the Comisión Internacional de la Iluminación (CIE).
How are light lines integrated into the cladding?
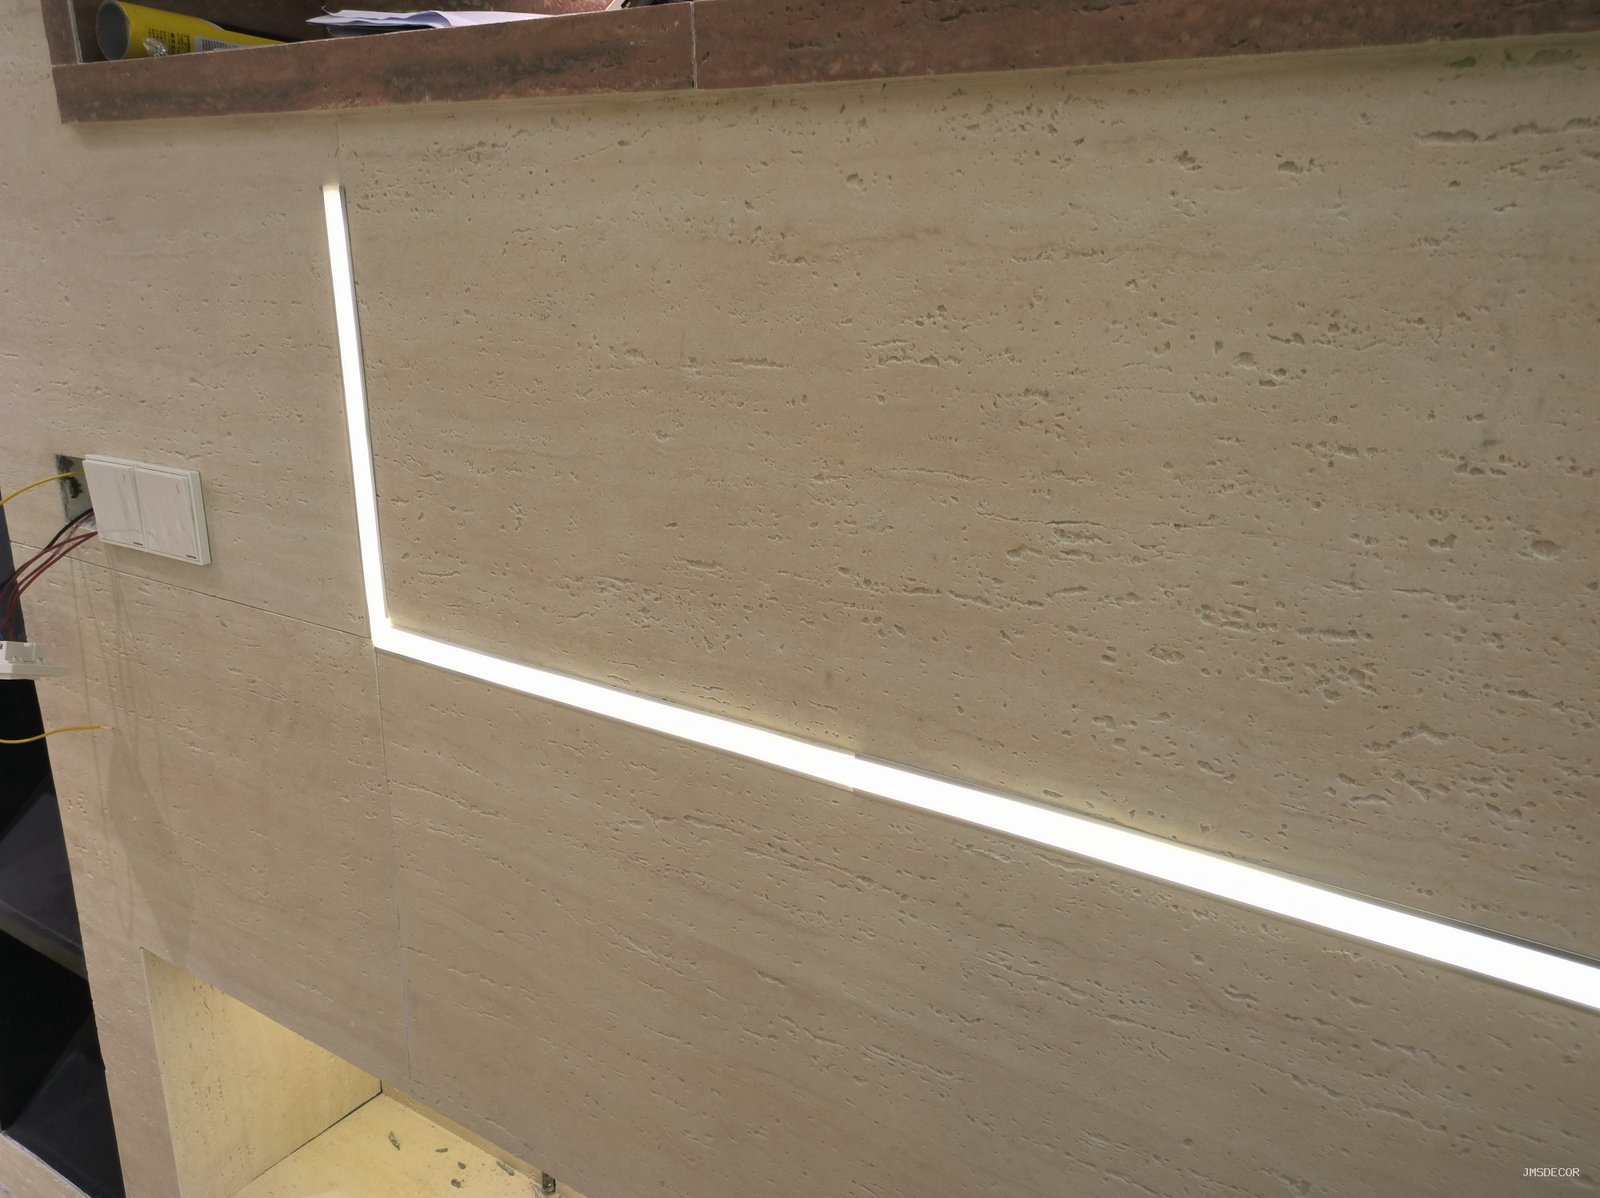
The trend detail of the last few years is the light line — a recessed LED strip that traces a joint, an edge or a reveal — and flexible stone takes it well because the sheet trims cleanly to a designed line. The integration questions are the same ones our socket and penetration guide covers for services: cut before bonding, protect the edge, and plan the driver and cable route behind the wall, not through the finished face. What lighting adds is a heat and maintenance consideration: an LED channel sealed into a stone detail must be reachable when the strip eventually needs replacing, so design the line as a removable profile or a channel with a diffuser that pulls out, not a glued-in strip behind a sealed edge.
Placement matters as much as the hardware. A light line under a horizontal termination reads as a floating detail — the standard trick above a half wall’s cap, which our top-edge capping guide treats in detail. A line traced along a vertical corner turns the junction into a deliberate feature and can replace a shadow gap entirely. A line around a niche does what the niche itself wants: it turns a recess into a display.
What changes with a backlit translucent panel?
Translucent flexible stone is a different lighting instrument. At around 2 mm it transmits light, so the stone is the diffuser: the pattern glows, the pigment reads as veined colour, and the wall becomes a light source rather than a lit surface. The craft questions shift to what is behind the sheet — an even light box, the spacing of the emitters, and the backing board’s colour, because any unevenness behind a translucent face shows immediately as blotch. A white, evenly spaced array with correct stand-off from the sheet is the difference between a premium glowing wall and a grid of visible dots.
The full method — light box design, seam layout, kerf behaviour at cut edges — is covered in our backlit panel installation guide. The point here is earlier: if the design wants a glowing wall, that decision belongs at pattern selection, not at fit-out, because a standard opaque face cannot be backlit later.
How much light does a stone wall actually need?
Enough to be seen, not so much that it becomes the room’s brightest object — unless it is meant to be. A feature wall usually sits a step above ambient: lit to be clearly the focal plane while floor and ceiling stay quieter. Practically, that means the wall’s average brightness should feel comparable to a well-lit work surface, with the evenness checked at night by walking the room: no visible scallops from downlights, no pooling at panel scale, no hot spots where a spot has strayed onto the field. Where the wall is also on camera — reception backdrops, retail — check it through the camera as well, because a wall that looks fine to the eye can stripe on a sensor.
- Walk the room at night and look for scalloping and pools from each fitting in turn.
- Confirm all lamps on one plane share one colour temperature.
- Check grazers for consistent shadow direction across the full field.
- Verify any light line can be serviced without breaking the stone edge.
- Photograph the lit wall for the handover record, alongside the submittal evidence our submittal guide describes.
What happens to the lighting plan when the wall is curved?
A curved flexible stone wall — a column wrap, an arched reveal, a sweeping reception — is the material’s showpiece, and it changes the lighting geometry in two ways. A straight wall can be lit by a run of fittings at a constant stand-off; a curve cannot, because the distance from a ceiling fitting to the surface varies around the profile, and light falls off with distance. The results without adjustment are familiar: hot tops and dead flanks. The fix is either to follow the curve with the light source — a cove, a track bent to the profile, or a light line traced along the curve’s edge — or to light the curve from a distance so large that the variation becomes negligible.
The second change is that grazing a curve multiplies relief effects unevenly: the side facing the grazer shows deep shadow, the far side flattens. On strongly curved work, grazing is usually replaced by a continuous diffuse wash, with the drama left to the curve itself. The same principle appears in our curved-wall installation guidance — light the shape, let the texture ride.
PREGUNTAS FRECUENTES
Do flexible stone walls need dedicated lighting to look good?
They need deliberate lighting. A wall under general room lighting reads as a painted surface with texture; the same wall with one grazing fitting or an even wash reads as stone. The difference is design, not material.
Is warm or cool light better for stone?
Match the lamp to the pattern’s family: warm white for travertine, rammed earth and wood-look faces; neutral for slate, grey and cool marble-look faces. Never mix temperatures on one plane.
Will grazing light expose installation flaws?
Yes — that is its nature. Use grazing on deep-relief patterns where the texture gain outweighs the risk, keep grazers consistent in direction, and inspect the wall under grazing light before handover so any flaw is found by you, not the client.
¿Puedo incorporar una línea de luz en un muro de piedra existente?
Por lo general, no de forma limpia. El canal requiere un corte y un perfil específicos, lo cual es una decisión que se toma en la etapa de revestimiento. Si es posible incluir una línea de luz en el diseño, planifíquenla antes de instalar los paneles.
Ilumine el muro como parte de su diseño: elija la técnica según la profundidad del patrón, la temperatura de color según la familia del patrón e integre las líneas en la etapa de revestimiento. Las opciones de patrones y formatos están en la revestimiento de piedra flexible página; ejemplos de muros terminados puede verlos en nuestro ideas de diseño.