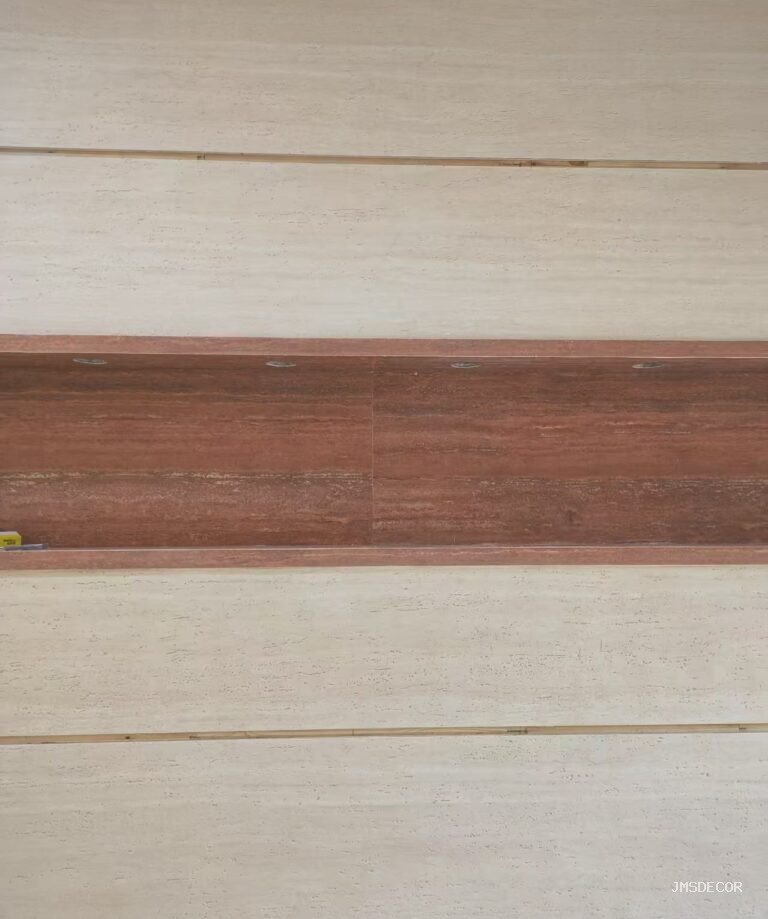
Every wall in a commercial building carries something behind it: valves, isolators, junction boxes, AV racks, duct access. On a tiled wall the answer is a standard access panel in a metal frame, and it looks exactly like what it is. On a flexible stone feature wall the temptation is different — the material is thin and light, so someone will eventually ask whether a section of the finish itself can be made removable. It can, but not by simply bonding a panel to a hatch and hoping. A removable stone-clad panel is a small piece of engineered joinery: it needs its own substrate, its own support, its own fixings, and a perimeter joint designed to be opened and closed again. Done properly it disappears; done cheaply it is the first thing every visitor notices.
Why you cannot just hatch a flexible stone panel
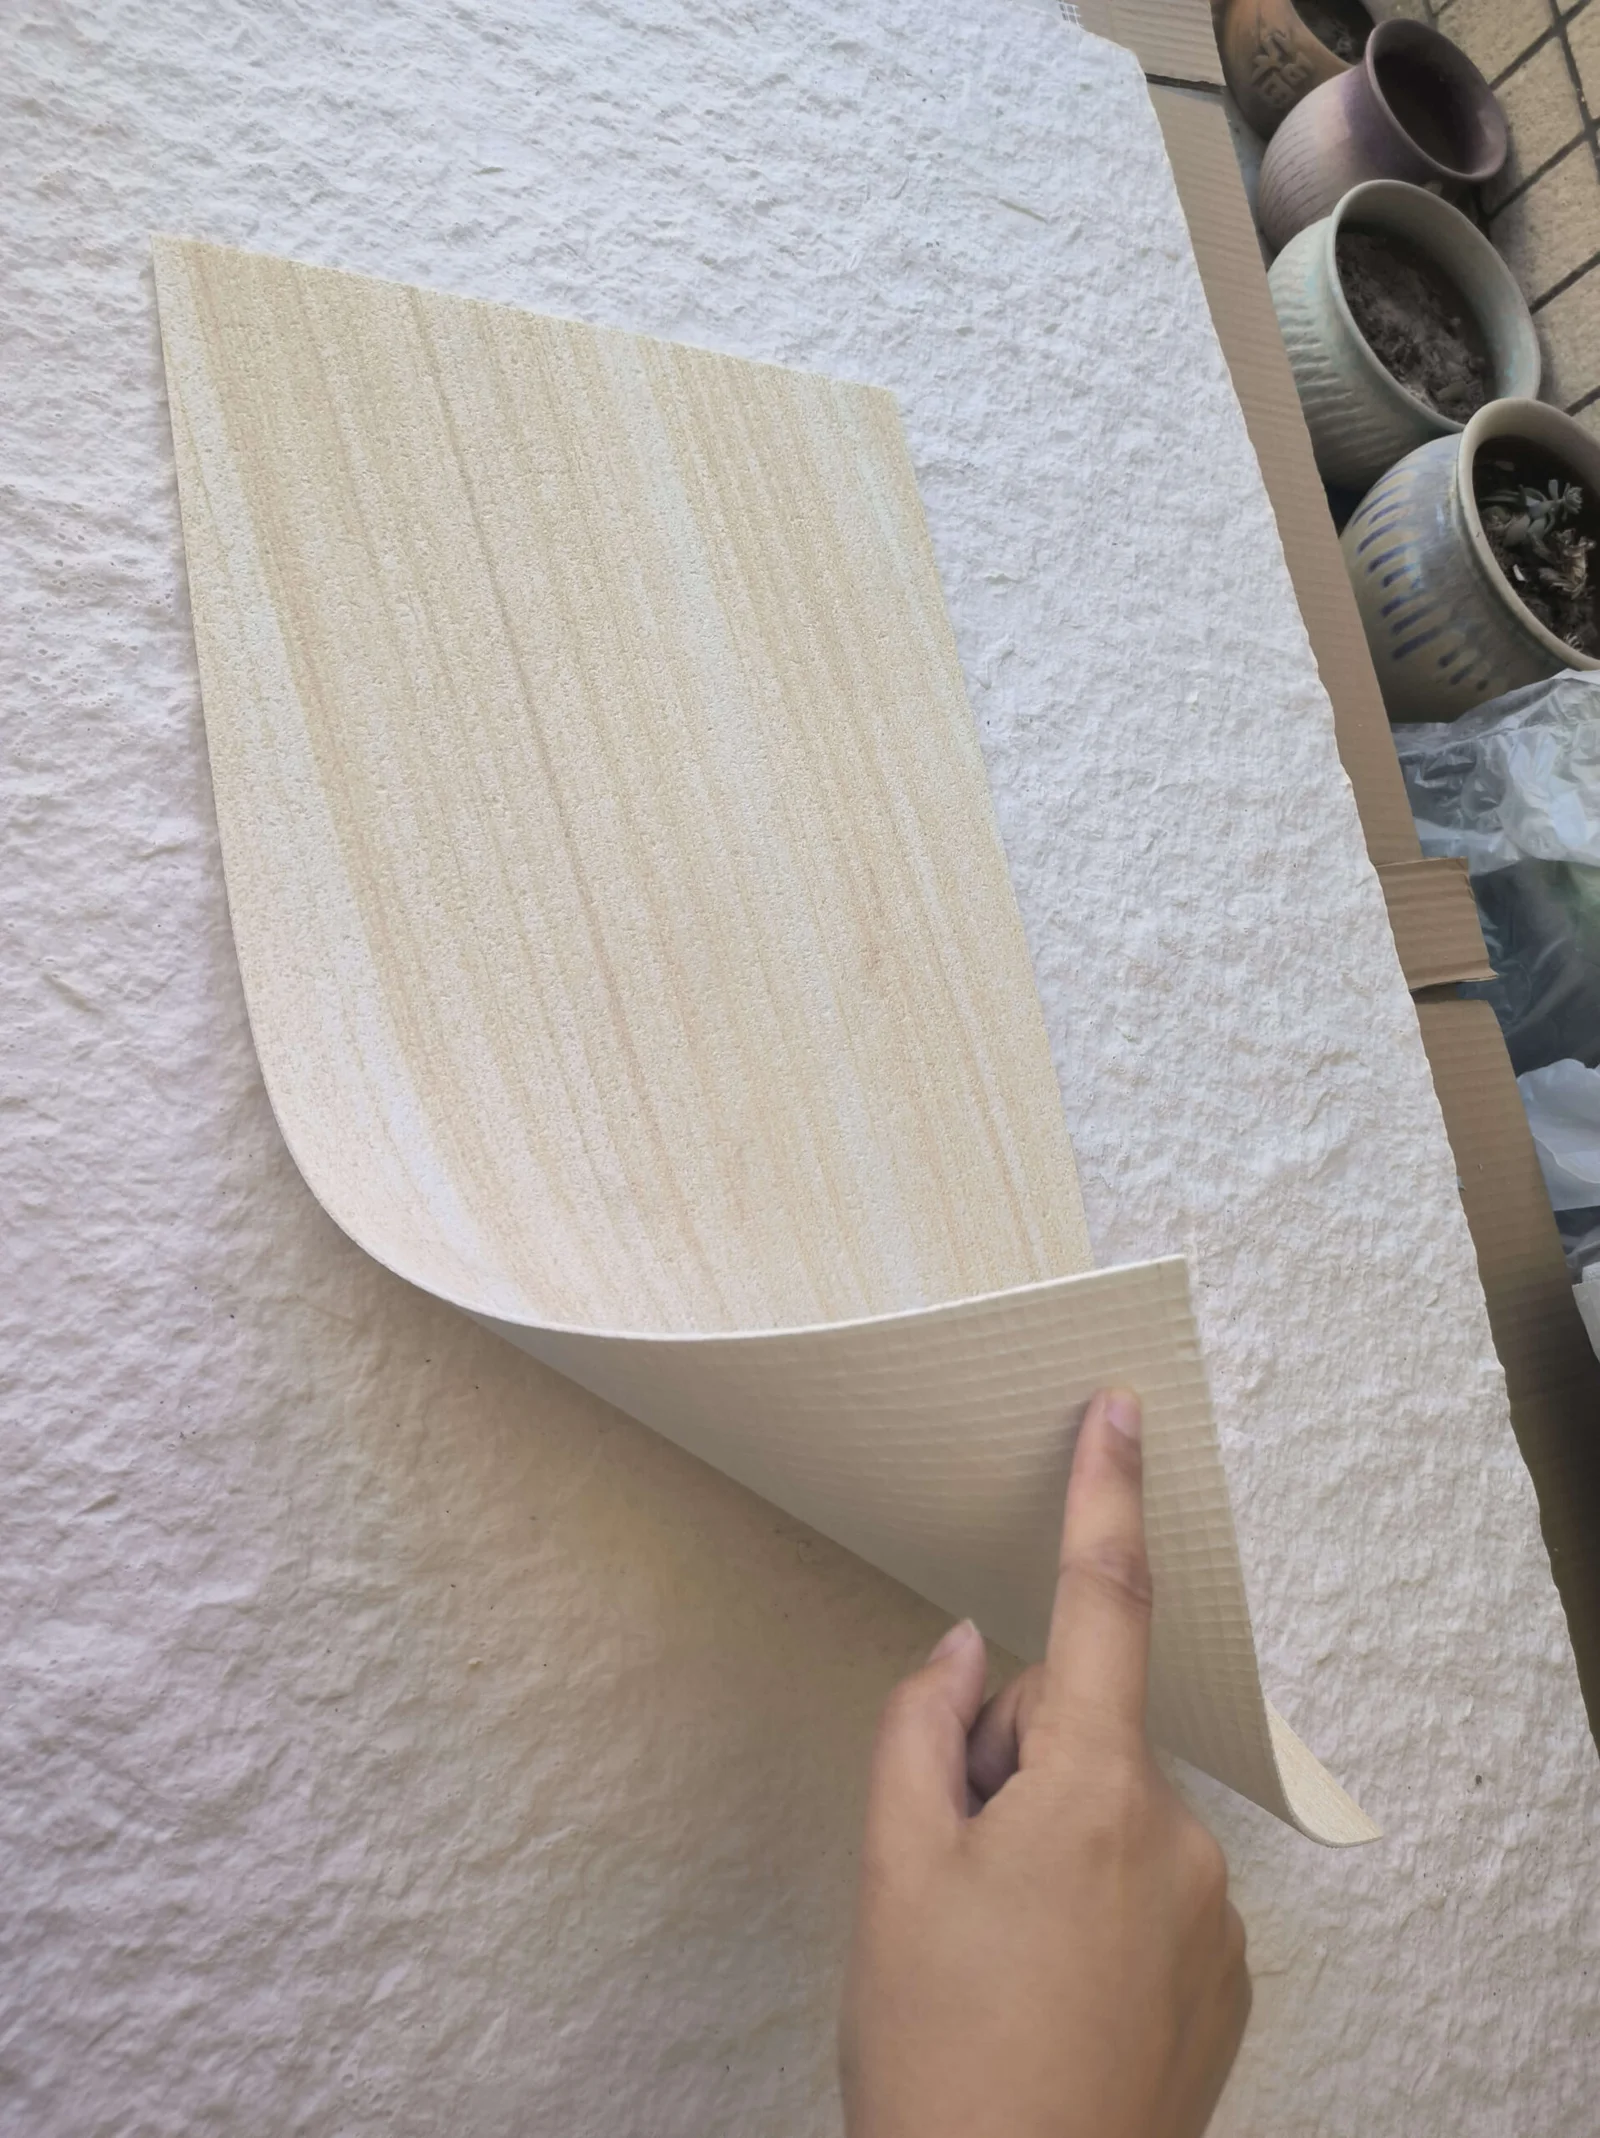
A flexible stone sheet is a 2–8 mm mineral composite over a fiberglass mesh. That construction is designed to be bonded permanently to a wall, where the adhesive bed and the substrate do the structural work. The sheet has essentially no spanning stiffness of its own: lift a piece off the wall and it flops. So a removable panel cannot be “a sheet of stone with handles” — the stone has to be bonded to a carrier panel that provides the flatness and the rigidity, and the carrier is what actually gets removed.
This reframes the whole detail. The question is not “can the stone be removed” but “can a rigid carrier, clad in stone, be fixed and re-fixed in a way that holds position, stays flush, and does not damage the finish around it on the tenth opening.” Those are joinery requirements, and the answers are frames, fasteners and gaskets.

What carries the stone on a removable panel?
The carrier needs to be flat, dimensionally stable, and compatible with the same approved adhesive used on the walls — a moisture-resistant board or a rigid composite panel are the usual families, with the final choice confirmed against the cladding system’s documentation. The stone is bonded to the carrier exactly as it would be bonded to the wall: same adhesive, same coverage discipline, same lift-and-read check on the first one.
Two rules keep the carrier invisible in the finished wall. First, the carrier is sized so the stone pattern can continue across it — the perimeter joint lands on a designed line, not mid-pattern, so the panel reads as part of the wall rather than an insertion. Second, the carrier is set flush with the surrounding stone field, which means the wall build-up around the opening has to be detailed to receive it, not adjusted afterwards. A carrier that sits proud, or that recesses even a few millimetres, gives the game away at any raking light.
How should the panel be fixed so it can actually be removed?
The fixing strategy follows one question: how often will it be opened? A panel that comes out once a decade for a valve check can be held differently from one a technician visits every quarter.
- Rarely opened. Concealed mechanical retainers — quarter-turn fasteners, Z-clips or security screws — hold the carrier on a fixed frame. Removal is a tool job, which also discourages casual opening.
- Maintenance-regular. A hinged carrier with a concealed hinge and a tool-operated or keyed latch. The stone edge around a frequently cycled opening needs protection, because every cycle is a chance to chip it.
- Never rely on friction or sealant. A panel held by the perimeter seal “because it fits tight” is a panel that will either rattle loose or need to be prised out, and prising is what destroys the surrounding finish.
Whatever the strategy, provide a designed grip: a recessed pull, a concealed finger slot or a designated suction point. The maintenance technician will find a way to remove the panel; the detail decides whether that way is the one you drew.
What happens at the perimeter joint?
The joint around a removable panel is a movement joint that gets exercised. Treat it with the same logic our movement joint guide applies to the field: no rigid filler, a compressible backer where the system requires one, and a seal that stays elastic. The difference is serviceability — a permanently cured silicone bead has to be cut to remove the panel, and the re-sealed bead rarely matches the first one. For a panel that will be opened more than once, a bonded gasket — a rubber or closed-cell profile carried on the carrier or the frame — is the cleaner answer: it compresses every cycle and needs no tools.
Establezca la anchura de junta como una dimensión proyectada, uniforme en los cuatro lados y alineada para que se lea como una línea de sombra intencionada. En un muro decorativo, esa línea debe situarse donde el ojo espera encontrar una junta de panel: en la costura de una piedra, en un cambio de color o a lo largo de una faja. Que resulte visible sin ser obvia es mejor que intentar disimularla.
¿Qué ocurre si el muro tiene clasificación resistente al fuego o es un muro húmedo?
Ambas condiciones elevan el detalle desde la carpintería hasta el cumplimiento normativo. En una separación con clasificación resistente al fuego, un panel desmontable sin clasificación constituye una infracción: la abertura requiere un conjunto de acceso certificado para resistencia al fuego, y un panel revestido de piedra solo puede emplearse donde la certificación de dicho conjunto lo permita. La conveniencia decorativa no prevalece sobre la clasificación; es el marco y el panel debidamente listados los que aportan la protección, y la piedra solo embellece algo que ya cumple la normativa.
En una zona húmeda, el panel desmontable es, por definición, una penetración del sistema de estanqueidad: cada ciclo tensiona la continuidad de la impermeabilización en la abertura. La secuencia de capas de nuestro wet-room detailing guide sigue siendo válida detrás de la abertura, y el diseño de la junta debe asumir que el agua intentará forzar la unión. Un panel desmontable en una zona de ducha es posible; pero uno detallado de forma descuidada es una lenta filtración con un hermoso aspecto.
¿Dónde deben ubicarse los paneles de acceso en primer lugar?
El panel de acceso más barato es aquel que nadie ve, y es la ubicación lo que lo hace posible. Repase el plano de instalaciones antes de fijar la disposición del revestimiento: cada válvula, interruptor de aislamiento, caja de conexión y filtro tienen una ubicación y un espacio de servicio necesarios, y cada uno o bien requiere un panel o bien debe relocarse. A continuación, compruebe la planificación del revestimiento: un panel centrado en una costura de piedra pasa desapercibido; el mismo panel que queda compartido entre dos patrones se convierte en un punto focal. Ambos planos deben conciliarse en la fase de diseño, siguiendo la misma disciplina de planificación que nuestra guía de distribución de juntas describe para el montaje en obra.
Además, sea realista al negociar las dimensiones. Un panel ajustado exactamente al tamaño del equipo resulta inutilizable el día en que hay que introducir una mano y una llave para acceder a él; la abertura neta se determina según los requisitos de mantenimiento, y el soporte y la junta se dimensionan en consecuencia. Un acceso subdimensionado es el detalle que garantiza que, dos años después, tengan que abrir el muro con un cúter.
¿Qué se debe inspeccionar antes de cerrar la pared?
A removable panel is the one part of a stone wall that will be handled after handover, so its inspection list is longer than the field’s. Check the carrier before the stone goes on: flat, dry, the right thickness for the flush detail, and the frame behind it square and solidly fixed to structure — not to the cladding substrate alone, because every opening cycle loads the frame. After the stone is bonded, check the pattern alignment across the perimeter joint from standing distance and from raking light; a mismatch invisible face-on will stand out at an angle.
Then cycle the panel. Open it, close it, open it again — the way maintenance actually will — and watch three things: the joint width stays even after re-closing, the fixings re-engage without forcing, and the stone edges at the grip point survive the handling. Photograph the closed panel against the approved sample as the handover reference, the same evidence discipline that protects the rest of the wall through the submittal package. If the panel needs replacing years later, that photograph is what makes the replacement match.
PREGUNTAS FRECUENTES
Can a removable panel really be invisible in a stone wall?
Close to it, when three things line up: the carrier sits flush with the field, the perimeter joint lands on a designed seam and reads as a shadow line, and the stone pattern continues across the panel. It is a set-out exercise as much as a joinery one.
What is the most common mistake?
Bonding stone directly to an off-the-shelf access hatch with no thought to flushness or pattern continuity. The hatch is designed for a tiled wall with a visible frame; a flexible stone feature wall exposes every millimetre of mismatch.
Do I need a gasket, or is sealant fine?
Sealant is acceptable for a panel opened once, but it has to be cut and re-done every time. For anything on a maintenance schedule, a bonded compressible gasket is the serviceable choice and keeps its look over repeated cycles.
Does a stone-clad access panel affect the fire rating?
Only listed assemblies maintain a rating. If the wall is a fire separation, the opening must use a certified fire-rated access panel; the stone cladding is a finish on a compliant unit, never a substitute for it.
The stone on the carrier, the adhesive under it and the sealant at the joints should all come from or be confirmed with the cladding system’s manufacturer, so the removable section is covered by the same approvals as the fixed field; the formats the stone is supplied in are listed on the revestimiento de piedra flexible page, and reference detailing for access in wall systems is published by standards bodies such as the Gypsum Association.