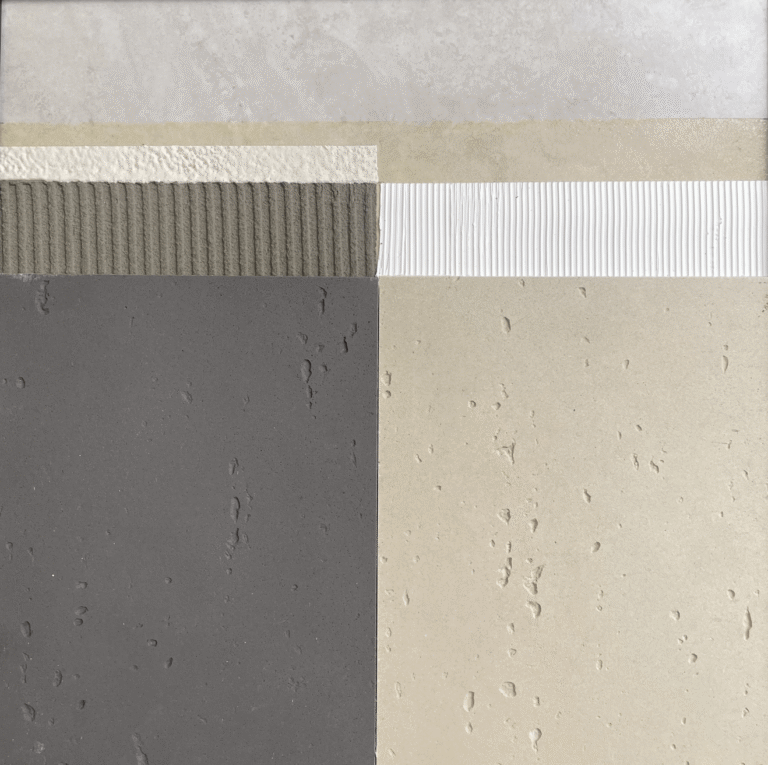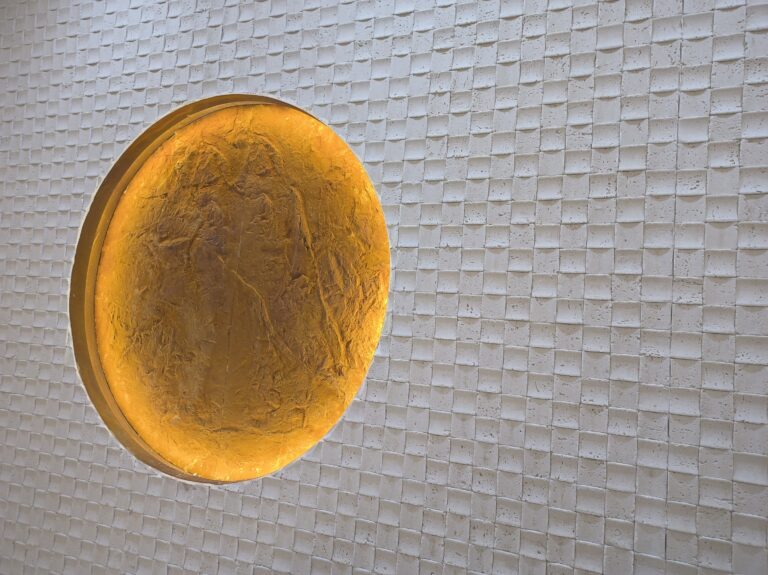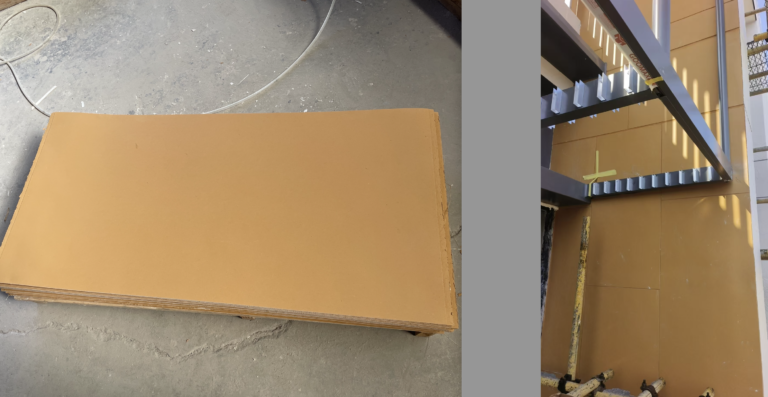
凹型ニッチは、フレキシブルストーン壁の最もシンプルに見えるディテールのように見えます:石が内側に折り返された箱型の開口部です。しかし実際には、これが施工中の問題として浮上しやすいディテールです。開口部は下地材やボード工事で造られるものの、その結果を意図的に仕上げに見せるのは石材側の役割だからです。施工方法を決定づける制約はシート自体にあります。フレキシブルストーンはパターンと厚みによりますが、最小曲率半径が約200mmであるため、薄いビニールラップのような鋭い90度の折り返しには対応できません。折り返し部分は切り出し、.fit. fittingし、継目を処理する必要があり、それが施工順序、端部の仕上げ、そして目立つ継目の位置に影響します。
なぜニッチは下地材の判断事項であり、仕上げ材の判断事項ではないか
開口部は壁を構築する者が設定します。石材が到着する時点では、その位置、垂直度、折り返し深さがすでに固定されており、2〜8mmのシートはそれらの誤差を忠実に反映してしまいます。荒々しい開口部は粗い下地としてではなく、不適切に施工された仕上げとして認識されます。なぜなら、目はニッチのシャープな影の線に沿って視覚を誘導し、周囲の広範囲を見ないからです。
それゆえ、最初のチェックはどの接着剤を開く前に行われます。開口部周囲の壁面は連続して平らでなければならず、折り返しが面と接する部分に段差があってはなりません。ボード層が開口部まで届いていなかったり、下地材がねじれていたりすると、石材では修正できません——折り返しが浮き出したり沈んだりし、いずれも腕長の距離から見て取れます。
曲率半径が折り返しの施工方法を決定する
ここが多くの仕様書で誤解されている部分です。フレキシブルシートは曲げられますが、曲げられるからといって折り曲げられるわけではありません。一般的なパターンでは最小半径約200mm、より厚く複雑な surface では約300mmに近いところで、素材は20〜30mmの内部折り返しに巻き付けることができません。すると印刷面がひび割れたり、ガラス繊維メッシュが潰れたりします。現場で鋭い折り目を無理やりつけようとしたことがある人なら結果を知っています——表面が引っ張られた箇所に沿って白い線が入るのです。
こうしたとき、誠実な施工方法は2つだけ残されます。一方は折り返し部分を別個のピースとして切り出し、背面と側面に継目を入れる方法。他方は、目的別に作られた枠やトリムを用いて transition を隠す方法です。両方とも正当な手法です。正当ではないのは、隠れた折り目を作ることです。なぜなら、傷みは後で光が横から当たる箇所にヘアラインクラックとして現れるからです。
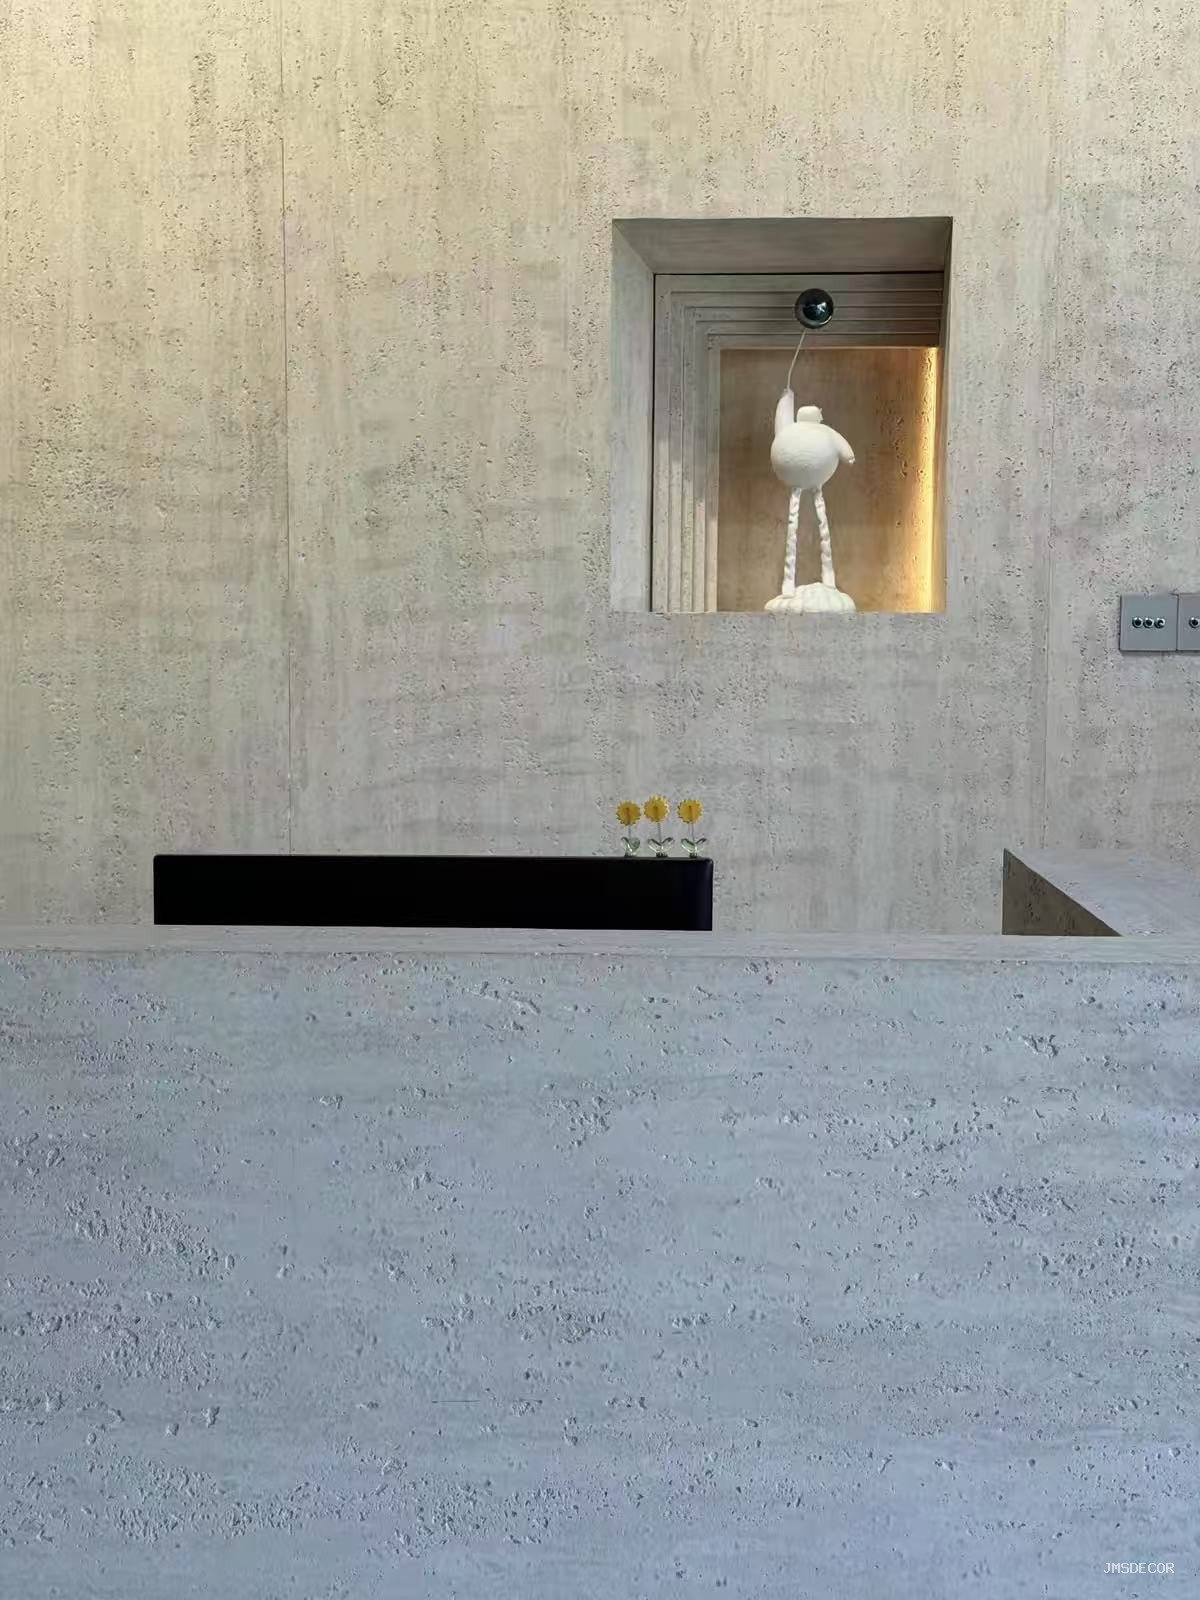
ニッチの背面を1枚のシートでできるか?
多くの場合、可能です——そして設計時に考慮する価値があります。フレキシブルストーンは標準的に1200×600mmで生産され、1200×2900mmまでの大型フォーマットも利用可能です。大型フォーマットから切り出した背面板を使用すれば、ニッチ内部の目線レベルあたりに水平継目が来るのを防げます。また、一枚の連続面は、二枚のシートを組み合わせて位置合わせをするよりも、わずかな設置誤差に対して遥かに寛容です。
トレードオフは取り扱いやすさです。長く細長いシートは接着前に柔らかく、ニッチの背面板は通常、制限された空間内で組み込まれます。面を支えた状態で切り出し、接着剤を混ぜる前にドライフィットを行い、工具を取りに手を伸ばす間にシートが一隅からぶら下がらないようにしてください。重さに関してはこちら側です——フレキシブルストーンのパターンと厚みによりますが約1.5〜6kg/㎡で、天然石のおよそ5分の1です。そのため、一人でもパネルが自重でたわむことなくニッチの背面板を配置できます。ただし、鋭い折り曲げは許されません。シートは平らに持ち運び、開口部に挿し込む際には曲げずにはめ込んでください。
ニッチを仕上げたら、それを保護してください。開口部は部屋でのその後のすべての作業(ボードの粉塵、塗料、はしごの足など)を受け入れます。すでに石で裏打ちされたニッチは、折り返し部分が巻き付けられないため、_effectively_ マスキングするのが困難です。開口部は緩いシートではなく、剛性のボードで覆い、フィールドに合わせてテープで固定し、最後の工程の職人が退去するまでそのままにしておきましょう。
ニッチ内の継目はどこに設けるべきか?
ニッチには3面または4面の可視面があり、それぞれ人们が近づいて見るため細かく観察されます。可能な限り内部コーナーに継目を設け、継目が面の変更点と一致して影の中に消えるようにしましょう。水平継目は背面板の真ん中や目線レベルの帯状部分に置かないでください。深いニッチでは、背面の継目より折り返し部分の継目の方が遥かに目立ちません。
継目が可視面に立たなければならない場合、それは偶然ではなく意図的なラインとして扱ってください。開口部の端と平行に保ち、両パネルを同じ生産バッチから選別し、貼り合わせる前に横並びでトーンをチェックしましょう。ニッチ内のトーンの段階差は、大きな壁面上的の同じ段階差よりもはるかに顕著です。なぜなら、目線で平均化できる距離がないからです。
Services inside the niche have to be first-fixed
Sockets, spurs and lighting inside a niche are the reason most niches exist, and they are also the reason walls get opened up again after handover. The stone is a finish, not a service void. Wiring, back boxes and any driver or transformer must be installed, tested and signed off before the sheet goes on, with enough slack left to connect the accessory after cladding.
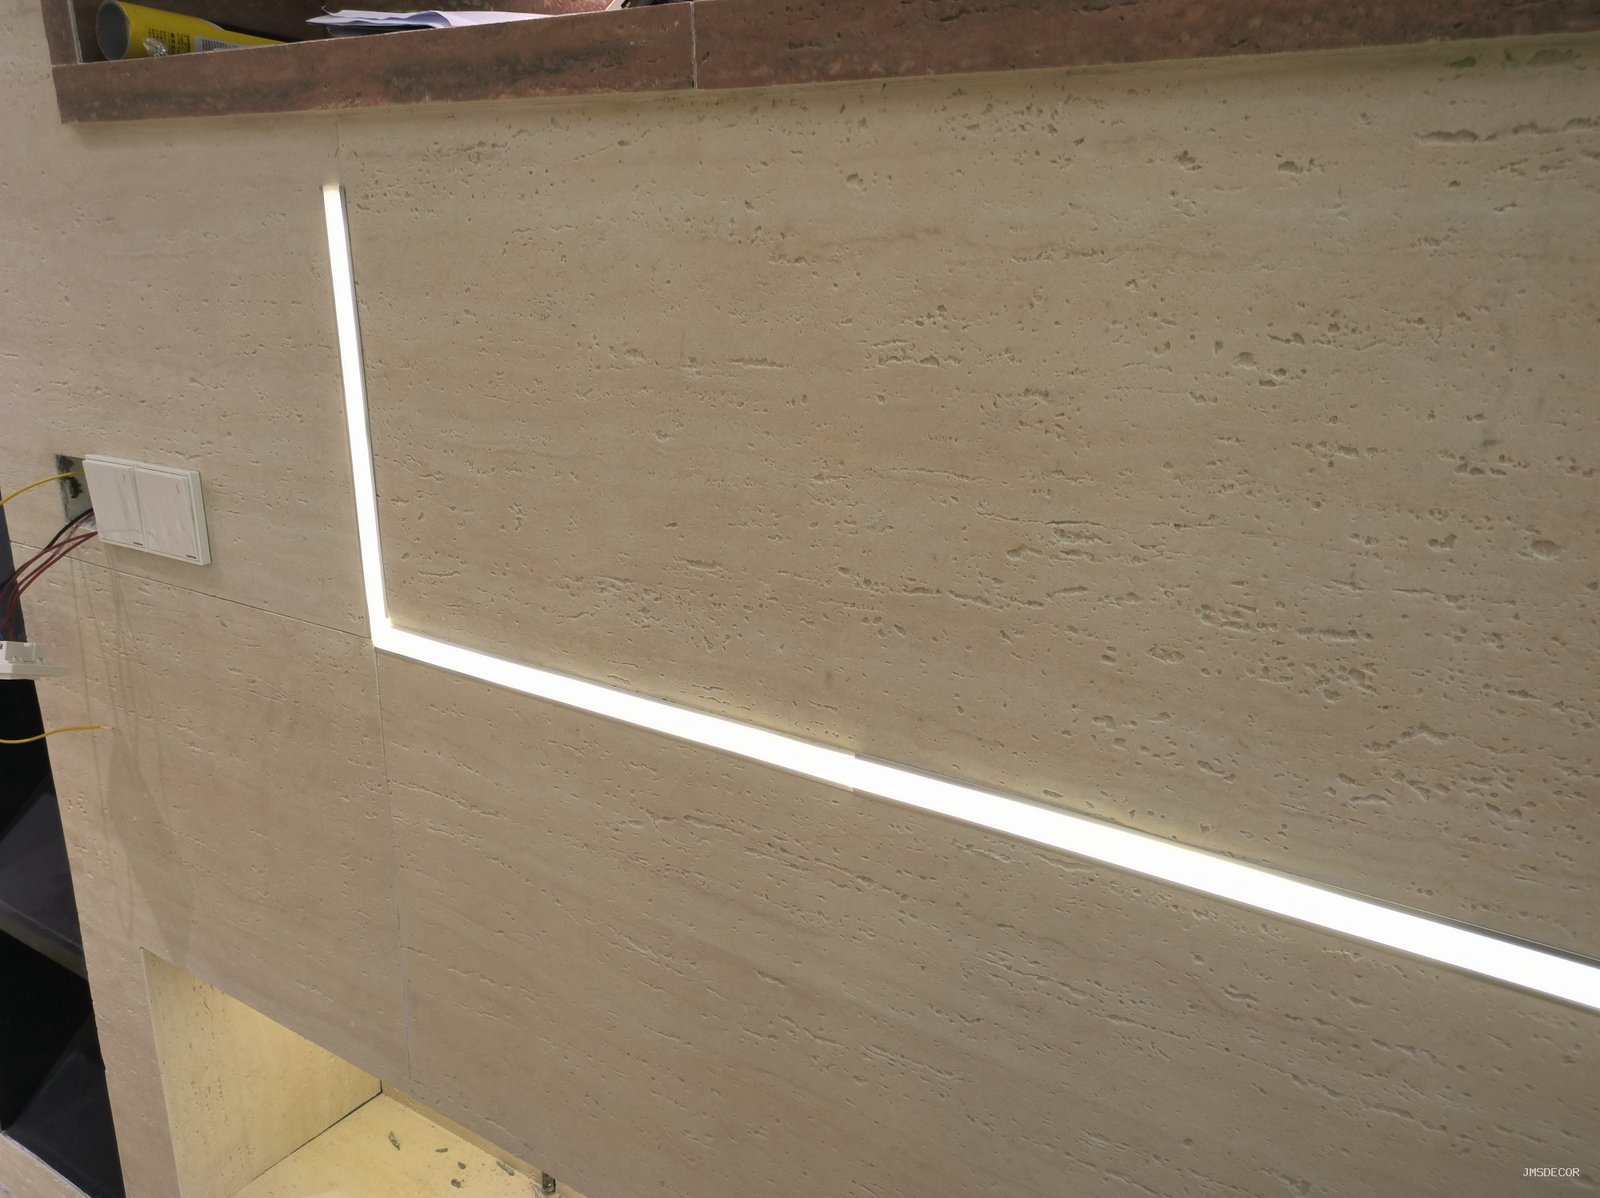
The opening for each accessory is small, but it still has to be cut cleanly and positioned so the accessory plate covers the cut edge completely. Set the plate on the wall and mark from the plate, not from the drawing; a few millimetres of drift at the box becomes a visible sliver of cut edge at the plate. Where the niche also carries a light line, the cable route and the joint in the stone have to be planned together, so the cable does not cross a joint at an angle.
What changes in a wet area?
Everything about the waterproofing moves ahead of the stone. A niche in a shower or a wet room is a water trap by geometry, and the waterproofing layer has to run continuously through the opening — back, returns and the junction to the field — before any cladding is bonded. Flexible stone is a decorative finish; it is not the membrane, and it should never be asked to be one.
The return detail also has to allow water to leave the horizontal shelf. Standing water on a flat niche base is the classic failure, and no amount of sealant fixes a shelf that cannot drain. Fall the base, detail the corners as the waterproofing system requires, and only then bring the stone in. Our guide to flexible stone wet-room detailing covers the layer sequence in full.
What should be inspected before the wall closes?
- Opening square and size. Measure both diagonals; a twist that looks minor in the rough will show as a tapered shadow line once the returns are clad.
- Return depth. Confirm it matches the detail with the chosen edge treatment, not the nominal drawing.
- Flatness around the opening. Run a straightedge across the face-to-return junction; any step has to be corrected in the substrate.
- Services tested. Continuity and insulation resistance signed off, boxes set to finished face, slack available.
- Trial layout. Dry-lay the back and returns on the floor to confirm joint positions before cutting the final pieces.
- Batch match. Check that the panels going into one niche come from the same batch, since a niche concentrates attention on tone.
The same discipline applies to outside corners, where the sheet is wrapped rather than cut; our guide to フレキシブルストーンコーナー設置ガイド sets out where the wrap works and where it should be a joint instead.
FAQ
Can I wrap flexible stone around the inside corner of a niche?
Not at a tight radius. The material needs roughly a 200 mm radius on typical patterns before the face or mesh is strained, so a 20–30 mm return has to be a separate piece or a trim. Forcing a fold produces a hairline crack along the bend.
How deep should a niche be?
Deep enough for what it displays and no deeper, because every extra millimetre is a deeper return to clad and a bigger shadow. Set the depth in the detail with the return method agreed, then build the framing to that number rather than adjusting the stone later.
Do I need a movement joint inside a niche?
Usually not inside the opening itself, but the niche interrupts the field, so the movement strategy for the wall has to be checked around it. Joints in the field should not be interrupted by the niche in a way that leaves a long panel locked between two openings. Our movement joint guide covers the field logic.
What is the most common niche mistake?
Cladding before the services and waterproofing are finished. Reopening a clad niche to reach a box or a leak destroys the returns, and the repair is always more visible than the original joint would have been.
The short version: build the opening properly, design the return as a cut joint rather than a fold, and finish everything behind the stone first. Product data and format options are on the flexible stone veneer page, and recessed niches in wet areas should be detailed against the installation standards published by the Tile Council of North America.