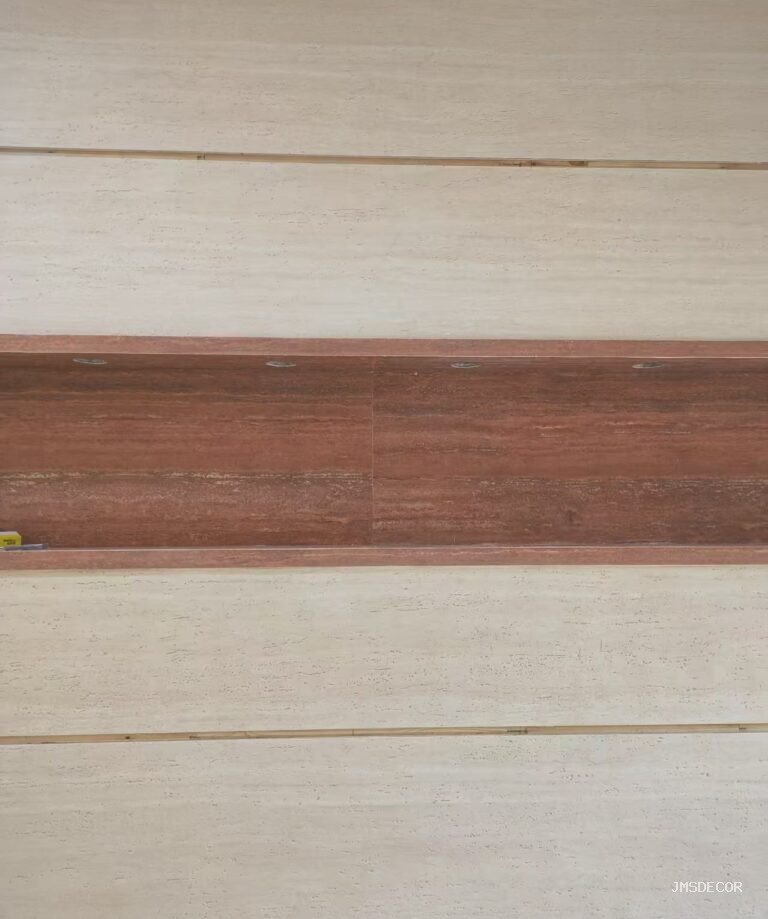
Every wall in a commercial building carries something behind it: valves, isolators, junction boxes, AV racks, duct access. On a tiled wall the answer is a standard access panel in a metal frame, and it looks exactly like what it is. On a flexible stone feature wall the temptation is different — the material is thin and light, so someone will eventually ask whether a section of the finish itself can be made removable. It can, but not by simply bonding a panel to a hatch and hoping. A removable stone-clad panel is a small piece of engineered joinery: it needs its own substrate, its own support, its own fixings, and a perimeter joint designed to be opened and closed again. Done properly it disappears; done cheaply it is the first thing every visitor notices.
Why you cannot just hatch a flexible stone panel
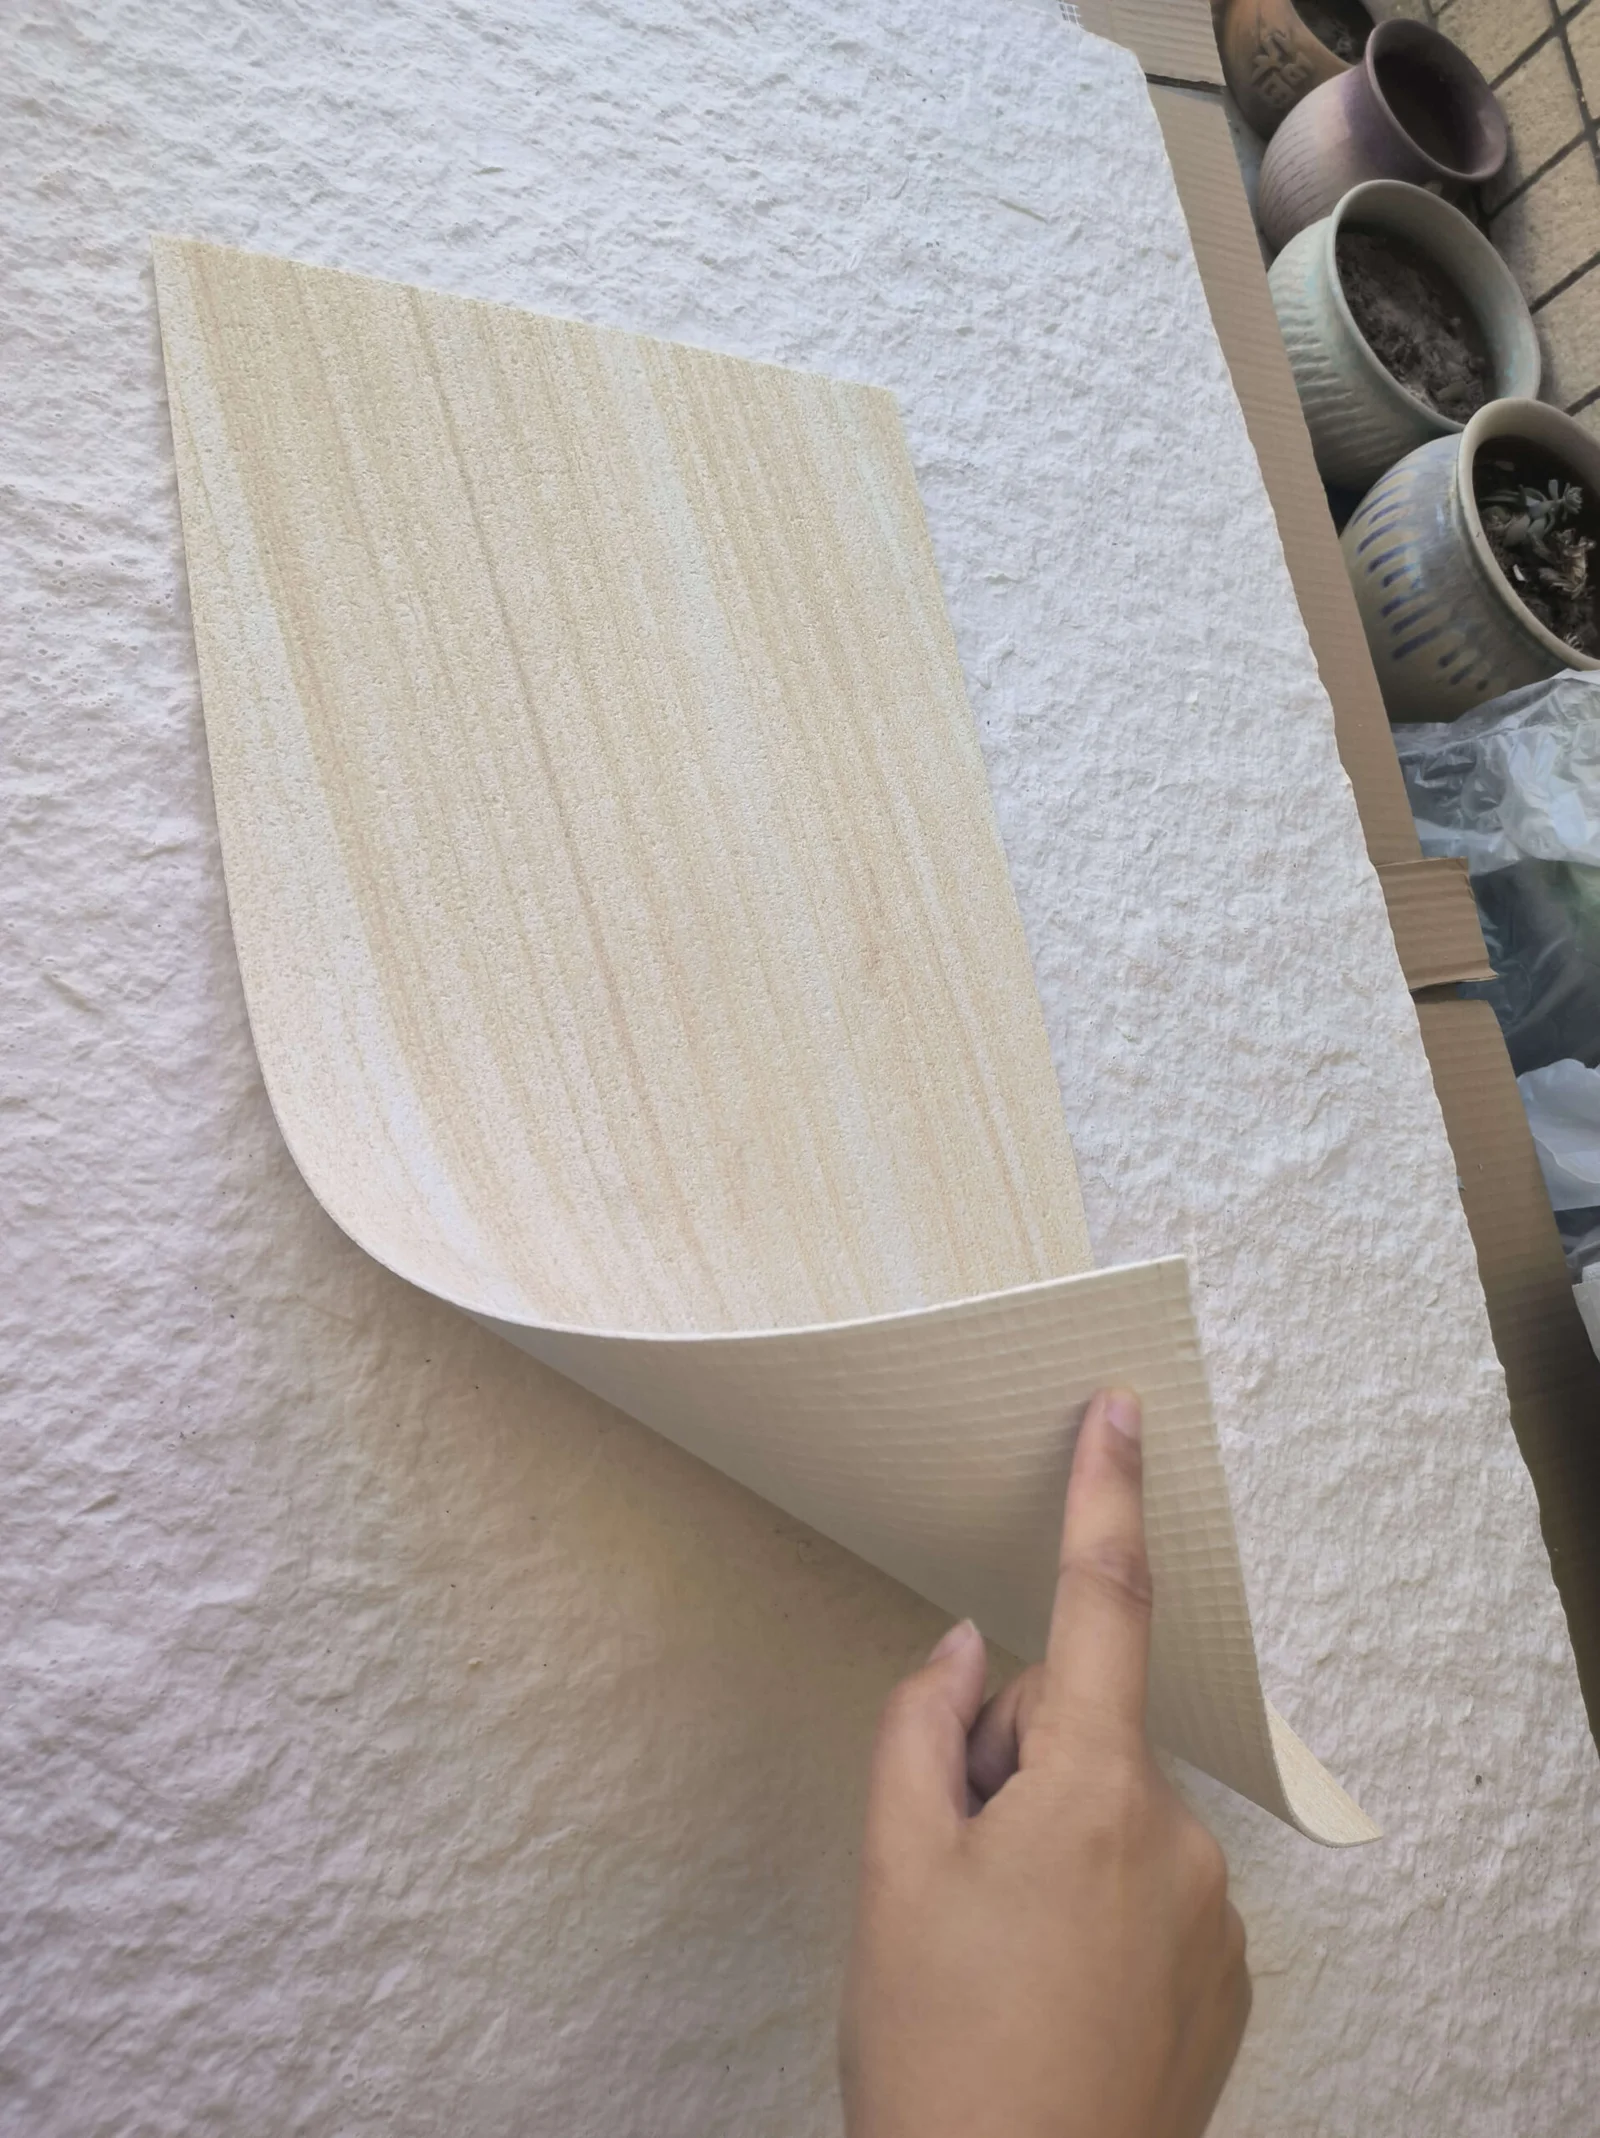
A flexible stone sheet is a 2–8 mm mineral composite over a fiberglass mesh. That construction is designed to be bonded permanently to a wall, where the adhesive bed and the substrate do the structural work. The sheet has essentially no spanning stiffness of its own: lift a piece off the wall and it flops. So a removable panel cannot be “a sheet of stone with handles” — the stone has to be bonded to a carrier panel that provides the flatness and the rigidity, and the carrier is what actually gets removed.
This reframes the whole detail. The question is not “can the stone be removed” but “can a rigid carrier, clad in stone, be fixed and re-fixed in a way that holds position, stays flush, and does not damage the finish around it on the tenth opening.” Those are joinery requirements, and the answers are frames, fasteners and gaskets.

What carries the stone on a removable panel?
The carrier needs to be flat, dimensionally stable, and compatible with the same approved adhesive used on the walls — a moisture-resistant board or a rigid composite panel are the usual families, with the final choice confirmed against the cladding system’s documentation. The stone is bonded to the carrier exactly as it would be bonded to the wall: same adhesive, same coverage discipline, same lift-and-read check on the first one.
Two rules keep the carrier invisible in the finished wall. First, the carrier is sized so the stone pattern can continue across it — the perimeter joint lands on a designed line, not mid-pattern, so the panel reads as part of the wall rather than an insertion. Second, the carrier is set flush with the surrounding stone field, which means the wall build-up around the opening has to be detailed to receive it, not adjusted afterwards. A carrier that sits proud, or that recesses even a few millimetres, gives the game away at any raking light.
How should the panel be fixed so it can actually be removed?
The fixing strategy follows one question: how often will it be opened? A panel that comes out once a decade for a valve check can be held differently from one a technician visits every quarter.
- Rarely opened. Concealed mechanical retainers — quarter-turn fasteners, Z-clips or security screws — hold the carrier on a fixed frame. Removal is a tool job, which also discourages casual opening.
- Maintenance-regular. A hinged carrier with a concealed hinge and a tool-operated or keyed latch. The stone edge around a frequently cycled opening needs protection, because every cycle is a chance to chip it.
- Never rely on friction or sealant. A panel held by the perimeter seal “because it fits tight” is a panel that will either rattle loose or need to be prised out, and prising is what destroys the surrounding finish.
Whatever the strategy, provide a designed grip: a recessed pull, a concealed finger slot or a designated suction point. The maintenance technician will find a way to remove the panel; the detail decides whether that way is the one you drew.
What happens at the perimeter joint?
The joint around a removable panel is a movement joint that gets exercised. Treat it with the same logic our Bewegungsfugen-Leitfaden applies to the field: no rigid filler, a compressible backer where the system requires one, and a seal that stays elastic. The difference is serviceability — a permanently cured silicone bead has to be cut to remove the panel, and the re-sealed bead rarely matches the first one. For a panel that will be opened more than once, a bonded gasket — a rubber or closed-cell profile carried on the carrier or the frame — is the cleaner answer: it compresses every cycle and needs no tools.
Set the joint width as a designed dimension, consistent on all four sides, and aligned so it reads as a deliberate shadow line. On a feature wall, that line should be drawn where the eye expects a panel joint anyway: on a stone seam, at a colour change, or along a band. Hidden in plain sight beats disguised.
What if the wall is fire-rated or a wet wall?
Both conditions upgrade the detail from joinery to compliance. In a fire-rated separation, an unrated removable panel is a breach: the opening needs a listed fire-rated access assembly, and a stone-clad carrier can only be used where that assembly’s certification allows the finish. Decorative convenience does not override the rating; the listed frame and panel do the work, and the stone dresses what is already compliant.
In a wet area, the removable panel is a penetration of the tanked system by definition — every cycle stresses the waterproofing continuity at the opening. The layer sequence from our wet-room detailing guide still applies behind the opening, and the gasket design has to assume water will try the joint. A removable panel in a shower zone is possible; a casually detailed one is a slow leak with a beautiful face.
Where should access panels be positioned in the first place?
The cheapest access panel is the one nobody sees, and position is what makes that true. Work through the services drawing before the cladding layout is fixed: every valve, isolator, junction box and filter has a location and a service envelope, and each one either gets a panel or gets relocated. Then check the cladding set-out — a panel centred on a stone seam disappears; the same panel straddling two patterns is a focal point. The two drawings have to be reconciled at design stage, which is the same set-out discipline our joint set-out guide beschreibt das Feld.
Verhandeln Sie die Größe ebenfalls ehrlich. Eine Platte, die exakt auf das Gerät zugeschnitten ist, ist ab dem Tag unbrauchbar, an dem eine Hand und ein Schraubenschlüssel hindurch müssen; die lichte Weite richtet sich nach den Wartungsanforderungen, und Träger sowie Fuge werden danach dimensioniert. Eine zu kleine Öffnung ist das Detail, das garantiert, dass die Wand in zwei Jahren mit dem Teppichmesser geöffnet wird.
What should be inspected before the wall closes?
Eine abnehmbare Platte ist das einzige Teil einer Steinwand, das nach der Übergabe behandelt wird, daher ist ihre Prüfliste länger als die des Felds. Prüfen Sie den Träger, bevor der Stein aufgeklebt wird: flach, trocken, mit der richtigen Dicke für den bündigen Versatz, und der Rahmen dahinter muss rechtwinklig und fest mit der Struktur verankert sein — nicht nur am Untergrund der Verkleidung, da jeder Öffnungszyklus den Rahmen belastet. Nachdem der Stein verklebt wurde, prüfen Sie die Musteralignment über die Perimeterfuge im Stehbild und bei schrägem Licht; ein Frontal unsichtbarer Fehler tritt im Winkel deutlich zutage.
Dann prüfen Sie die Platte durch Probelauf. Öffnen und schließen Sie sie mehrmals — so, wie die Wartung sie tatsächlich nutzen wird — und achten Sie auf drei Dinge: die Fugenbreite bleibt auch nach erneutem Schließen gleichmäßig, die Befestigungen greifen wieder ohne Krafteinwirkung ein, und die Steinränder am Griffpunkt überstehen die Handhabung. Fotografieren Sie die geschlossene Platte gegenüber der genehmigten Probe als Übergabearchiv, dieselbe Beweissicherung, die den Rest der Wand durch die Einreichungsmappe. schützt. Wenn die Platte Jahre später ersetzt werden muss, ist dieses Foto der Beweis, der die passende Ersatzplatte identisch macht.
FAQ
Kann eine abnehmbare Platte in einer Steinwand wirklich unsichtbar sein?
Sie kommt der Unsichtbarkeit nahe, wenn drei Dinge übereinstimmen: der Träger sitzt bündig zum Feld, die Perimeterfuge trifft auf eine konzipierte Naht und wirkt als Schattenfuge, und das Steinmuster setzt sich über die Platte hinweg fort. Das ist genauso ein Anlegearbeits- wie ein Tischlerproblem.
Was ist der häufigste Fehler?
Stein direkt auf eine Standard-Zugangsklappe zu kleben, ohne über Bündigkeit oder Musterkontinuität nachzudenken. Die Klappe ist für eine geflieste Wand mit sichtbarem Rahmen ausgelegt; eine flexible Stein-Merkwand offenbart jeden Millimeter Unterschied.
Brauche ich eine Dichtung, oder reicht Silikon?
Silikon ist für eine Platte akzeptabel, die einmal geöffnet wird, muss aber jedes Mal entfernt und neu aufgetragen werden. Für jede regelmäßig gewartete Anlage ist eine fest verklebte druckelastische Dichtung die wartungsfreundliche Wahl und behält ihr Erscheinungsbild über viele Zyklen.
Beeinträchtigt eine steingefasste Zugangsklappe die Feuerwiderstandsklasse?
Nur geprüfte Baupausen erhalten eine Klasse. Wenn die Wand eine Brandschutztrennung ist, muss die Öffnung eine zertifizierte feuerbeständige Zugangsklappe verwenden; die Steinverkleidung ist ein Finish an einer konformen Einheit, niemals ein Ersatz dafür.
Der Stein auf dem Träger, der Kleber darunter und der Dichtstoff an den Fugen sollten alle aus dem Systemhersteller der Verkleidung stammen oder von diesem bestätigt sein, sodass der abnehmbare Abschnitt von denselben Zulassungen abgedeckt ist wie das feste Feld; die Formate, in denen der Stein geliefert wird, sind auf der flexible Steinverblendung page, and reference detailing for access in wall systems is published by standards bodies such as the Gypsum Association.