Die Installation von hinterleuchteten Flexsteinplatten ist der erste Kontrollpunkt, den Käufer absichern sollten, bevor sie einen Zulieferer, ein Budget oder einen Produktionsplatz freigeben. Ein Projektmanager einer Dubai-Hospitality-Gruppe legt eine Probe aus echtem Onyx ab. Sie ist atemberaubend. Sie wiegt jedoch 28 kg pro Quadratmeter und erfordert einen Stahltragwerk-Unterrahmen, der in seinem ursprünglichen Budget nie eingeplant wurde, und der beauftragte Hauptfabricator hat gerade einen 14-wöchigen Wasserstrahlschneidzeitraum erwähnt.
Genau in diesem Moment wechselt die Installation von hinterleuchteten Flexsteinplatten von einem alternativen Material zum einzig gangbaren Weg. Eine 2 mm dicke Platte aus modifiziertem Lehm mit einem Gewicht von nur 3,5 kg pro Quadratmeter streicht die gesamte Anforderung an statische Konstruktion aus dem Projekt. Der Generalunternehmer kann die Platte vor Ort mit einem Hartmetallmesser einschneiden, und die gesamte hinterleuchtete Akzentwand wird in Tagen — nicht in Wochen — installiert.
Die Angst, die auf diese Entscheidung folgt, ist fast immer dieselbe. Ein erfahrener Fachplaner betrachtet die Probe, beleuchtet sie mit dem Taschenlicht des Smartphones und stellt eine einzige Frage: “Wie sieht sie nach 18 Monaten aus?”
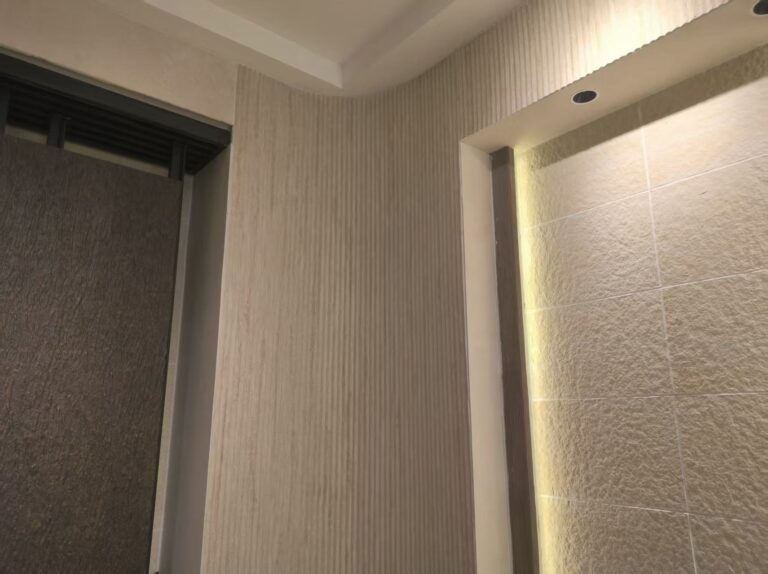
Diese Frage trennt die auf dem Markt schwimmenden Harzplatten von einer anorganischen Matrix aus modifiziertem Lehm, die dieselbe Pigmentklasse aus Eisenoxid verwendet, die auch in äußerem architektonischem Beton zum Einsatz kommt. Kein Vergilben. Kein Ablösen infolge anhaltender LED-Wärme. Die Qualitäts toleranz, die ein führender Architekt benötigt, betrifft nicht nur die Erstabnahme der Probe — sondern dass man jene Hotel-Rezeptionswand fünf Jahre später auf dem Foto für das Portfolio abbildet und denselben gleichen Lichtschein erkennt.
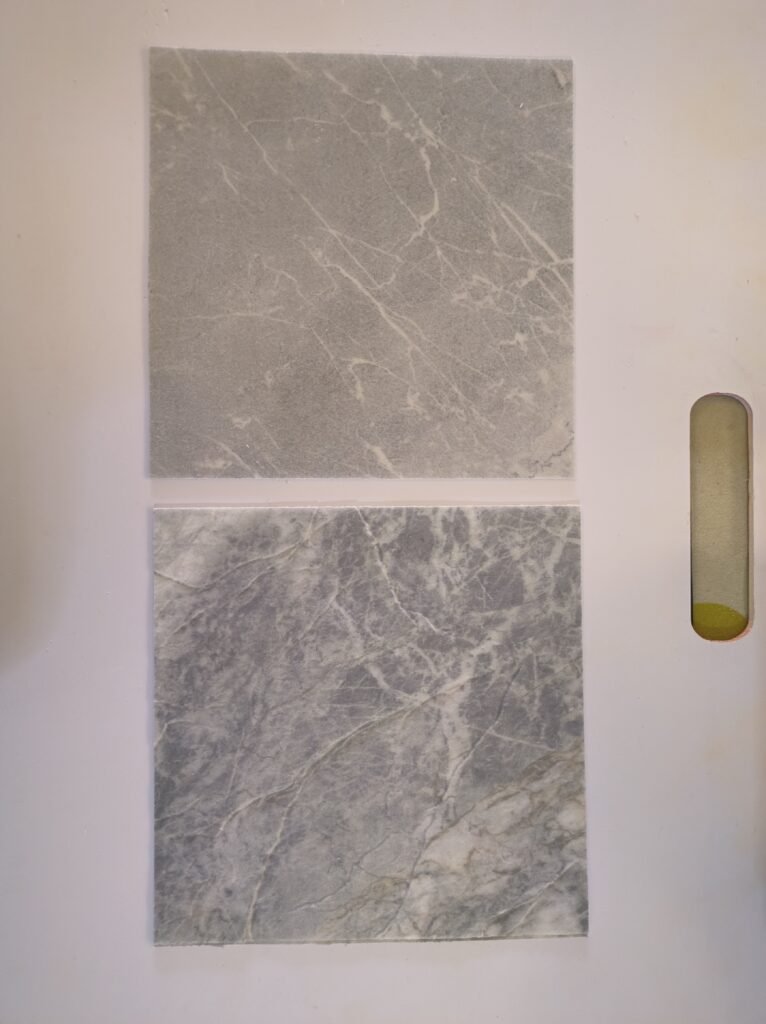
Rahmen für den Hinterleuchtungs-Hohlraum: Strukturkasten vs. Lamellenstreifen
Ein 60-mm-Hohlraum ist keine Empfehlung — er ist das Minimum, das erforderlich ist, um einen 25-mm-Treiber sowie einen Luftspalt unterzubringen, der den Abbau der Pigmente verhindert.
Bei der Montage an Trockenbauwänden ein Aluminium- oder Holzrahmen mit 60–80 mm Tiefe errichten. Diese Maßzahl berücksichtigt die 25 mm Höhe des LED-Treibers sowie einen Luftspalt. Ohne diesen Spalt beschleunigt eingeschlossene Wärme mit der Zeit den Pigmentabbau——bei Harz-basierten Platten zeigt sich innerhalb von 18 Monaten Vergilbung, doch auch anorganische Matrixsysteme profitieren von passiver Kühlung. Schneiden Sie oben und unten am Rahmen 10 mm Belüftungsschlitzе ein und bedecken Sie diese mit Insektengitter. Vor-Ort-Begehungen zeigen häufig, dass sich in Hohlraumpolen angesammelter Staub die Lichtleistung um 15% pro Jahr verringert, wenn diese Schlitze offen bleiben.
Für Empfangstheken und Barfronten eine versenkte Aussparung direkt in die Tischlerei fräsen. Gehen Sie mindestens 65 mm tief. Verwenden Sie ein weiß gestrichenes oder folienkaschiertes Hinterlegungsboard, um die Reflexion zu maximieren——Rohholz absorbiert bis zu 30% des Lichts und erzeugt selbst durch 2 mm Stein hindurch einen stumpfen Fleck. Die zwingende Voraussetzung: Bringen Sie eine Zugangsklappe an der Unterseite oder Rückseite an, um den Treiber wechseln zu können. Sobald der Stein verklebt ist, ist ein Frontzugang unmöglich, und der Austausch eines Treibers erfordert das Zerstören der Platte.
-
- Schraubenabstand: Vertikale Aluminium-Streben im Abstand von 300 mm, horizontale Querriegel im Abstand von 400 mm. Engere Abstände erhöhen die Kosten ohne Nutzen; weiter spaced Abstände riskieren eine Rahmenflexibilität, die sich durch den Stein als subtile Wellen unter seitlichem Lichteinfall zeigt.
- Erdung: Alle Metallrahmen sind nach lokalem Elektrocode zu erden. LED-Treiber können Streuströme induzieren. In ungünstigen Fällen führt dieser Strom zu galvanischer Korrosion zwischen Aluminium und dem Mineralanteil des Steins, was innerhalb von 2–3 Jahren schwache grüne Flecken entlang der Rahmenkanten verursacht.
Diese Erdungsschritte zu überspringen, bedeutet Glücksspiel. In Punch-Listen nach der Installation zeigt sich häufig, dass das, was der Planer für Materialvergilbung hielt, eigentlich ein nicht geerdeter Rahmen war, der die Oxidation beschleunigte. Das anorganische Pigment blieb intakt——das Aluminium nicht.
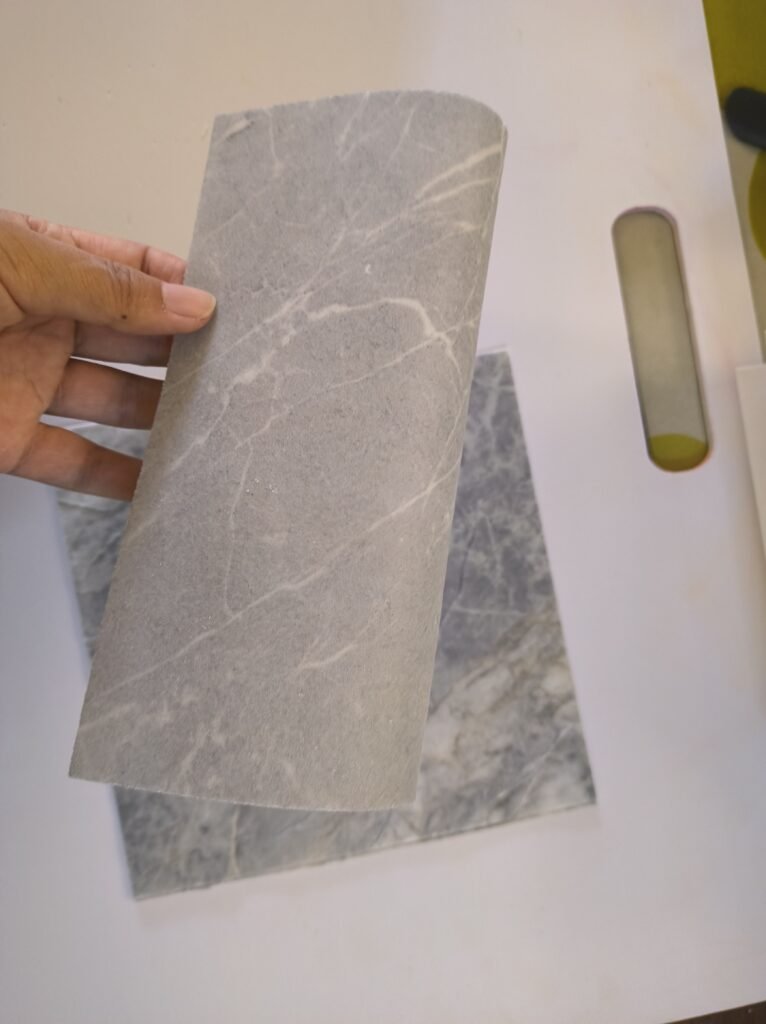
2 mm Flexiblen Stein schneiden, ohne Kantenausbrüche oder Haarrisse
Beim Schnitt mit der Sichtseite nach unten wird das Glasfasergewebe gerissen und die sichtbare Steinoberfläche chipped.
Ich habe Installationsmannschaften auf 12 Baustellen in Südostasien und dem Nahen Osten beaufsichtigt, und der teuerste Fehler, den ich konsequent sehe, ist, dass Monteure die 2 mm transluzenten Paneele mit der Dekorseite nach unten schneiden. Das Paneel ist ein Composite: eine mineralbelastete Deckschicht, die mit einem glasfaserverstärkten Gewebe verbunden ist. Wenn Sie mit der Sichtseite nach unten schneiden, ergreifen die Sägezähne das Gewebe von hinten und reißen Stücke der Steinschicht heraus, bevor die Schneide даже fertig ist. Das Ergebnis ist ein zerfetzter, ausgebrochener Rand, den das Licht gnadenlos zur Schau stellt.
Für gerade Schnitte bei Seitenverkleidungen komplett auf die Stichsäge verzichten. Ein Karbid-schiefklingen-Führungsmesser, wie es auch für Zement-Schaumplatten verwendet wird, erzeugt einen saubereren Schnitt als jede Stichsäge jemals könnte. Ritz die Steinfläche dreimal entlang einer stabilen Anlegekante mit gleichmäßigem, festem Druck – nicht einen einzigen kräftigen Hub, der schnell aus der Spur läuft. Lege die geritzte Linie dann über eine Tischkante und führe einen sauberen Bruch nach unten durch. Das Glasnetz bricht entlang der Spannungslinie sauber durch. Diese Methode erzeugt keinen kristallinen Staub, erfordert weder Atemschutz noch Staubabsaugung und dauert pro Schnitt an einem 1200-mm-Paneel weniger als 30 Sekunden.
- Produktionsläufe: CNC-Fräsen bei 18.000 U/min mit 3-mm-Diamantbohrer: Wenn du 50 identische Barfront-Paneele replizieren musst, hält ein CNC-Fräser mit 3-mm-diamantbeschichtetem Bohrer, der mit 18.000 U/min läuft, eine Kanten-Toleranz von ±0,5 mm ein. Programme den Fräsvorgang als Aufschnitt (im Uhrzeigersinn), damit die Bohrerrotation das Netz in den Stein zieht, statt es abzulösen. Ein einziger Achsenfehler hinterlässt hier einen ausgefransten Netzsaum, der Licht schluckt und bei Hinterleuchtung wie eine Haarriss-Furche wirkt.
- Kurven- und Ausschnittsäge: Stichsäge von oben, mindestens 18 Zähne pro Zoll: Für Ausschnitte rund um Steckdosenboxen oder Spulenverkleidungen eine Stichsäge mit Karbid-Kornklinge mit mindestens 18 Zähnen pro Zoll verwenden. Immer mit sichtbarer Steinseite schneiden und das Paneel auf einerOpferplatte aus steifer Dämmplatte abstützen. Jede Vibration, die auf eine nicht unterstützte Kante übertragen wird, erzeugt Mikro-Risse, die sich innerhalb der ersten Woche des LED-Wärmewechselbetriebs zu sichtbaren feinen Haarrissen ausbreiten.
Nach jedem mechanischen Schnitt muss die Fiberglas-Kante entgratet werden. Wer diesen Schritt überspringt, hinterlässt Tausende mikroskopisch kleiner Glasfasern, die aus der Paneelkante vorstehen. Wenn der Kleber aufgetragen und das Paneel aufgedrückt wird, klappen diese Fasern um und erzeugen einen 0,5–1 mm weichen Rand, der eine ebene Klebefuge verhindert. Die Folge: eine subtile Lichtleckage am Paneelrand, die erst sichtbar wird, wenn die LEDs eingeschaltet sind und der Generalunternehmer bereits abgezeichnet hat.
Eine 200er Diamant-Handpad verwenden – nicht Aluminiumoxid-Schleifpapier, das sofort mit Harz aus der Paneelmatrix verklebt – und die Schnittkante im 45-Grad-Winkel mit nur vier bis fünf leichten Strichen abtragen. Ziel ist es, die Glasfaserspitzen bündig mit der Steinoberfläche abzubrechen, nicht die Kante rund zu schleifen. Eine übermäßige Entgratung verbreitert den Schnittfugen und erzeugt an jeder Naht eine sichtbare dunkle Linie.
- Schnittfugen-Toleranz an Steckdosen: 2-mm-Spalt einhalten: Ein Ausschnitt, der bei Tageslicht perfekt auf eine Steckdose passt, zeigt bei Hinterleuchtung einen leuchtenden Scheinring. Das 2-mm-Material wirkt an der Schnittkante als Lichtleiter und leitet Licht von der Diode an die Vorderseite. Immer einen gleichmäßigen 2-mm-Spielraum zwischen Paneelkante und Flansch der Elektrobox lassen. Diese Fuge während des Verklebens mit einem durchsichtigen, UV-stabilen Dichtmittel ausfüllen, um den Lichtleit-Effekt vollständig zu eliminieren.
- Folge eines zu engen Schnitts: Wenn die Platte bei der thermischen Ausdehnung an einer Metall-Einbaurose reibt, wird die Steinoberfläche innerhalb weniger Wochen durch Abrieb beschädigt. Ich habe bei einem Hotelprojekt in Dubai vier Paneele ausgetauscht, weil der Installateur eine Passform ohne Spiel um eine Schalterabdeckung herum erzwungen hat. Der tägliche Temperaturwechsel von 40 °C im LED-Hohlraum verursachte genug Bewegung, um die oberste Schicht durchzuschleifen.
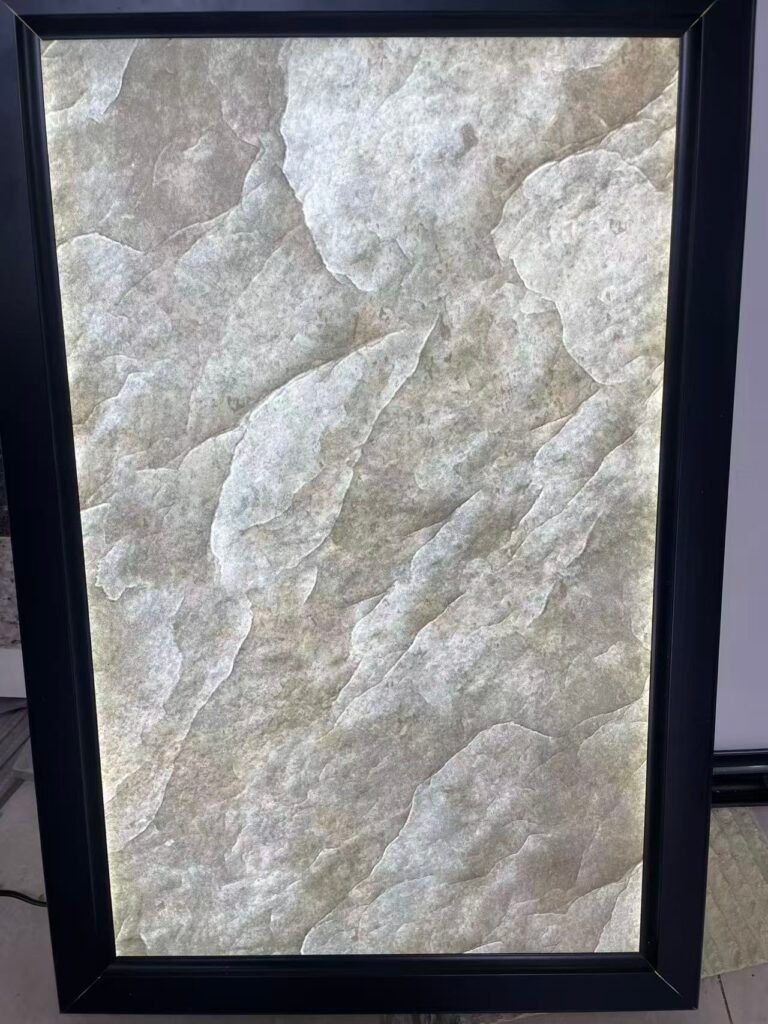
Wahl der LED-Streifen, die keine Lichtflecken durch den Stein verursachen
Zwei Millimeter reichen nicht für eine diffuse Darstellung einer aufgelockerten LED-Anordnung – Sie werden jede einzelne Diode erkennen.
Eine gleichmäßige Hinterleuchtung hängt nicht vom Stein ab, sondern rein von der LED-Auswahl und dem Abstand hinter der Platte. Bei nur 2 mm modifiziertem Lehm zwischen den Dioden und dem Betrachter wird jede Unregelmäßigkeit im Abstand oder Ausgang zu einem harten Schatten, der als Fehler wahrgenommen wird. Der richtige Streifen macht den Unterschied zwischen einer $50.000 Feature-Wand, die das nächste Projekt verkauft, und einem billig wirkenden leuchtenden Raster, das auf einer Mängelliste landet.
- Chipdichte: Legen Sie ein Minimum von 60 LEDs pro Lauflängenmeter fest. Alles unter 40 LEDs/m erzeugt bei 2-mm-Platten eine deutlich sichtbare Reihe einzelner Punkte. Bei 60 LEDs/m verschmilzt das Licht zu einem gleichmäßigen Lichtteppich, bevor es auf die Rückseite des Steins trifft.
- Farbwiedergabeindex (CCT): Passen Sie die CCT an den Steinton an: 2700 K für Travertin, Sandstein und warme Beigetexturen; 6000 K für weißen Marmor, Calacatta oder eisgraue Muster. Eine pauschale Verwendung von 4000 K nivelliert die natürliche Farbvariation des Steins und lässt den hinterleuchteten Bereich künstlich gefärbt wirken.
Der Streifen allein rettet Sie nicht, wenn der Wurfabstand falsch ist. Bei Panel-zu-LED-Abständen unter 50 mm können selbst 120 LEDs/m Geisterbilder und Nadelstiche verursachen. Die Lösung ist eine sekundäre Diffusionsschicht, die auf die Hohlraumtiefe abgestimmt ist – nicht raten, nicht voraussetzen, dass der Stein die Arbeit erledigt.
- 30–50 mm Hohlraumabstand: Führen Sie jedes LED-Streifenprofil durch ein opales Diffusor-Profil. Ohne dieses drucken die Dioden direkt auf die Steinoberfläche. Rechnen Sie mit Hot-Spot-Beschwerden innerhalb der ersten Woche nach Inbetriebnahme, sobald der Generalunternehmer die Lichter einschaltet und die gepunktete Linie sieht.
- 50–80 mm Hohlraumabstand (empfohlen): Eine einzelne 3 mm opale Acrylplatte, die die gesamte Vertiefung hinter der Verkleidung überdeckt, liefert die gleichmäßigste Ausleuchtung und ist einfacher zu обрамлением. Diese Tiefe gibt dem LED-Treiber auch ausreichend Luft zum Kühlen und verlängert die Lebensdauer des Streifens über die typische Nennlebensdauer von 30.000 Stunden hinaus.
- 80 mm und tiefer: Die Lichtausbeute sinkt schnell. Legen Sie Hochleistungs-LEDs mit 1500+ lm/m LED-Streifen fest und verwenden Sie die 3 mm opale Acrylplatte weiter. Wenn Sie auf die Acrylplatte bei dieser Tiefe verzichten, breitet sich das Licht zu stark aus und der Stein verliert an Wirkung – Kunden werden fragen, warum er ‘trüb’ statt dramatisch aussieht.
Testen Sie dies, bevor Sie die Ausführungszeichnungen freigeben. Kleben Sie eine 200×200 mm Probe des exakten Steinchargenmusters auf einen Mock-up der Vertiefung mit dem spezifizierten LED-Streifen. Betrachten Sie ihn im Raum mit dem Kunden bei der erwarteten Umgebungsbeleuchtung. Wenn Sie ohne zu squinsen einen einzelnen Diodenpunkt zeigen können, fügen Sie eine weitere Diffusionsschicht hinzu oder erhöhen Sie den Abstand. Keine noch so ausgefeilte Dimmung nach der Installation behebt den Hot-Spot-Einwand – sie dämpft lediglich die Dramaturgie.
Klebung
Nur zwei Klebstoffklassen verhindern das Verfärben von hinterleuchtetem Stein: MS-Polymer- oder Zwei-Komponenten-Polyurethan-Kleber.
- Spezifikation: Zwei-Komponenten-Polyurethan: Schnellere Aushärtungszeit für großformatige Panele. Muss mit präziser Mischung appliziert werden – jede Abweichung im Harz-Härter-Verhältnis kann zu unvollständiger Aushärtung und später Delamination unter LED-Wärme führen.
- Niemals: Essigsäure-Silikon: Vergilbung beginnt innerhalb von 14 Tagen und verstärkt sich über 6 Monate. Panele müssen entfernt und ersetzt werden.
- Niemals: lösemittelbasierte Kontaktklebstoffe: Permanente Durchschlagsflecken erscheinen innerhalb von Stunden und zeigen sich als dunkle Flecken im hinterleuchteten Leuchten.
- Spezifikation: Modifiziertes Silan (MS)-Polymer: Keine Säure, keine Lösungsmittel. Härtet durch Feuchtigkeit aus und bleibt farbabriebfest. Ideal für Hotelbars und Akzentwände, wo ein Ausfall die Schließung eines Lokals bedeutet.
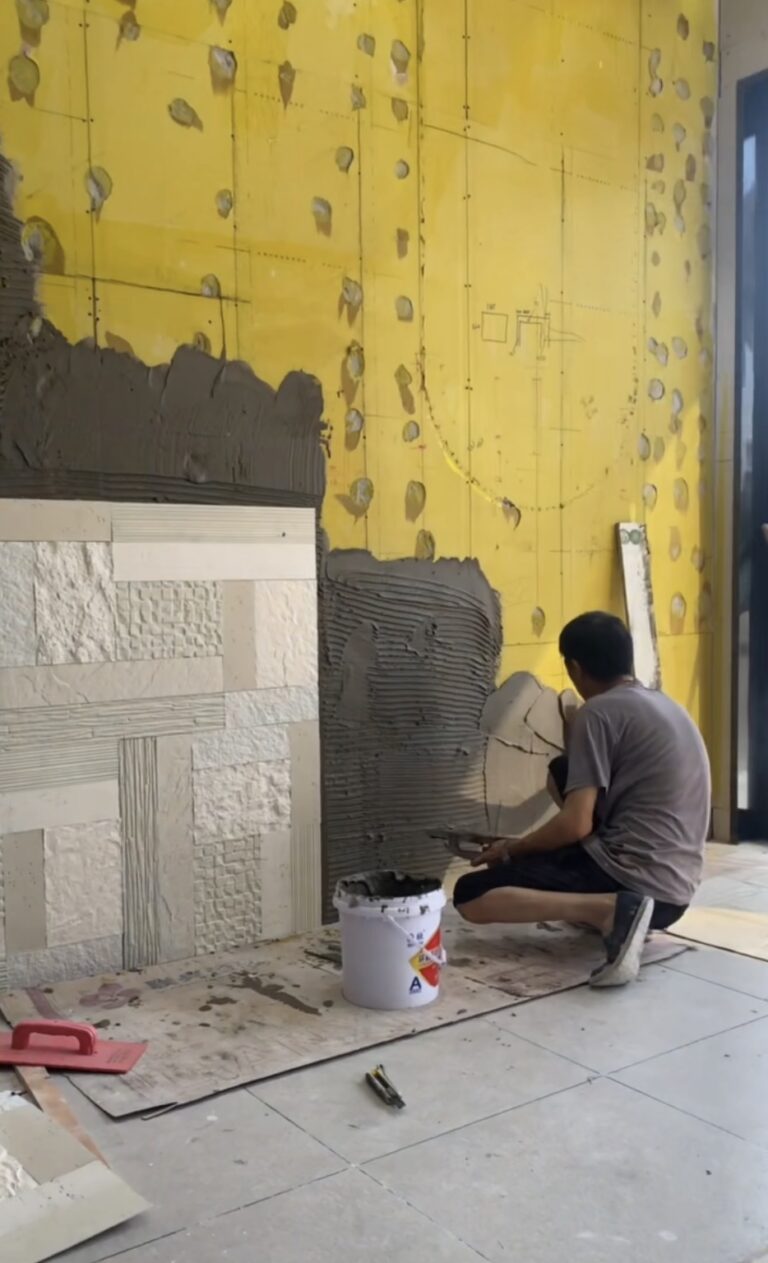
Vollständige Rückseitenverklebung ist unverzichtbar. Verwenden Sie einen 3mm-Zahnspachtel mit gleichbleibendem 45-Grad-Winkel. Dieser Winkel erzeugt ein einheitliches geripptes Bett, das unter Handdruck zu einer luftefreien Verbindung zusammenfällt. Geiz hier – das Spachteln eines einzelnen 5cm-Streifens auslassen – und die Lufthöhle wird zu einem trüben Schatten, wenn die LEDs aktiviert sind. An einer Hotel-Rezeption, wo jeder Gast lehnt, ist dieser Schatten ein Mangel, der einen Nachrücken verursacht.
- Spachtel: 3mm-V-Nut: Rippen müssen durchgehend sein. Jede nicht ausgefüllte Nut unter der Hintergrundbeleuchtung liest sich als dunkle Linie.
- Winkel: 45 Grad: Flachere Winkel berauben das Panel des Klebstoffs. Steilerer Winkel verschwendet Material und erschwert das Anpressen des Paneeles auf vollen Kontakt.
- Abdeckung: 100% der Rückseite: Bereits eine Deckung von 95% erzeugt Schwachstellen. Das menschliche Auge nimmt Helligkeitsabfälle bei einer Luminanzvariation unterhalb von 5% wahr – eine Toleranz, die durch manuell aufgetragenen Kleber leicht überschritten wird.
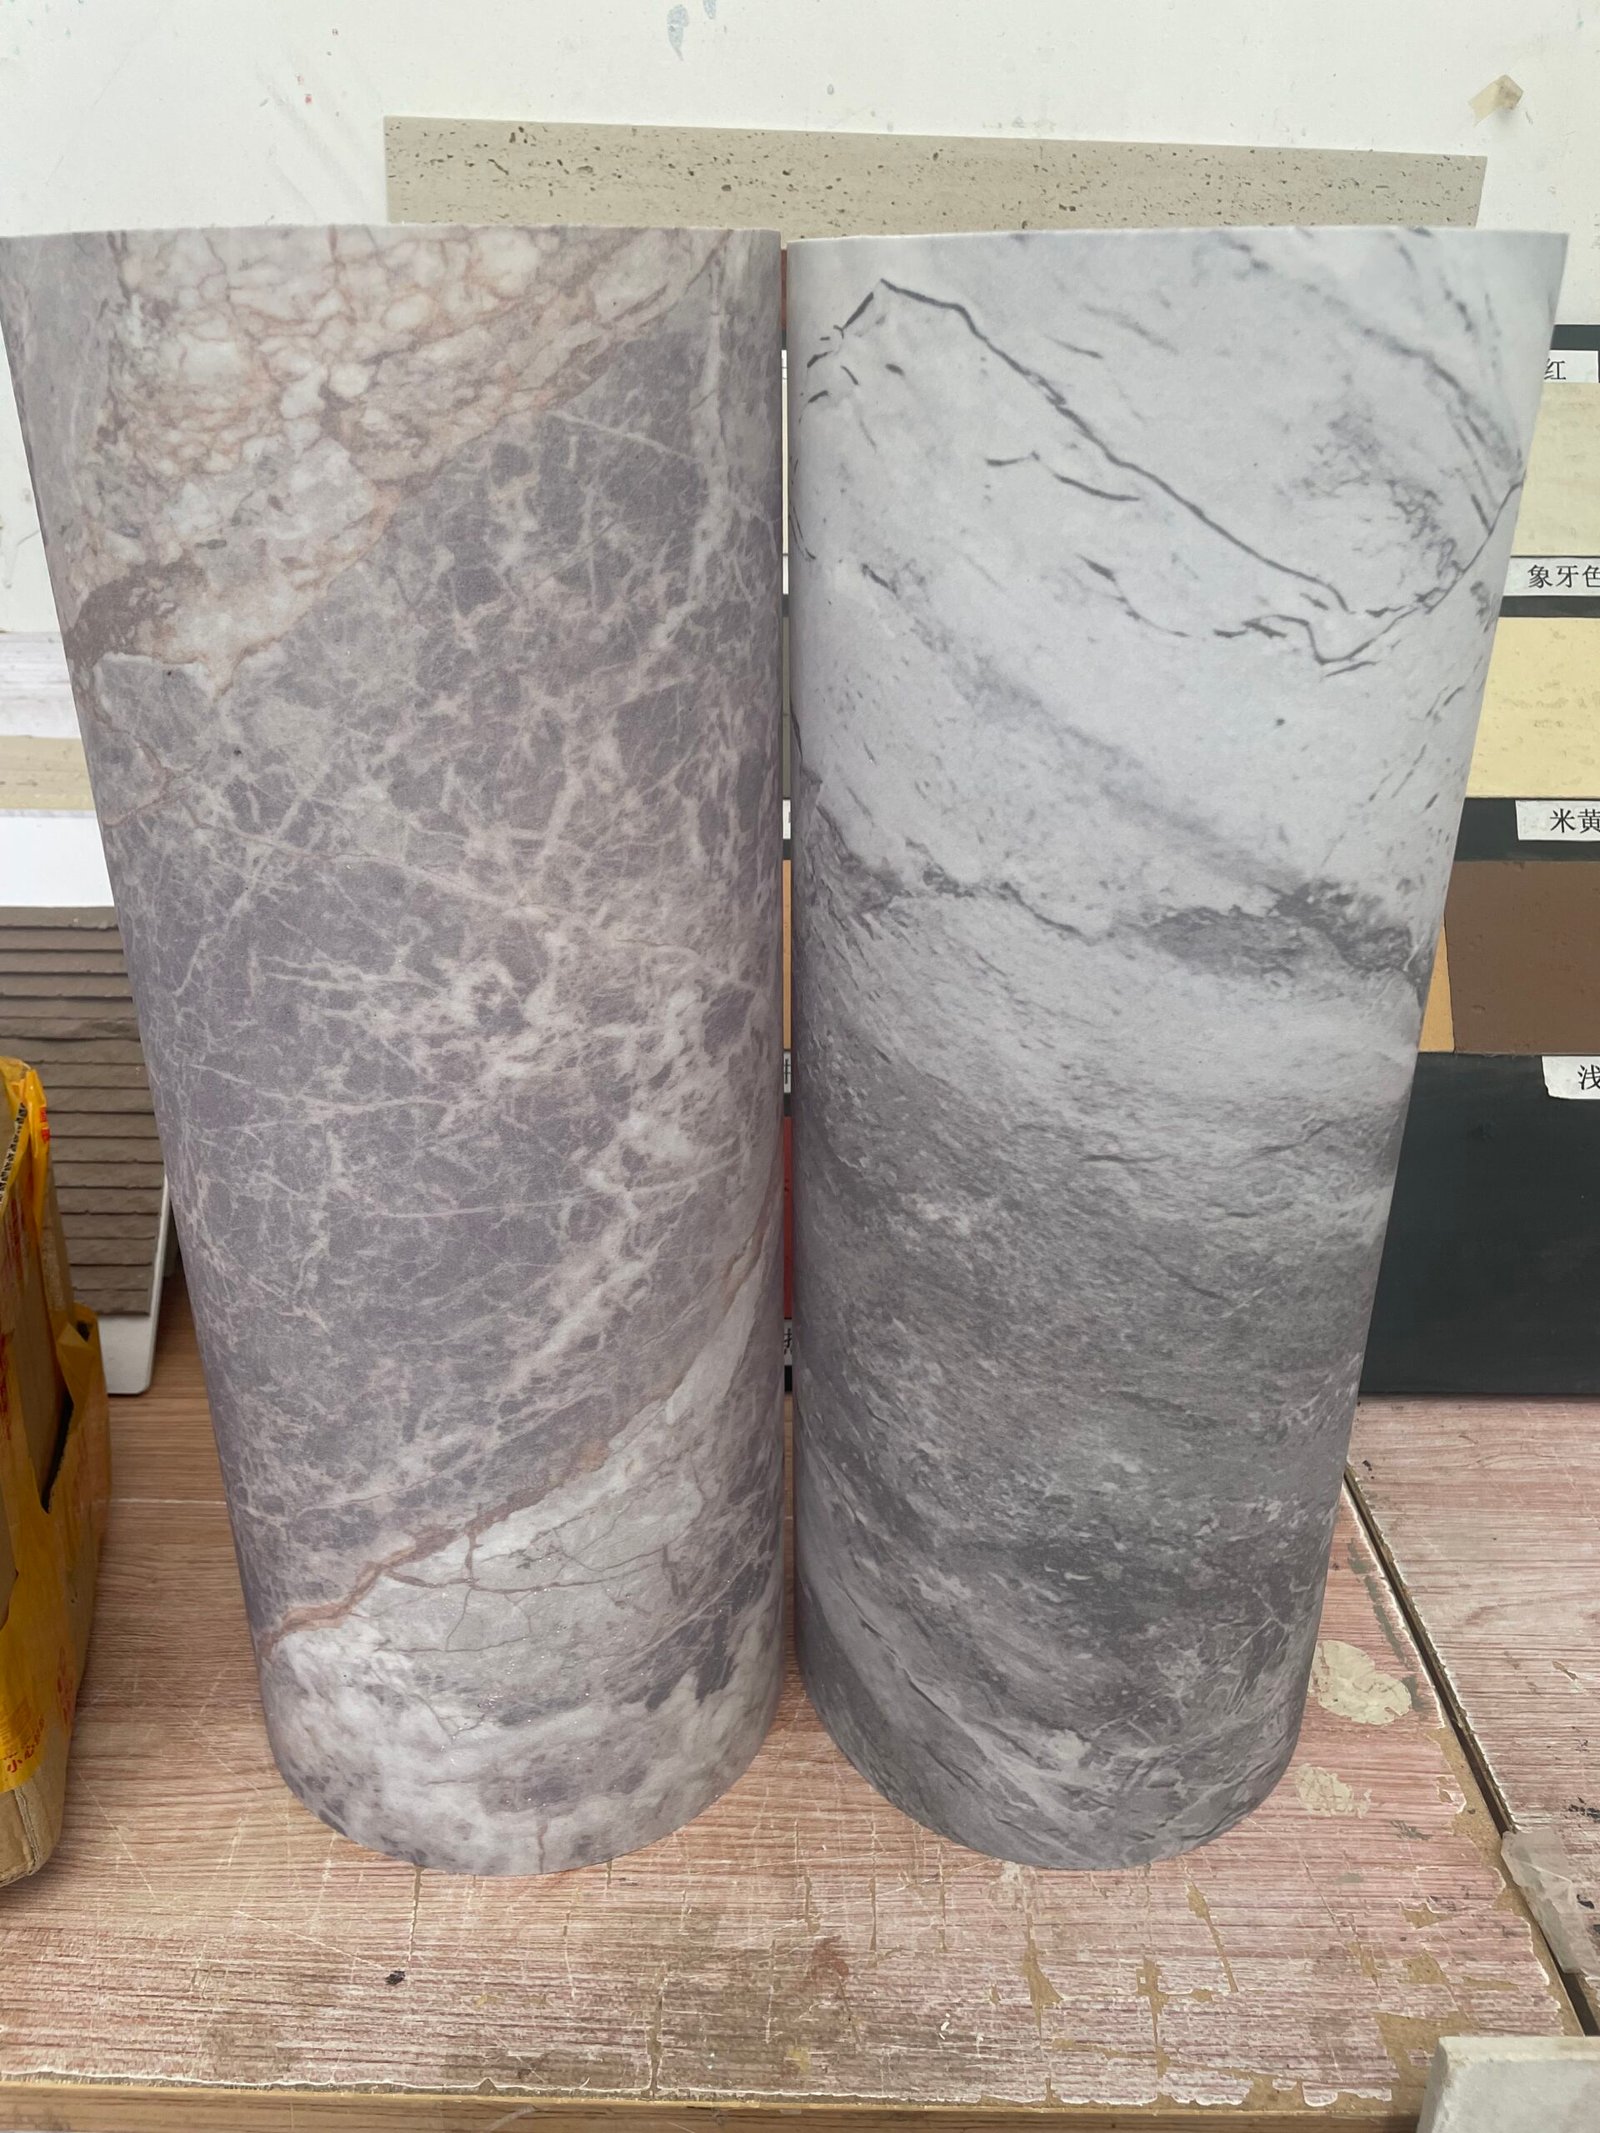
Fugenbehandlung
Standard-Silikone zeichnen auf hinterleuchteten Flächen dunkle Linien – transluzentes Polyurethan ist die einzige unsichtbare Fugenlösung.
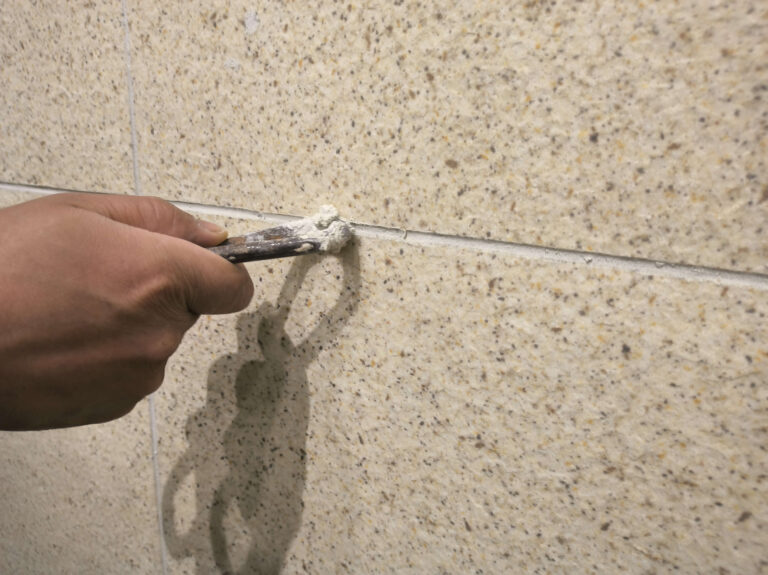
Beim Verbinden von transluzenten 2 mm flexiblen Natursteinpaneelen über einem LED-Hohlraum wird jede Fuge sichtbar, sobald die Hintergrundbeleuchtung eingeschaltet wird. Standard-Silicone und Acryldichtstoffe – sogar solche mit der Bezeichnung ‘Kristallklar’ – weisen einen Brechungsindexkonflikt mit der Modified-Clay-Matrix auf. Bei direkter Hinterleuchtung zeigt sich dieser Konflikt als dünner, dunkler Schattenstreifen, der die Illusion eines monolithischen Onyxblocks zerstört.
Die Lösung ist ein UV-stabiler, transluzenter Polyurethan-Dichtstoff, der speziell für Naturstein und Verbundplatten formuliert wurde. Im Gegensatz zu feuchtigkeitshärtenden Siliconen gibt Polyurethan keine Essigsäure ab – ein entscheidender Punkt, da säurehaltiges Ausgasen die Rückseite des Steins innerhalb weniger Wochen ätzt und dauerhafte gelbe Hofbildung um die Fugen verursacht. Tragen Sie den Dichtstoff erst auf, nachdem der Paneelkleber vollständig ausgehärtet ist, in der Regel nach 24–48 Stunden, um ein Verschieben der Fuge während der Aushärtung zu verhindern.
-
- Beide Seiten abmaskieren: Verwenden Sie Klebebänder mit niedriger Haftkraft (3M 2080EL oder gleichwertig) entlang jeder Fugenseite, sodass nur die Naht freiliegt. Die geringe Haftung verhindert, dass beim Entfernen die empfindliche Steinstruktur oder die Grundierungschicht angehoben wird.
- Mit Seifenwasser einarbeiten: Sprühen Sie eine milde Seifenwasserlösung (2 Tropfen Spülmittel pro 500 ml Wasser) auf den gedichteten Streifen. Drücken Sie eine flexible Kunststoffspachtel, die mit derselben Lösung benetzt ist, über den Dichtstoff, um ein glattes, konkaves Profil zu formen. Der Seifenfilm verhindert, dass der Dichtstoff am Werkzeug haftet, und eliminiert Züge, die das Licht streuen.
- Tape sofort abziehen: Entfernen Sie das Abdeckband, während der Dichtstoff noch nass ist, um eine Hautbildung und das Herauslösen des ausgehärteten Streifens zu vermeiden. Eine fillet-Tiefe von 1–2 mm reicht aus, um die Kante des Paneels zu verdecken, ohne eine lichtblockierende Masse zu erzeugen.
Lassen Sie sich nicht verleiten, auf die Abdichtung zu verzichten und eine offene Fuge für ‘minimale Lichtunterbrechung’ stehen zu lassen. Selbst ein 1 mm großer Spalt konzentriert das Licht zu einer grellen Linie, die von gegenüber im Hotel-Foyer sichtbar ist. Der richtige transluzente Dichtstoff streut das Licht statt es zu blockieren und erhält den unterbrechungsfreien Lichtschein, der die hinterleuchtete Akzentwand als echten Stein erscheinen lässt.
Verhinderung des Durchboggens von Paneelen
Jede Bewegung vor Aushärtung der Klebung erzeugt einen dauerhaften Spalt an der oberen Fuge.
Flexible stone panels haben ein vernachlässigbares Eigengewicht (3,5 kg/m²), aber die 2-mm-Stärke bedeutet, dass sie vollständig auf den Klebeverbund und temporäre Stützen angewiesen sind, bis die Klebung handfest ist. Ich habe Installationen gesehen, bei denen ein einziger Arbeiter eine Platte während der ersten Stunde anstieß – zwei Tage später war über die volle Breite des oberen Fuges ein 3-mm-Spalt entstanden. Dieser Spalt schließt sich nie. Die 2-mm-Variante und das leichte Verhalten hinter diesem Leuchteffekt werden in unserem Leitfaden für transluzente Steinplatten erklärt.
-
- Disziplin bei der Abstützung: Nach dem Rückverkleben und Einpressen des Paneeles dieses mit gepolsterten Streben sichern. Der 60-80-mm-Hohlraum hinter dem Paneel verhindert, dass direkter Druck die LED-Arrays beschädigt, doch die Streben müssen fest genug sein, um Mikroverlagerungen durch Tritterschütterungen zu verhindern.
- Standardpaneel-Stütze: Mindestens 4-6 Stunden für Paneele bis 2400 mm Höhe. Abstützungen erst entfernen, wenn der Kleber angetrocknet ist und erste Haftkraft entwickelt hat.
- Hochregal- oder vollheight-Installationen: Abstützung auf 8 Stunden verlängern bei Installationen über 2400 mm oder Reihen, die vom Boden bis zur Decke reichen. Die Schwerkraft wirkt auf der längeren Scherfläche stärker.
- Vollständige Aushärtungszeit: 24-48 Stunden vor dem Auftragen von Fugendichtmittel oder Tests der Hinterleuchtung. Zu früh aufgebrachte Belastung oder Spannung lässt das Paneel unmerklich absinken und erstarrt dann an dieser Position, wenn der Kleber vollständig ausgehärtet ist.
Schlussfolgerung
Lassen Sie das Mindestmaß von 60 LEDs pro Meter weg, und Sie starren auf Streifen panele mit Hotspots, die bei jeder Lichtaktivierung nach ‘Billigfehler’ schreien. Verwenden Sie stattdessen einen herkömmlichen acetoxysiliziumbasierten Dichtstoff. MS-Polymer, und die Steinrückseite vergilbt innerhalb von Wochen – was einen vollständigen Rückbau zu Kosten von $180–$250 pro Quadratmeter innerhalb von 18 Monaten erzwingt. Für eine 20-Quadratmeter-Hotel-Empfangsmerkmalwand bedeutet das eine Haftungsrisiko von $5.000 und einen reputationschädigenden Nacharbeitsanruf, der drei Monate vor Ihrem Portfolio-Shooting im E-Mail-Posteingang des Facility-Managers landet. Die Materialwissenschaft ist geklärt: Anorganisches Eisenoxidpigmentin einer modifizierten-thonmatrix vergilbt nicht; harzbasierte Alternativen schon. Das Kopfüber-Brechen zerstört das Glasfasergewebe und hinterlässt Kantenhale, die kein Dichtmittel verdecken kann. Jeder Kompromiss addiert sich.
Request a 200x200mm translucent stone sample kit with LED backlighting test data. Run your own hot-spot check, bond it to a mock-up substrate, and confirm the light transmission matches your spec before a single panel ships. The test takes 30 minutes and costs nothing. The 2mm grade behind that glow is described in our flexible stone thickness guide.
Häufig gestellte Fragen
Welcher Kleber eignet sich am besten, um transluzentes flexiblem Stein auf einem Glas substrat zu verkleben?
Verwenden Sie einen klaren oder weißen MS-Polymer-Kleber, der für glatte, nicht-pore Oberflächen formuliert ist. Stellen Sie sicher, dass das Glas sauber ist und der Rückenrahmen stabil ist, um eine Haftungsversagen zu vermeiden. Testen Sie die Haftung auf einem Musterstück der exakten Glasstärke vor der gesamten Installation.
Kann ich transluzentes Flexstein im Außenbereich als hinterleuchtete Fassadengestaltung verwenden?
Ja, der Stein hat eine Wasseraufnahmerate unter 0,51 % TP3 und ist UV-beständig. LED-Streifen und Treiber müssen in einem vollständig wetterfesten Hohlraum versiegelt werden. Planen Sie am tiefsten Punkt eine Drainage, um Wassereinlagerungen hinter den Paneelen zu verhindern.
In welchem Abstand sollten LED-Streifen hinter der Platte platziert werden, um sichtbare Hotspots zu vermeiden?
Achten Sie auf eine Mindesttiefe von 60 mm und verwenden Sie einen Hochdichtestreifen mit mindestens 120 LEDs pro Meter. Das 2-mm-Dünnpaneel kann spärliche Dioden mit geringer Dichte nicht effektiv diffusieren. Testen Sie mit einer weiß lackierten Rückwandplatte, um eine gleichmäßige Lichtverteilung zu überprüfen.
Wird die Verkleidung reißen, wenn ich ein Loch für eine Wandleuchte oder einen Schalter-Deckel bohre?
It will not crack if you start drilling from the front (stone face) side. Drilling from the back side stresses the fiberglass mesh and causes the visible. Use a sharp hole saw and apply slow, even pressure directly on the marked area.
Wie groß kann eine nahtlose hinterleuchtete Steinwand maximal sein?
Die Standardgröße für Großtafeln beträgt 1200 × 2900 mm, sodass ein einzelnes Paneel nahezu eine volle Deckenhöhe abdeckt. Für breitere Wände müssen Paneele stoßverbindet werden, um eine fast unsichtbare Fuge zu erzielen. Fordern Sie vor der Großproduktion eine Bestätigung der Fugtoleranz an.