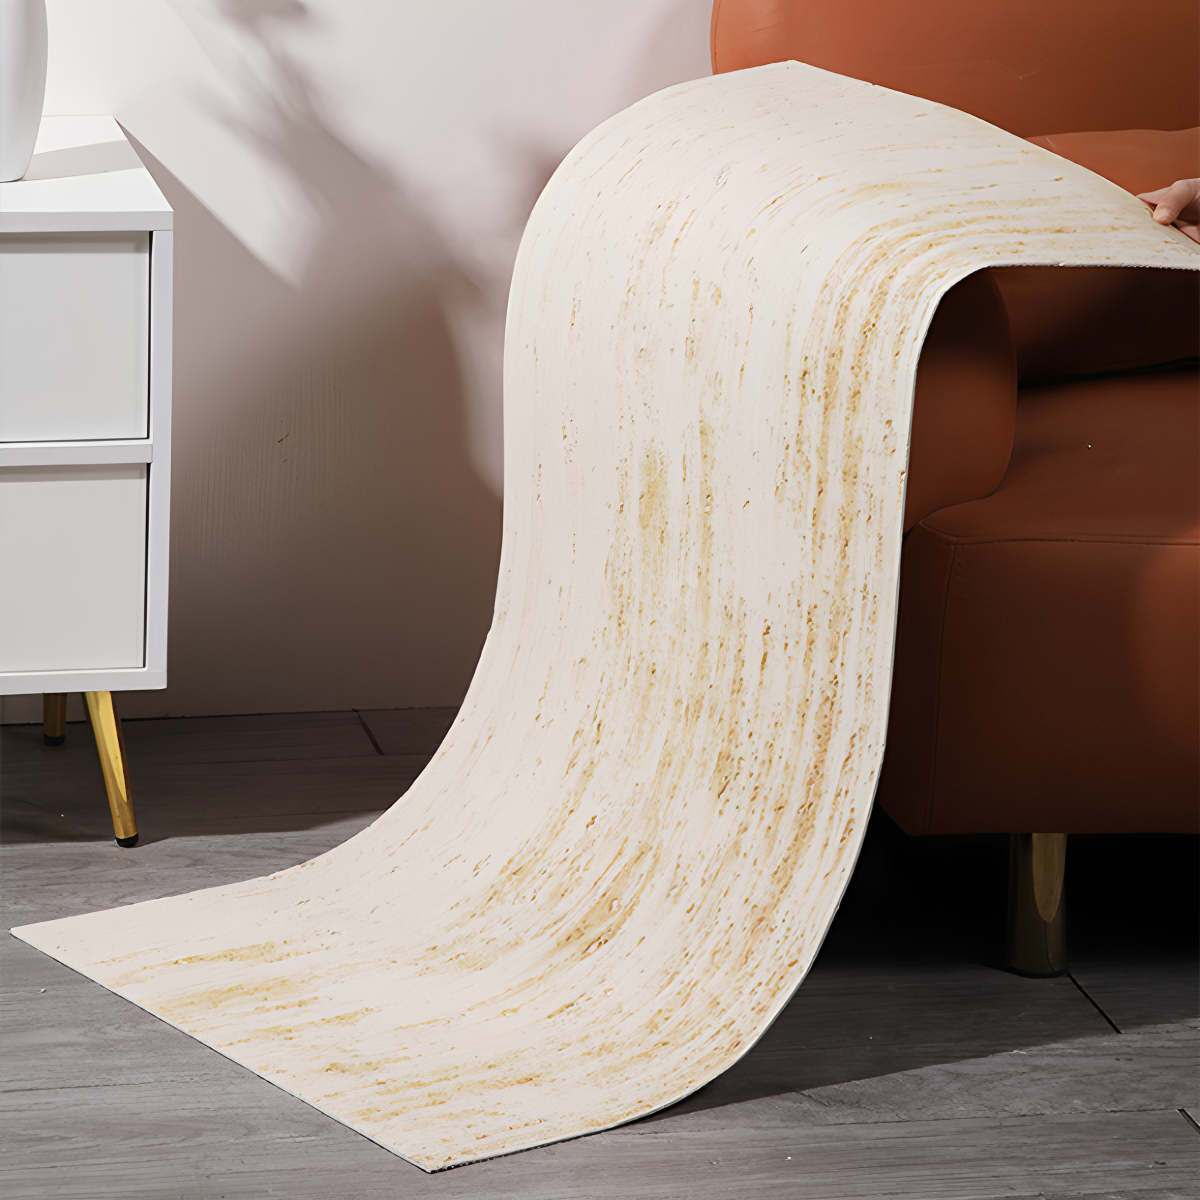
A successful DIY fireplace remodel is the final barrier between an updated living space and a significant fire code violation that could create serious liability. Many projects focus on the visual appeal of stone veneer but overlook the material science, often using adhesives and veneers that fail under consistent thermal cycling. This oversight leads to delamination, costly rework, and safety hazards that can void property insurance or fail a building inspection.
This guide serves as a technical standard operating procedure for installing flexible stone veneer correctly around a heat source. We will cover the non-negotiable requirements for heat resistance, proper surface preparation for both brick and drywall, and the material specifications for high-temperature adhesives. Following these steps ensures your installation is durable, compliant, and fundamentally safe.
Safety First: Heat Resistance & Fire Codes
Material selection for fireplace surrounds is governed by non-negotiable fire resistance ratings that ensure structural safety and code compliance.
Understanding Material Fire Ratings
Building codes classify materials based on their ability to resist fire. JMS Decor’s flexible stone panels achieve a Class A2 fire rating, which signifies a high level of fire resistance suitable for both commercial and residential projects that demand stringent safety standards.
- Our panels are certified Class A2 and verified through ASTM testing, meeting key North American building codes for non-combustible materials.
- This rating ensures the panels contribute minimally to flame spread, providing critical protection in case of a fire.
- The inherent non-combustible nature of stone offers a safer alternative to wood or synthetic wall coverings.
| Feuerwiderstandsklasse | Flammenausbreitungsindex | Typical Application |
|---|---|---|
| Class A (A1, A2) | 0 – 25 (Non-Combustible) | Fireplace surrounds, commercial corridors, vertical exits. JMS Decor panels meet this standard. |
| Klasse B | 26 – 75 (Flame Retardant) | Lobbies, hallways, and general assembly areas. Not ideal for direct heat exposure. |
| Klasse C | 76 – 200 (Combustible) | Standard rooms and spaces where fire codes are less strict. Unsuitable for fireplace use. |
Heat Shielding and Clearance
When installing wall panels near a heat source, clearance requirements are critical. Flexible stone panels serve as an effective heat shield, often allowing for reduced clearance compared to combustible materials like drywall or wood.
- The natural stone composition provides excellent thermal resistance, protecting underlying walls from heat damage.
- These panels are engineered to endure significant temperature shifts without degrading, from direct sunlight to freezing conditions.
- Always consult local fire codes, like NFPA standards, to confirm specific clearance distances for your installation. Requirements vary by region and appliance type.
Installation and Code Compliance
Proper installation is essential to ensure the fire-resistant properties of the wall panels are fully effective and compliant with local regulations. Using the correct adhesive and following established guidelines maintains the integrity of the fire barrier.
- We provide detailed installation guides to help your team meet all relevant safety standards.
- Our panels are designed to align with international building codes, including CE for Europe and ASTM for North America.
- Using non-combustible substrates and specified heat-resistant adhesives is key to a code-compliant installation.
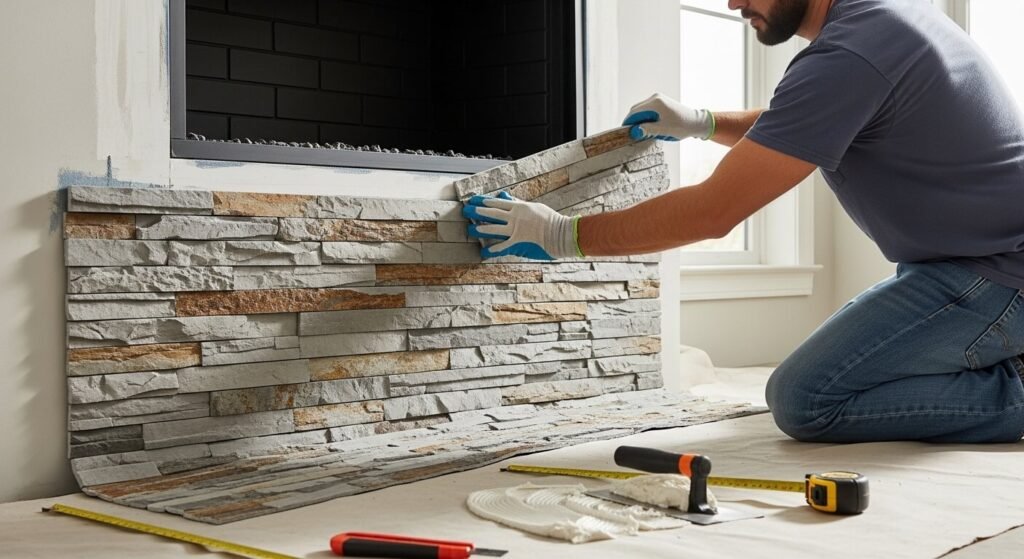
Preparing the Surface (Brick/Drywall)
A successful fireplace renovation hinges on meticulous surface preparation, where substrate-specific priming and absolute flatness are non-negotiable for lasting adhesion.
Initial Cleaning and Debris Removal
A clean, stable base is the foundation for a lasting installation. This first step involves thoroughly clearing the brick or drywall surface of any contaminants that could interfere with the adhesive’s bond. Any loose material, dust, or grime left behind will become a point of failure down the line.
- For brick surfaces, use a pressure washer following professional guidelines to strip away dirt, efflorescence, and any crumbling mortar.
- For drywall, wipe the entire area with a damp cloth to eliminate all fine dust from recent sanding or construction activities.
- Scrape away any flaking paint, old wallpaper glue, or residual adhesive to get back to a solid, reliable substrate.
Moisture Control and Substrate-Specific Priming
Proper sealing and priming prevent long-term moisture damage and ensure the adhesive can achieve its maximum bond strength. The choice of primer is not universal; it depends entirely on whether you are working with porous masonry or a sealed drywall surface. Before applying any products, inspect for and repair any sources of moisture to prevent future delamination.
| Substrat | Primary Challenge | Required Primer Protocol |
|---|---|---|
| Brick / Masonry | High alkalinity, moisture wicking, and potential efflorescence. | Apply an alkali-resistant masonry primer to neutralize surface pH and block moisture transfer. |
| Drywall / Gypsum Board | Porous paper surface and fine dust that can weaken the adhesive bond. | Use a high-quality water-based acrylic latex primer to seal the surface and provide a uniform foundation. |
Achieving a Smooth, Level Plane
An uneven or wavy surface will telegraph through the final panels, compromising the final look and structural integrity of the installation. The objective is to create a perfectly flat plane for the adhesive and panels to rest on, ensuring full contact and eliminating voids that can cause stress points.
- Fill any cracks, holes, or deep mortar joints in the drywall or brick with an appropriate filler compound, then sand it perfectly smooth.
- Adhere to all industry-standard drying and curing protocols for patching compounds and primers before moving to the next step.
- By 2026, installation standards are clear: all prepared surfaces must be fully cured and verified for flatness before any panel application begins.
Verwandeln Sie Räume mit anpassbarem Steinfurnier
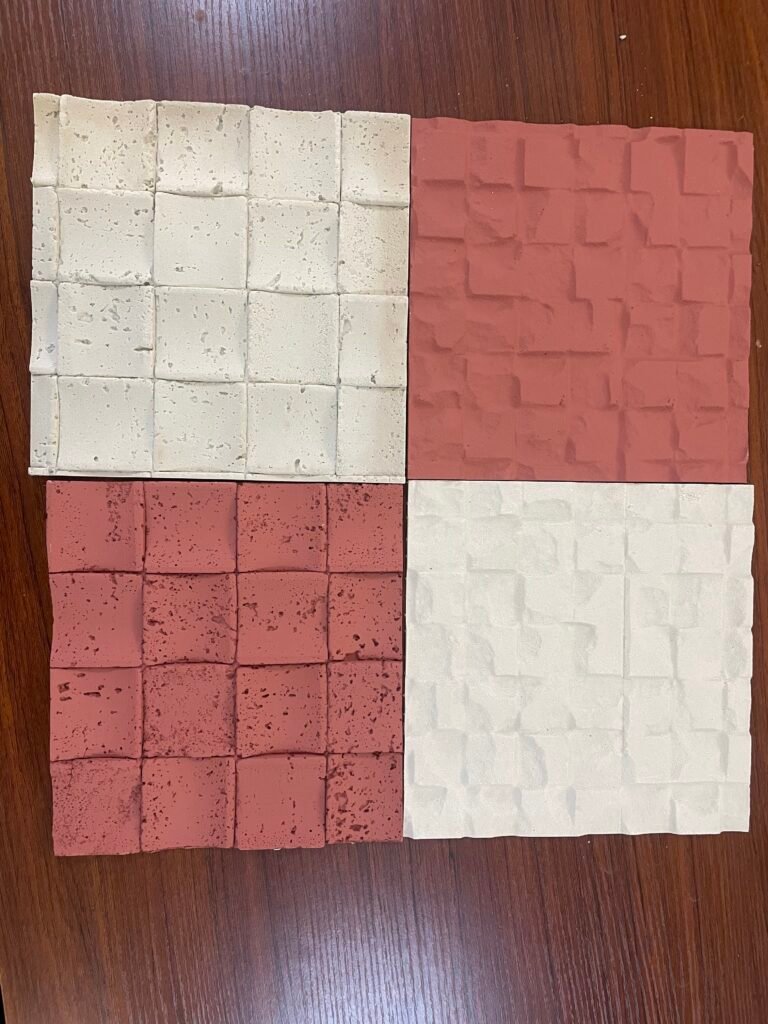
Cutting Stone Around the Mantle
The choice between a power tool for clean, modern lines and hand tools for a rustic, natural finish is the defining decision when cutting stone for a fireplace surround.
Fitting stone around a mantle requires careful cuts to ensure a tight, professional fit. Your tool selection directly impacts the project’s final look, labor time, and complexity. While traditional stone requires specialized equipment, modern materials like MCM flexible stone have simplified this process, often requiring only a utility knife for clean, dust-free cuts.
Choosing Between Power and Hand Tools
The approach depends entirely on the desired finish. Power tools are the standard for achieving precise, clean lines, but hand tools offer greater control for a traditional, rough-hewn appearance. Using low-quality blades or chisels is a significant safety risk and consistently produces poor results.
- Power Tools: An angle grinder or a circular saw fitted with a quality diamond blade delivers smooth edges and is essential for any curved cuts.
- Hand Tools: A classic hammer and chisel or a specialized stone buster allows you to create a natural, split-face texture that follows the stone’s inherent grain.
Techniques for Different Finishes
The cutting method you use defines the final aesthetic. For a modern, seamless design, precision is key. For a more rustic or traditional style, working with the stone’s natural features creates a more authentic look. Before making any cuts on your final pieces, always practice on scrap material to get a feel for the tool and the stone’s characteristics.
- For Clean Cuts: Mark your cut line clearly. Use your power tool to score the line first, then make several shallow passes. This technique prevents chipping and ensures a smoother edge.
- For a Rustic Split: Use a hammer and tracer to score a line along the stone’s natural grain. This guides the break, creating a clean but textured split that looks organic.
Essential Safety Measures
Cutting stone generates fine silica dust and sharp fragments, making personal protective equipment non-negotiable. A controlled technique is just as important as having the right gear. Always wear safety glasses, heavy-duty gloves, and a dust mask or respirator. You should let the tool do the work; applying excessive force leads to mistakes, tool damage, and potential injury. Maintain a stable, well-ventilated workspace clear of clutter and other hazards to ensure a safe and efficient workflow.
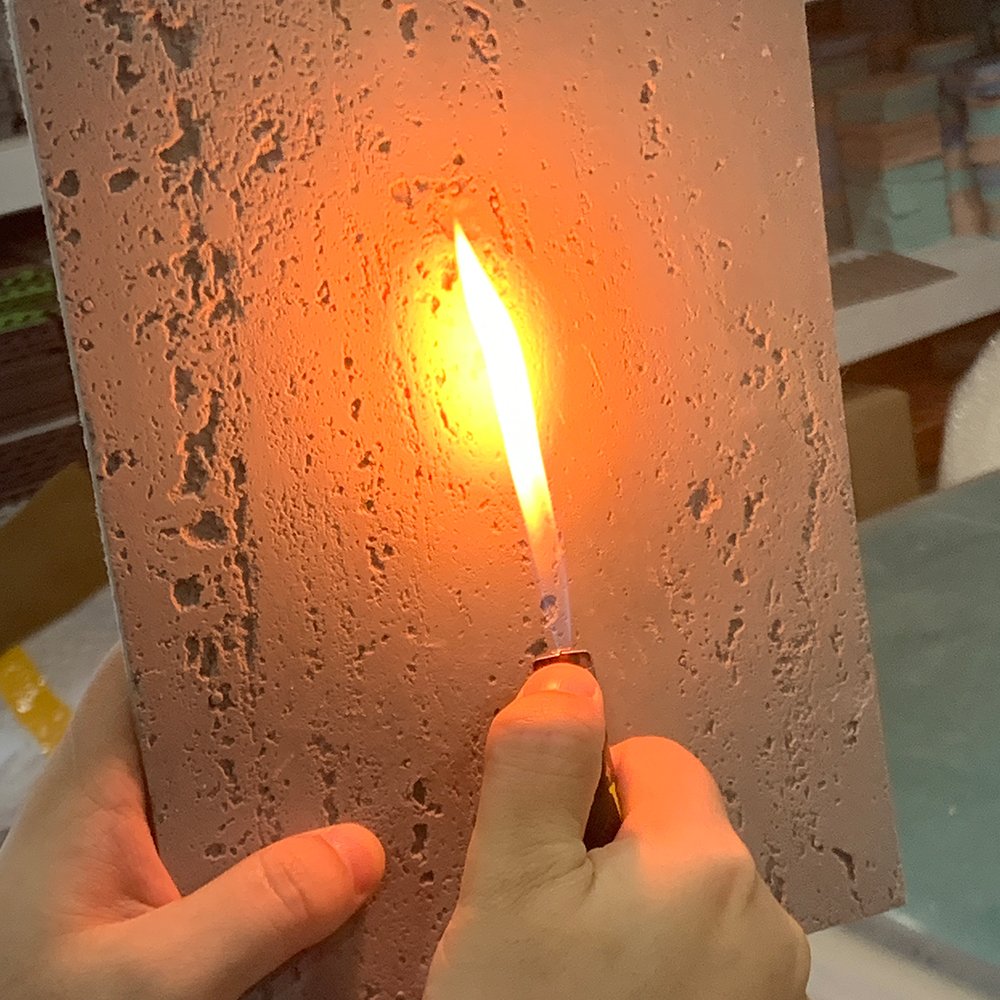
Heat-Resistant Adhesive Selection
The bond is the most common point of failure in a fireplace surround installation. Selecting the correct adhesive is a non-negotiable step that ensures the system’s integrity under constant thermal stress and aligns with critical fire safety codes.
Types of High-Temperature Adhesives
Different adhesives are formulated for specific materials and temperature ranges. The main types for fireplace applications include silica-based, hydraulically-bonded, and specialized silicone adhesives. Your choice directly impacts the safety and longevity of the installation. Products are not interchangeable, and using a standard construction adhesive is a critical error.
| Klebstofftyp | Typical Temperature Rating | Hauptanwendung |
|---|---|---|
| Silica-Based / Hydraulically-Bonded | Up to 1400°C (2550°F) | Firebrick, ceramic fiber boards, industrial furnace construction. Offers maximum heat resistance. |
| High-Temperature Silicone | Up to 315°C (600°F) | Sealing joints in gas fireplaces, bonding trim. Provides flexibility for thermal expansion. |
| Specialized Fireplace Mortar | Varies, check product specs | Bonding stone veneer or flexible stone to backer boards. Formulated for weight and heat. |
Silica-based and hydraulically-bonded adhesives deliver extreme temperature resistance for core fireplace components. Specialized silicone products offer greater flexibility, which is essential for sealing joints where materials expand and contract from heating and cooling cycles. Always choose an adhesive specifically designed for bonding stone, ceramic fiber, or insulation boards based on your project materials.
Matching Adhesives to Fireplace Materials
The effectiveness of an adhesive depends entirely on its compatibility with the surfaces being bonded. For bonding materials like flexible stone panels to brick or a cement backer board, the adhesive must handle both the weight of the stone and the cyclical heat exposure without degrading. Likewise, insulation materials like ceramic fiber boards require specific adhesives that create a strong, durable bond without becoming brittle under constant high temperatures. The manufacturer’s technical data sheet is the ultimate source of truth; always check that your specific application and materials are listed as suitable.
Code Compliance and Safety Ratings
Using an adhesive that meets local fire codes is a critical safety requirement, not a recommendation. Products used in these applications must be tested and certified for high-temperature environments to ensure they don’t release toxic fumes or fail structurally when heated.
- Look for adhesives explicitly rated for fireplace, stove, or furnace construction.
- Ensure the product you choose complies with local building and fire safety regulations before purchasing.
- Safety-certified adhesives provide documented proof of performance and ensure the long-term integrity of your installation.
Before & After Gallery
Fireplace makeovers show how strategic updates, from simple paint jobs to full-scale refacing, can fundamentally shift a room’s aesthetic and increase home value.
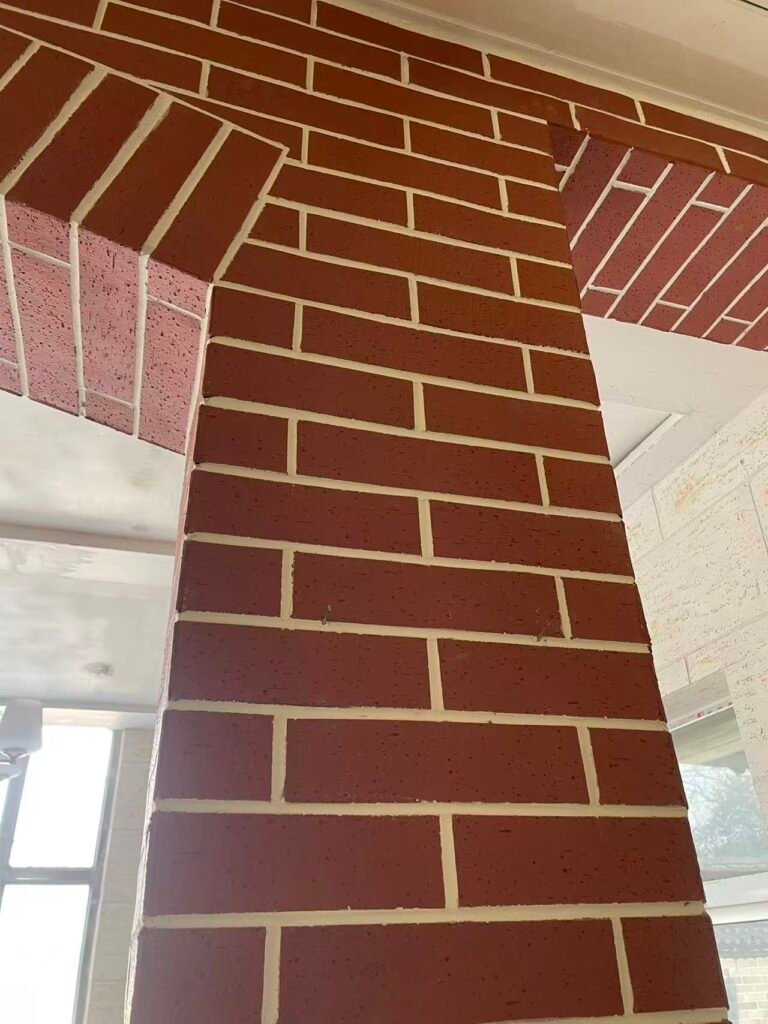
From Dated Brick to Modern Chic
Many homeowners are transforming traditional, heavy brick fireplaces into bright, contemporary centerpieces. This popular project updates the facade to create a clean aesthetic that complements modern interior designs, turning an outdated feature into an integrated and fresh focal point.
- Projects often start by painting over dark, dated brick with lighter colors for an immediate visual lift.
- Many choose to reface the entire surround with modern materials like stacked stone or tile for a complete style overhaul.
- The final result is a fireplace that feels intentional and current.
Minimalist Mantel & Surround Updates
A full renovation isn’t always necessary. These examples show the high impact of targeted, cost-effective updates, such as replacing the mantel or updating the immediate surround to modernize the look without the expense of a complete teardown.
- Swap a bulky, traditional mantel for a sleek, simple beam or a floating shelf.
- Add a new tile or stone veneer frame directly around the firebox opening for a focused upgrade.
- These smaller changes produce significant aesthetic returns on a limited budget.
Total Transformation: Integrating the Fireplace
For a truly cohesive look, some projects involve redesigning the entire fireplace wall. This approach turns the fireplace into a functional and architectural feature of the room, blending aesthetics with utility for maximum impact.
- Extend new stone or tile material from floor to ceiling to create a dramatic accent wall.
- Build custom shelving, cabinets, or media centers alongside the fireplace for integrated storage and display.
- Install an energy-efficient insert to improve functionality and performance as part of the redesign.

Schlussfolgerung
Remodeling your fireplace with flexible stone veneer is a manageable DIY project when you focus on the fundamentals. Proper surface preparation, careful cutting, and using a heat-resistant adhesive are critical for safety and a professional finish. Following these guidelines helps ensure your new fireplace surround is both durable and compliant with fire codes.
If you’re ready to move forward, explore our product gallery for more design ideas. Requesting a sample is a great way to see and feel the textures in your own space before starting the project.
Häufig gestellte Fragen
DIY fireplace stone makeover?
Yes, a DIY fireplace stone makeover is a very popular and achievable project. The process typically involves cleaning the existing surface, attaching a metal lath, applying a scratch coat of mortar, and then adhering manufactured or natural stone veneer. The final step is to fill the joints with grout. For safety, always ensure the substrate is sound and use non-combustible, heat-resistant materials, especially for the areas immediately surrounding the firebox opening.
Can I put flexible stone on fireplace?
You can use flexible stone veneer on a fireplace surround, but it requires careful selection of materials. The stone itself—typically a thin layer of slate or quartzite on a fiberglass backing—is generally heat-resistant. However, the critical component is the adhesive. You must use a high-temperature, non-combustible construction adhesive rated for fireplace applications to ensure safety and durability. Always check the manufacturer’s technical specifications and local fire codes before installation.
Heat resistant stone veneer?
Virtually all high-quality natural stone and manufactured stone veneers are inherently heat-resistant and non-combustible, making them an excellent material for fireplaces. Manufactured veneer is typically made from a concrete base, while natural stone options like slate, granite, and quartzite can withstand high temperatures. The entire installation system, including the mortar and substrate, must also be fire-rated to ensure a safe and code-compliant fireplace surround.
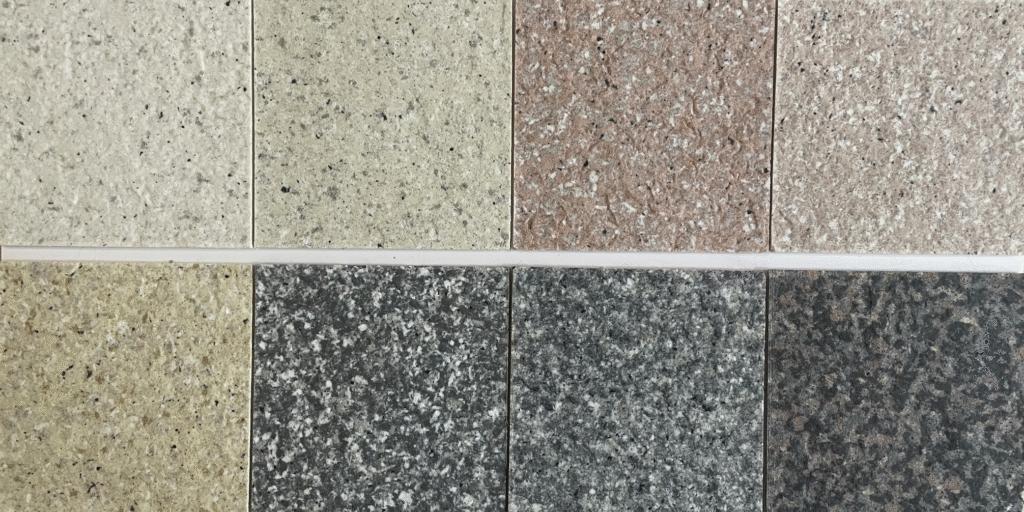
Fireplace surround ideas?
Popular fireplace surround ideas range from modern to rustic. For a contemporary look, consider large-format porcelain tiles, a seamless concrete finish, or a floor-to-ceiling slab of marble or quartzite. For traditional or rustic styles, stacked stone ledgestone, reclaimed wood mantels, or classic brick patterns are timeless choices. A transitional design might pair a simple tile hearth with a shiplap overmantel to create a clean yet cozy focal point.
Refacing a brick fireplace?
Refacing a brick fireplace can dramatically update a room. Common methods include painting the brick with heat-resistant paint for a quick and modern refresh, applying a German schmear (mortar wash) for a rustic, textured look, or covering the brick entirely. To cover it, you can install a new facade of tile, slate, or stone veneer directly over the brick by first securing a metal lath and applying a scratch coat of mortar to create a fresh bonding surface.