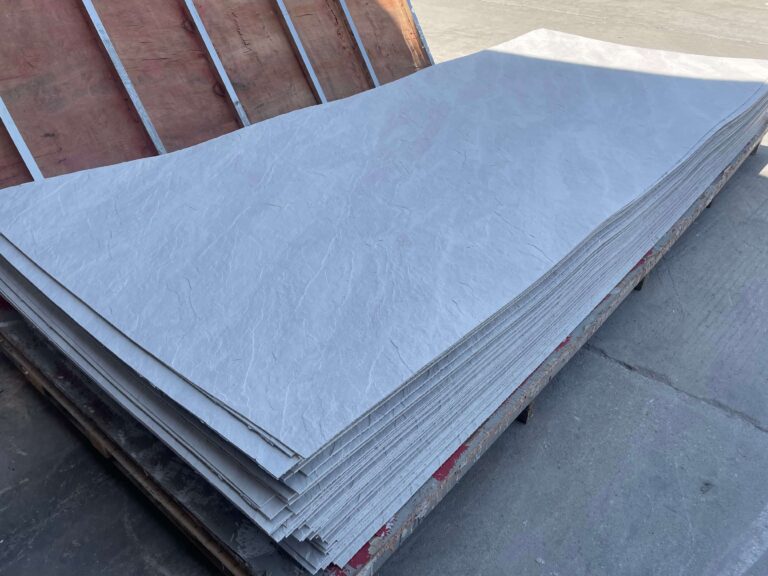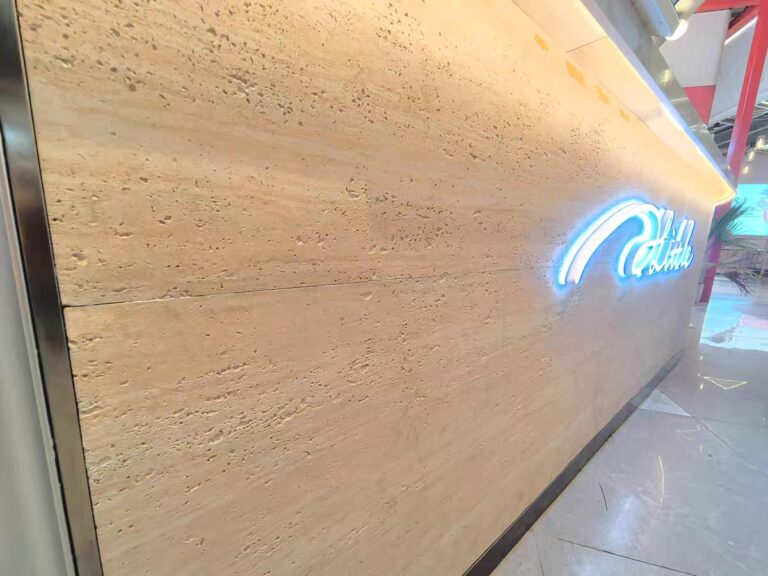
On a BIM-run project, a supplier who can only hand over a PDF catalogue is a coordination problem: the wall cannot be modelled properly, the clashes are found on site, and the stone order is placed against guessed dimensions. Flexible stone is unusually BIM-friendly once the right files exist — it is a flat, dimensionally stable sheet with standard formats and a known thickness band, which is exactly what a model wants. What buyers rarely know is which files to ask for, when to ask, and what each file is actually for. This guide sets out the digital package a main contractor or designer should request from a flexible stone supplier: the geometry, the specification data, the texture and colour assets, and the coordination behaviour that makes the model match the delivered wall.
Why flexible stone needs so little geometry and gets so much from it
The material’s simplicity is the advantage. A flexible stone wall is flat or gently curved, so its modelled element is a swept face with a thickness — no complex cuts, no mitred-corner families. The two numbers that matter are the sheet format, standard 1200 × 600 mm with long formats available up to 1200 × 2900 mm, and the thickness band of 2–8 mm depending on pattern. Give the model those two facts plus the joint layout, and the coordination problems downstream — clash detection against services, door and glazing reveals, lighting positions — all resolve against geometry that is actually true.
What the thickness is genuinely for in a model: finishes and junctions. The stone’s 2–8 mm plus its adhesive bed changes where every neighbouring element lands — socket boxes set to finished depth, joinery datum off the stone face, trim positions. A model with a nominal zero-thickness finish produces a site where every neighbour is a few millimetres wrong in the same direction, the small error that compounds into a room. Our backing board guide covers the physical layering; the model just has to carry it.
What is in the digital package worth requesting?
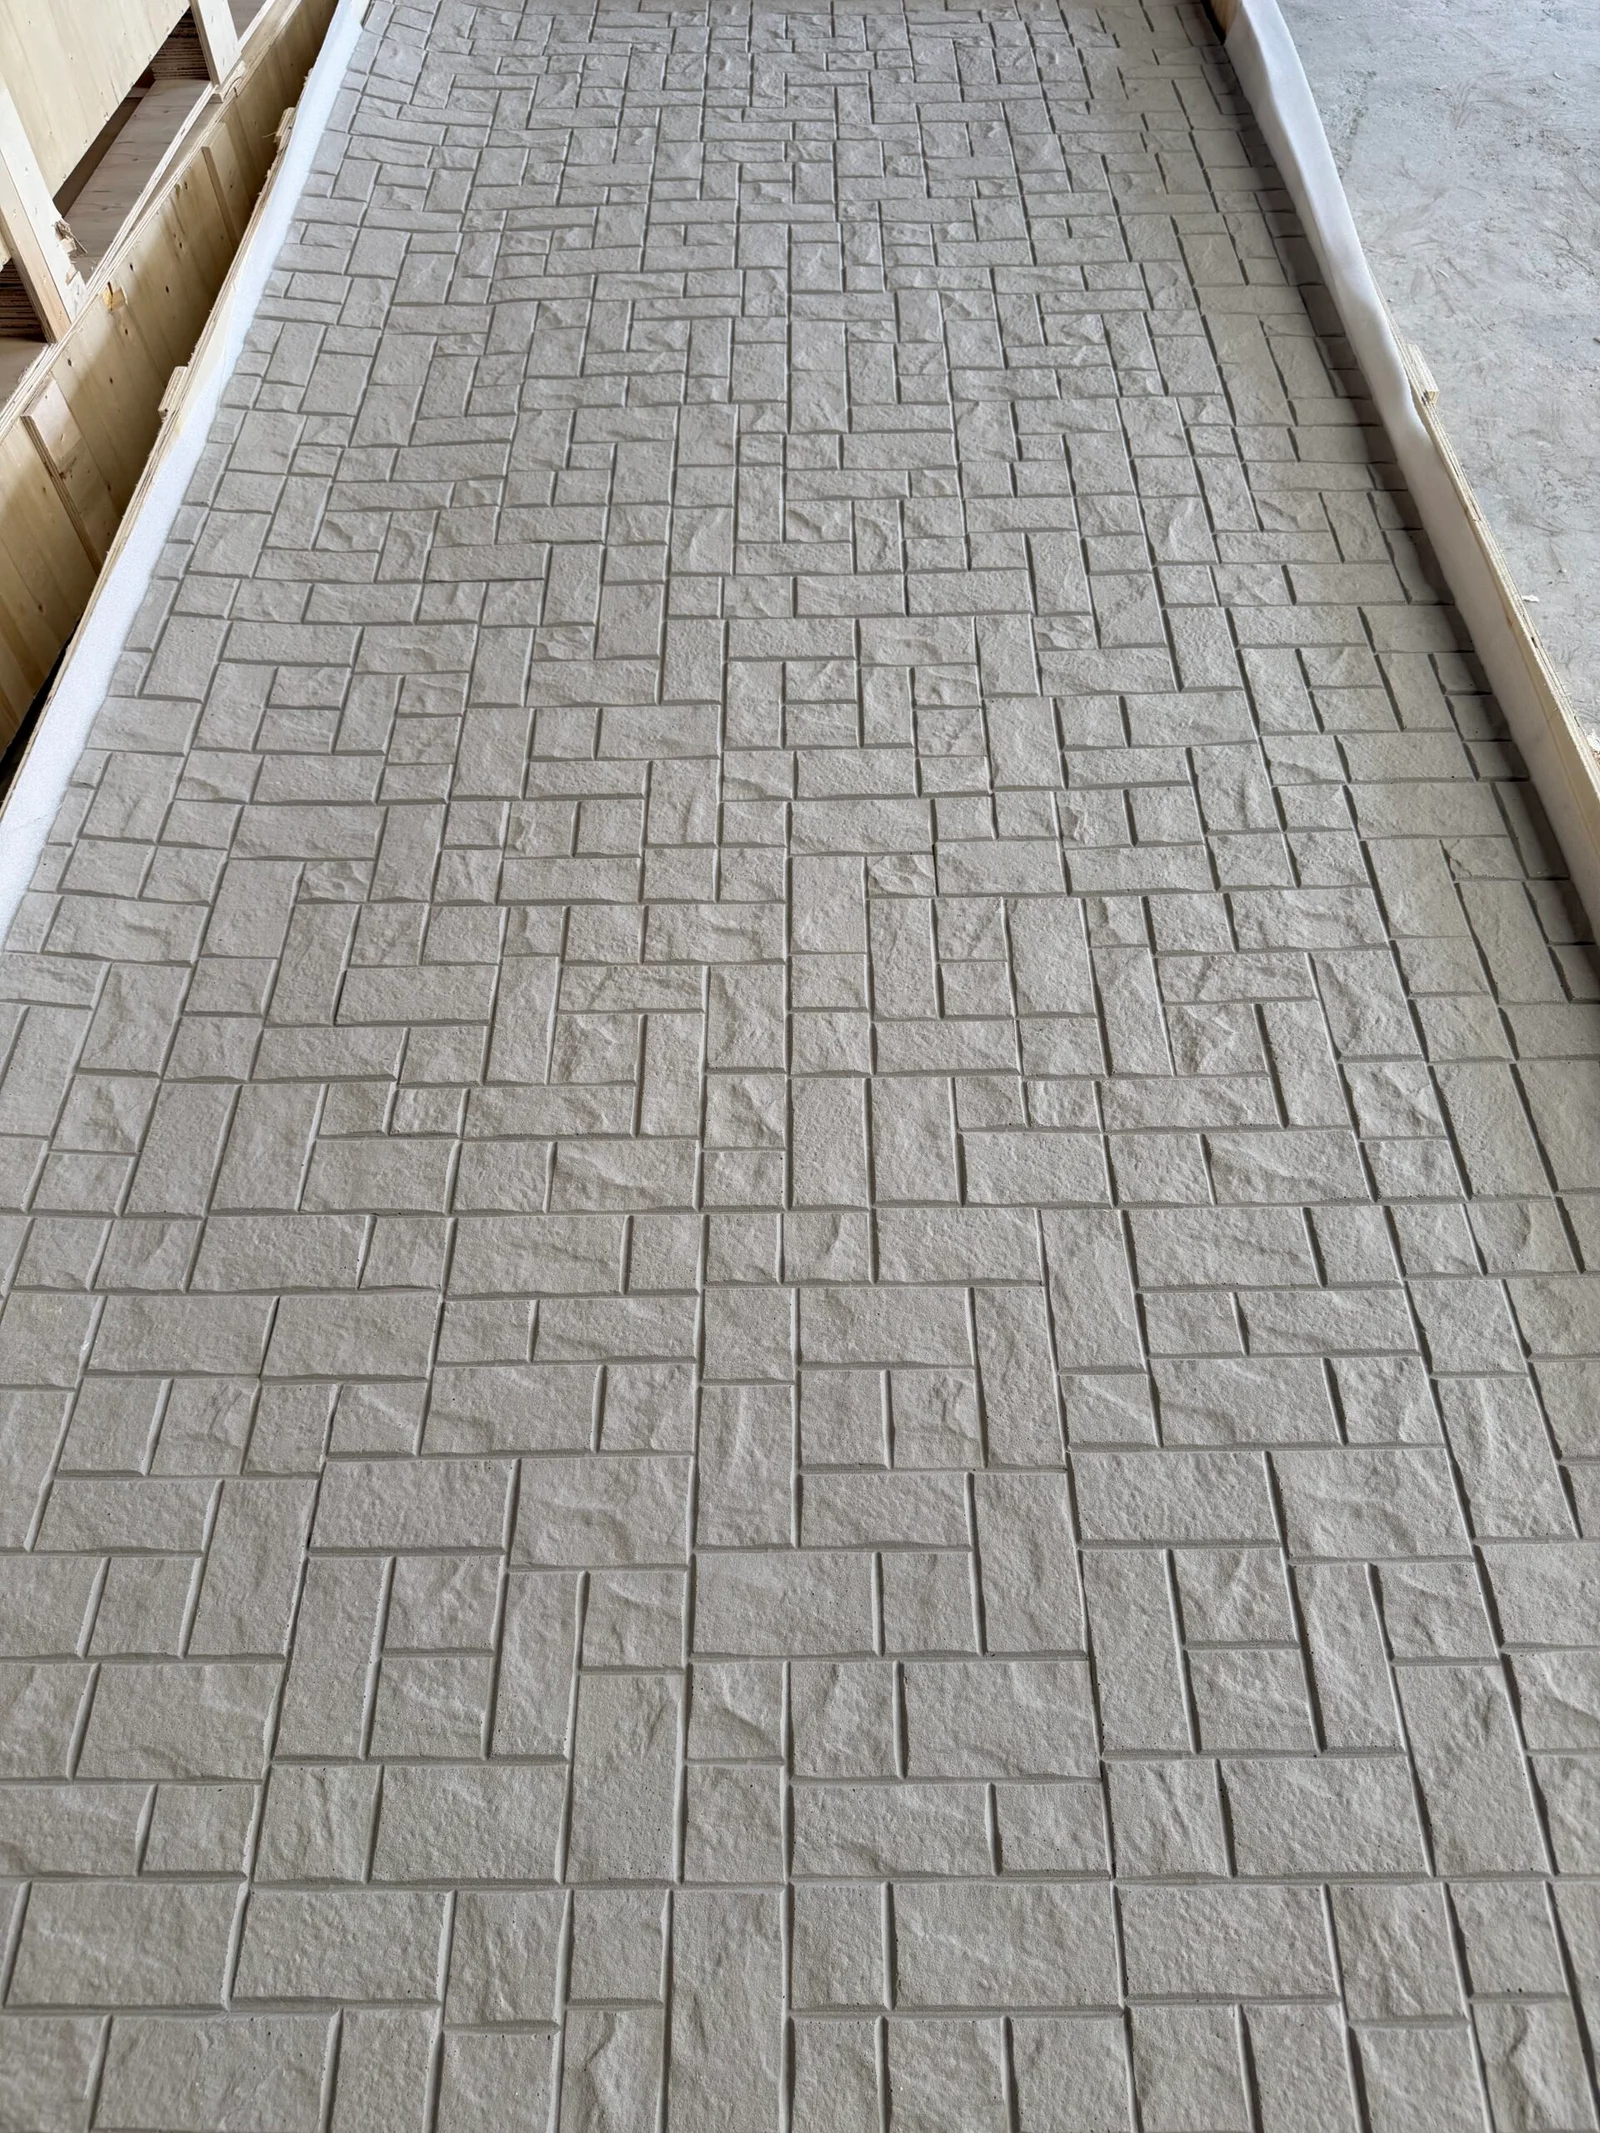
- Format and thickness data as a specification sheet — the pattern list with each face’s thickness and weight band, so the model’s finish schedule is populated with real numbers rather than a generic “stone veneer” placeholder.
- Joint layout guidance — the standard module and the rules for where joints may fall, so the modelled panelisation matches what will actually be ordered and set out, per our joint set-out guide.
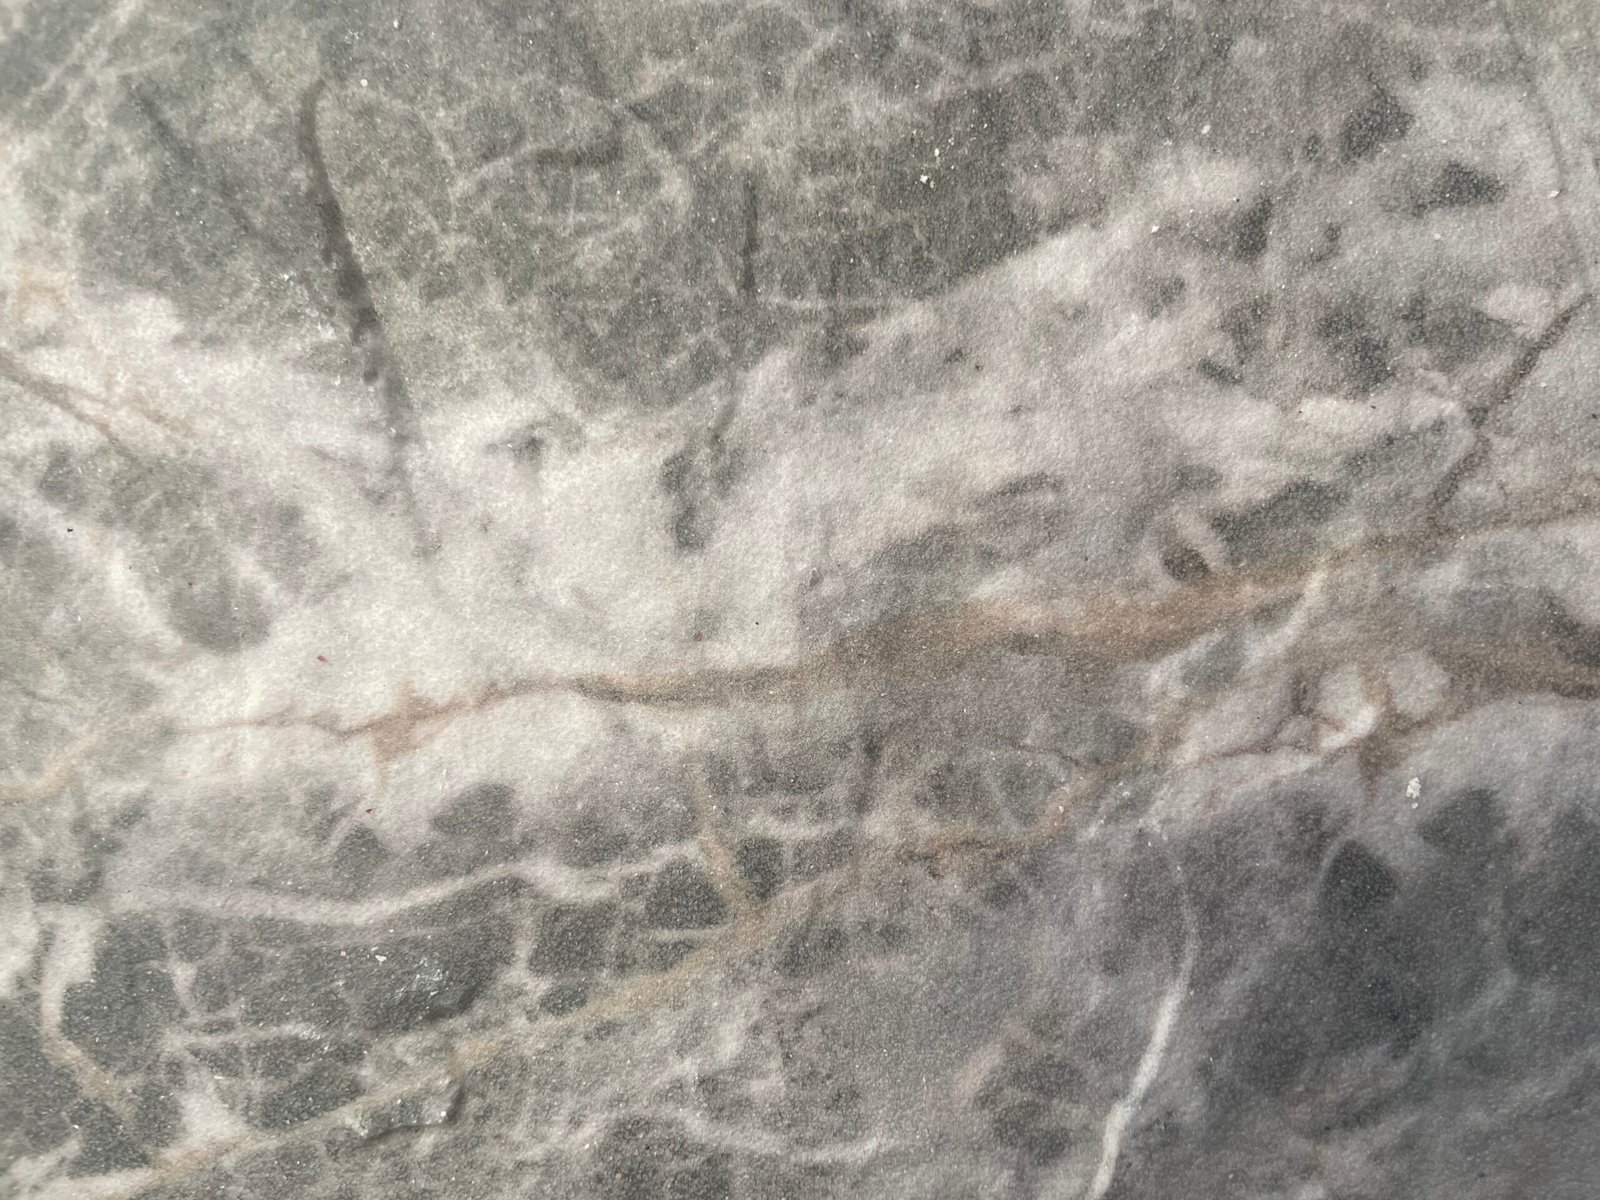
- Surface assets: texture images and colour data — calibrated photographs or render-ready textures of each pattern, plus physical samples for the colour check, because screens alone cannot carry the tone match the way our batch consistency guide requires.
- Performance data for the model’s property sets — fire class, weight band, bend radius where curves are modelled, so the federated model carries the compliance numbers the submittal will later cite, the same documentation chain our submittal guide assembles.
- Installation and substrate requirements as documents — the manual attached to the model, so the coordination team sees the substrate flatness and adhesive-system conditions that decide whether a modelled wall is buildable, not just drawable.
Notice what is not on the list: full BIM families with parametric flexing. The material does not need them, and a supplier who offers texture images and true dimensions is delivering more coordination value than one who promises objects and sends a brochure.
When should the files be requested?
At quotation, not at order. The geometry and thickness data change the design before it freezes — reveals deepen, box depths change, lighting coordinates shift — so the request belongs with the sample request, both early enough to matter. The full package follows at order with the submittal; the texture assets follow at design development when the visualiser needs them; the batch-linked data (COA, batch marks) arrives with the goods and attaches to the as-built record.
A request list that arrives late produces the familiar failure: the wall modelled at zero thickness, coordinated against that fiction, and corrected on site one reveal at a time — each correction a small variation order nobody budgeted. One email at quotation stage removes the entire category.
How does the model stay honest to the delivered wall?
Three links keep it true. First, the pattern identity: the model names the pattern by its actual code, not “grey stone”, so when the batch ships there is a one-to-one line from model element to delivered panel and to retained sample. Second, the set-out: the panelisation in the model is the panelisation ordered — the joints modelled are the joints installed, checked against our set-out rules. Third, the as-built capture: at completion, photographs of the installed wall are filed against the model record, the way our failure-liability guide argues evidence should be kept at every handoff — because a model that matches the wall is the cheapest dispute-prevention tool on the project.
How do curved and custom elements coordinate digitally?
Curves are where the model earns its keep, because flexible stone’s bend behaviour is specific: roughly a 200 mm minimum radius on typical patterns, closer to 300 mm on thick or complex faces, and thinner faces bend tighter. A modeller who knows that draws curved walls that the material can actually follow; one who doesn’t designs a 150 mm radius column that arrives as a site argument. The supplier’s curve data per pattern belongs in the model’s property set, alongside the thickness — the same numbers our pattern selection guide uses for design choice, repurposed here as geometric constraints.
Custom printing — artwork, logos, bookmatched veining — coordinates through the same files with one addition: the artwork itself, as print-ready geometry, linked to the modelled panel layout so the printed panels land where the design intends on the wall. The print-stage decisions are covered by the custom-colour and OEM process; what BIM adds is simply certainty about which panel carries which part of the image.
What does a good coordination handover look like?
The test is whether a newcomer to the project can answer three questions from the model alone: what pattern and thickness is this wall, what joints will it have, and what must be true behind it before it is clad. If the answers need a phone call, the digital package was incomplete. If they need a site visit, the model was decoration. Hand the model over with the sample, the data sheets and the manual referenced as a set — the digital side of the same evidence discipline that runs through our contract clause guide — and the wall arrives the way it was drawn.
How does the digital package interact with procurement and payment?
There is a quiet financial argument for asking early: files change decisions while decisions are still cheap. A thickness band carried into the model at quotation turns box depths, reveal depths and lighting coordinates into design-stage facts; the same band discovered at order makes each of them a site-stage variation. The same runs through to payment: a submittal that attaches the model’s pattern codes and joint layout to the physical sample and the COA gives the paying party something verifiable to release against — the same conditions-to-payment logic our contract guide recommends for the paperwork generally.
Procurement also benefits from the format data being central: quantities computed from the modelled panelisation are the quantities ordered, and the waste and spare allowance rides on the same numbers rather than on a rule of thumb remembered differently by each party. A small discipline, but it is the difference between ordering a wall and ordering a hope.
What are the recurring BIM coordination mistakes with finishes like this?
Four errors account for most of the site pain. Zero-thickness modelling, which quietly shifts every neighbouring element — box depths, reveals, trim lines — by the few millimetres the finish actually adds. Generic material naming (“stone-01”), which severs the link between model, sample and batch, and leaves the delivered wall untraceable to the design record. Joints modelled as decoration rather than as the set-out that will be ordered, so the pretty panelisation in the render and the panelisation the installer sets out are two different walls. Curve geometry drawn without the bend data, producing radii the material never promised to follow. Each error is a two-minute fix at design stage and a variation order at construction stage — which is the whole business case for requesting the supplier’s numbers early.
There is a fifth, subtler one: treating the texture images as the colour approval. Calibrated textures let the visualiser show the room honestly, but screens drift between offices and the pattern is a printed surface with real relief. The model carries the pattern identity; the physical sample under project light carries the approval — and the batch COA carries it into the delivered wall. Keep the three links separate and each does its job; confuse them and the project argues about a render when it should be checking a sample.
الأسئلة الشائعة
Do I need full BIM objects from the supplier?
No. A flat cladding element with true format, thickness and pattern data coordinates better than a parametric family with placeholder dimensions. Ask for numbers and textures; model the simple geometry once.
Can the model predict the colour?
It can show the pattern honestly if the texture images are calibrated, but tone approval still belongs to a physical sample under the project’s light — the screen is for coordination, the sample for approval.
What file formats should the textures be in?
Whatever the visualisation pipeline uses; the request is for calibrated, seam-free images per pattern, and the supplier’s current production samples to verify them against. The format is the renderer’s preference, not the material’s.
Does BIM coordination replace the mock-up?
No. The model proves the geometry; the mock-up proves the method and the finish. A coordinated model plus an accepted mock-up is the standard pair — one catches clashes, the other catches habits.
Request the numbers at quotation, model the thickness honestly, and link every modelled panel to a pattern code and a retained sample. Current formats and the thickness bands the model should carry are on the قشرة حجرية مرنة page; reference methods for adhered finishes and their documentation are published by the مجلس بلاط أمريكا الشمالية.